LEIÐBEININGAR ( english below / DOWNLOAD PDF )
Í Sandalasettinu finnur þú nánast allt sem þarf til að búa til eitt par af sandölum. Það inniheldur tvö snið sem passa á kvenmannsstærðir 36-42, millisóla- og bindsólaleður, hælalög og fleira. Settið hefur að geyma öll helstu hráefni sem þú þarft til að búa til einstakt, handgert par af sandölum úr eðal ítölsku náttúrusútuðu leðri. Annað átt þú pottþétt til heima hjá þér, út í bílskúr eða í geymslunni.
ÞAÐ SEM FYLGIR:
MYNDIR AF FERLINU
(Þær eru aftan við textann) til að styðja við leiðbeiningarnar og öfugt.)
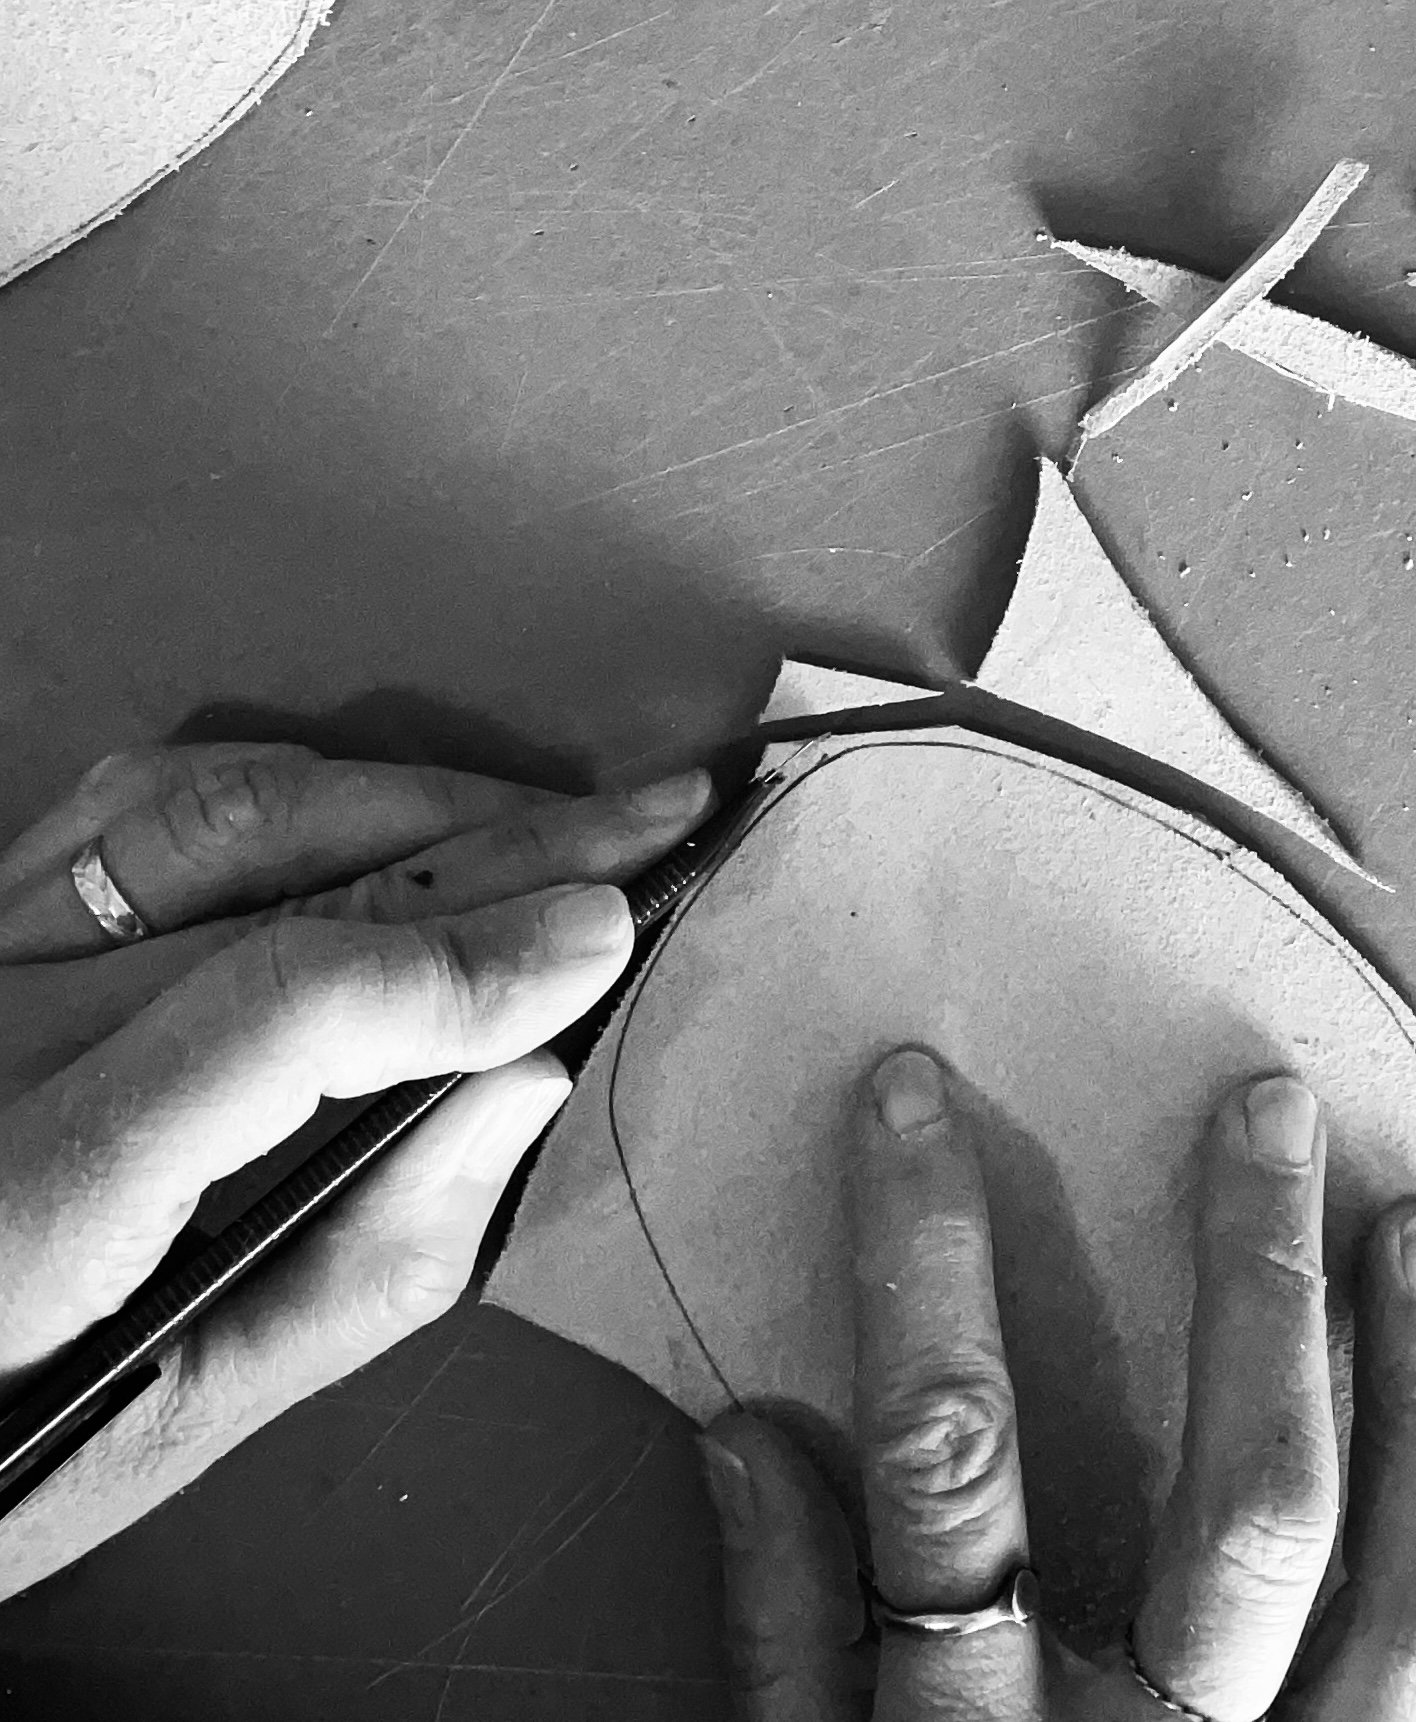
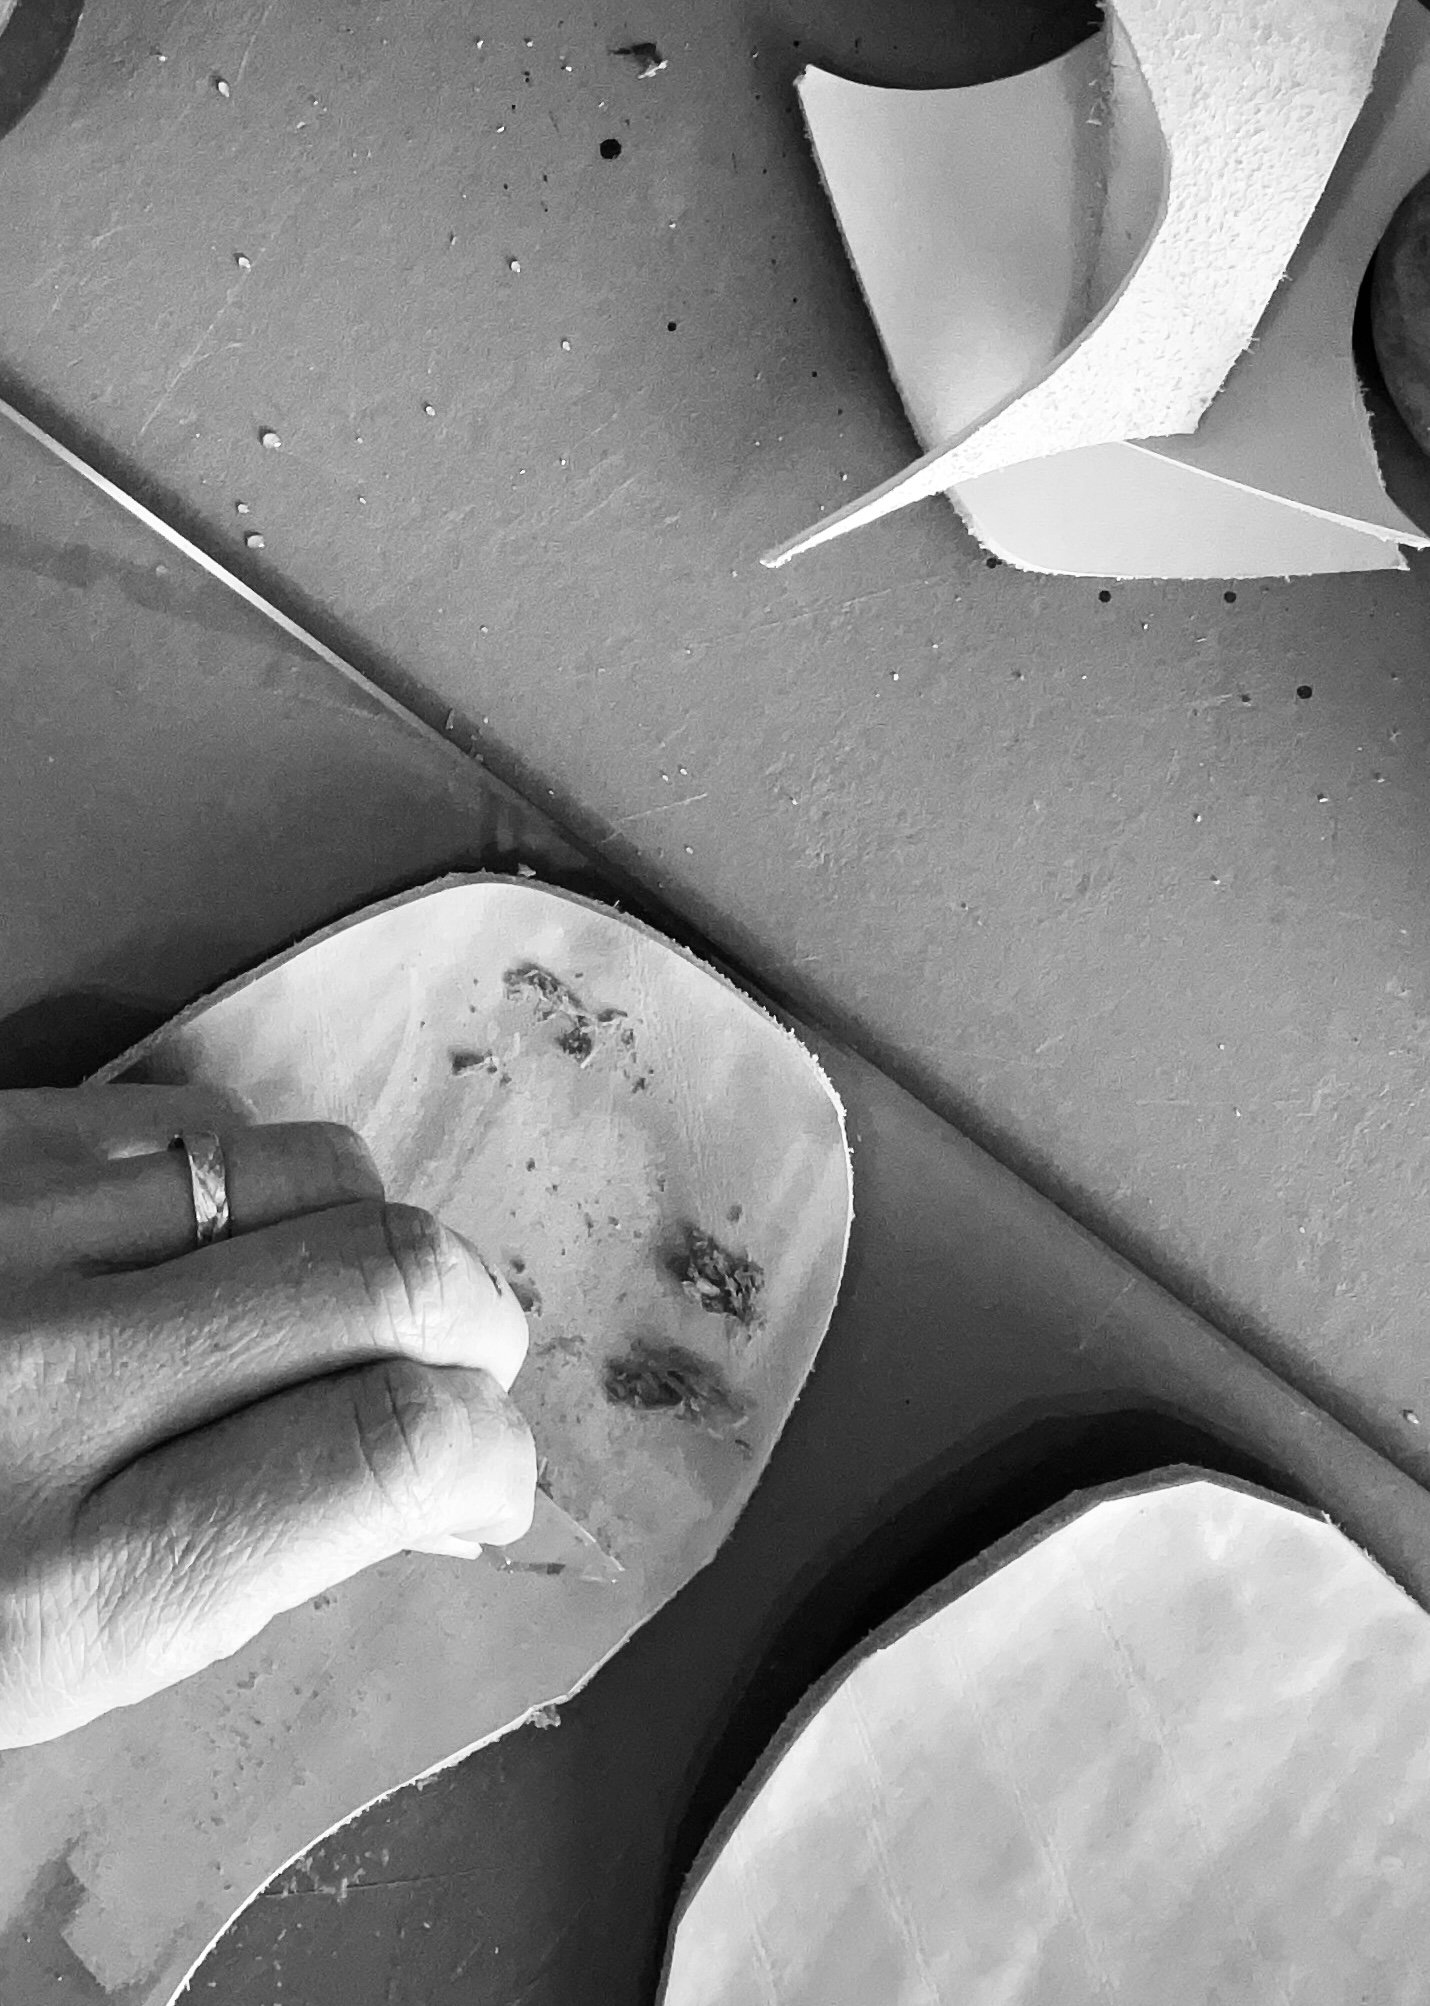
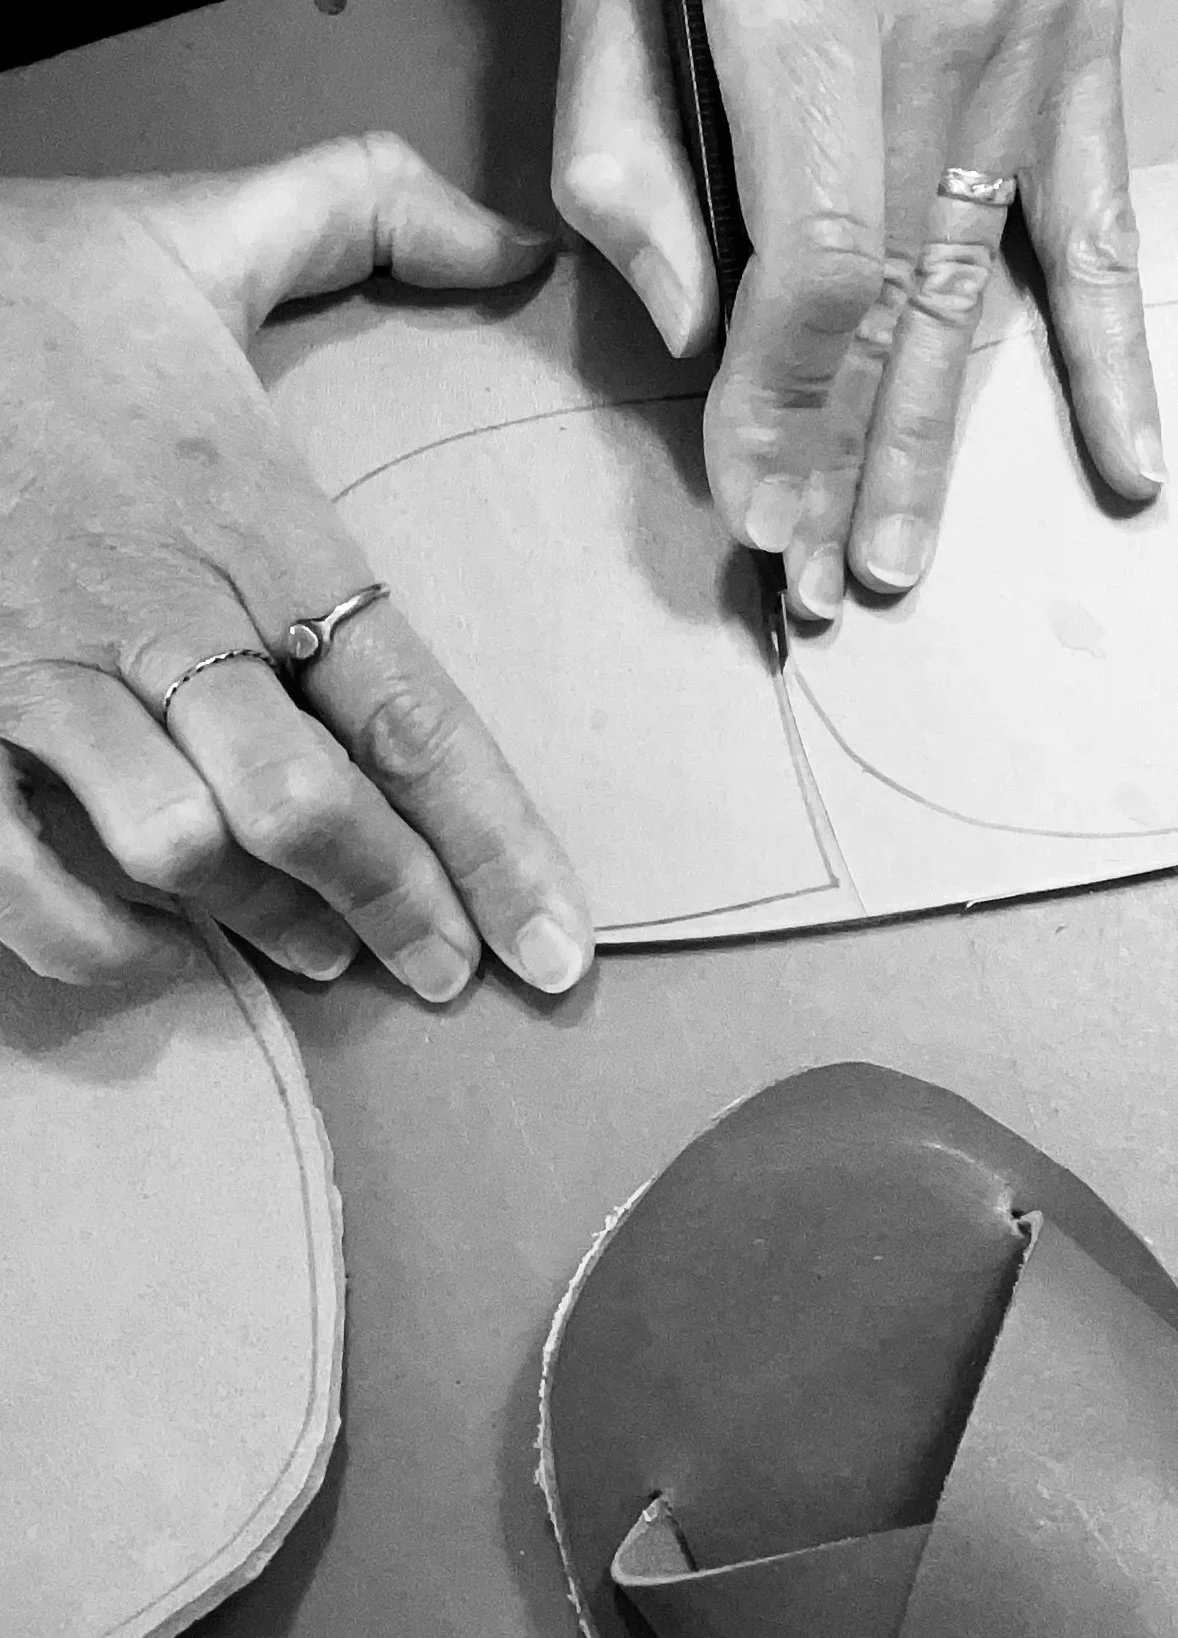
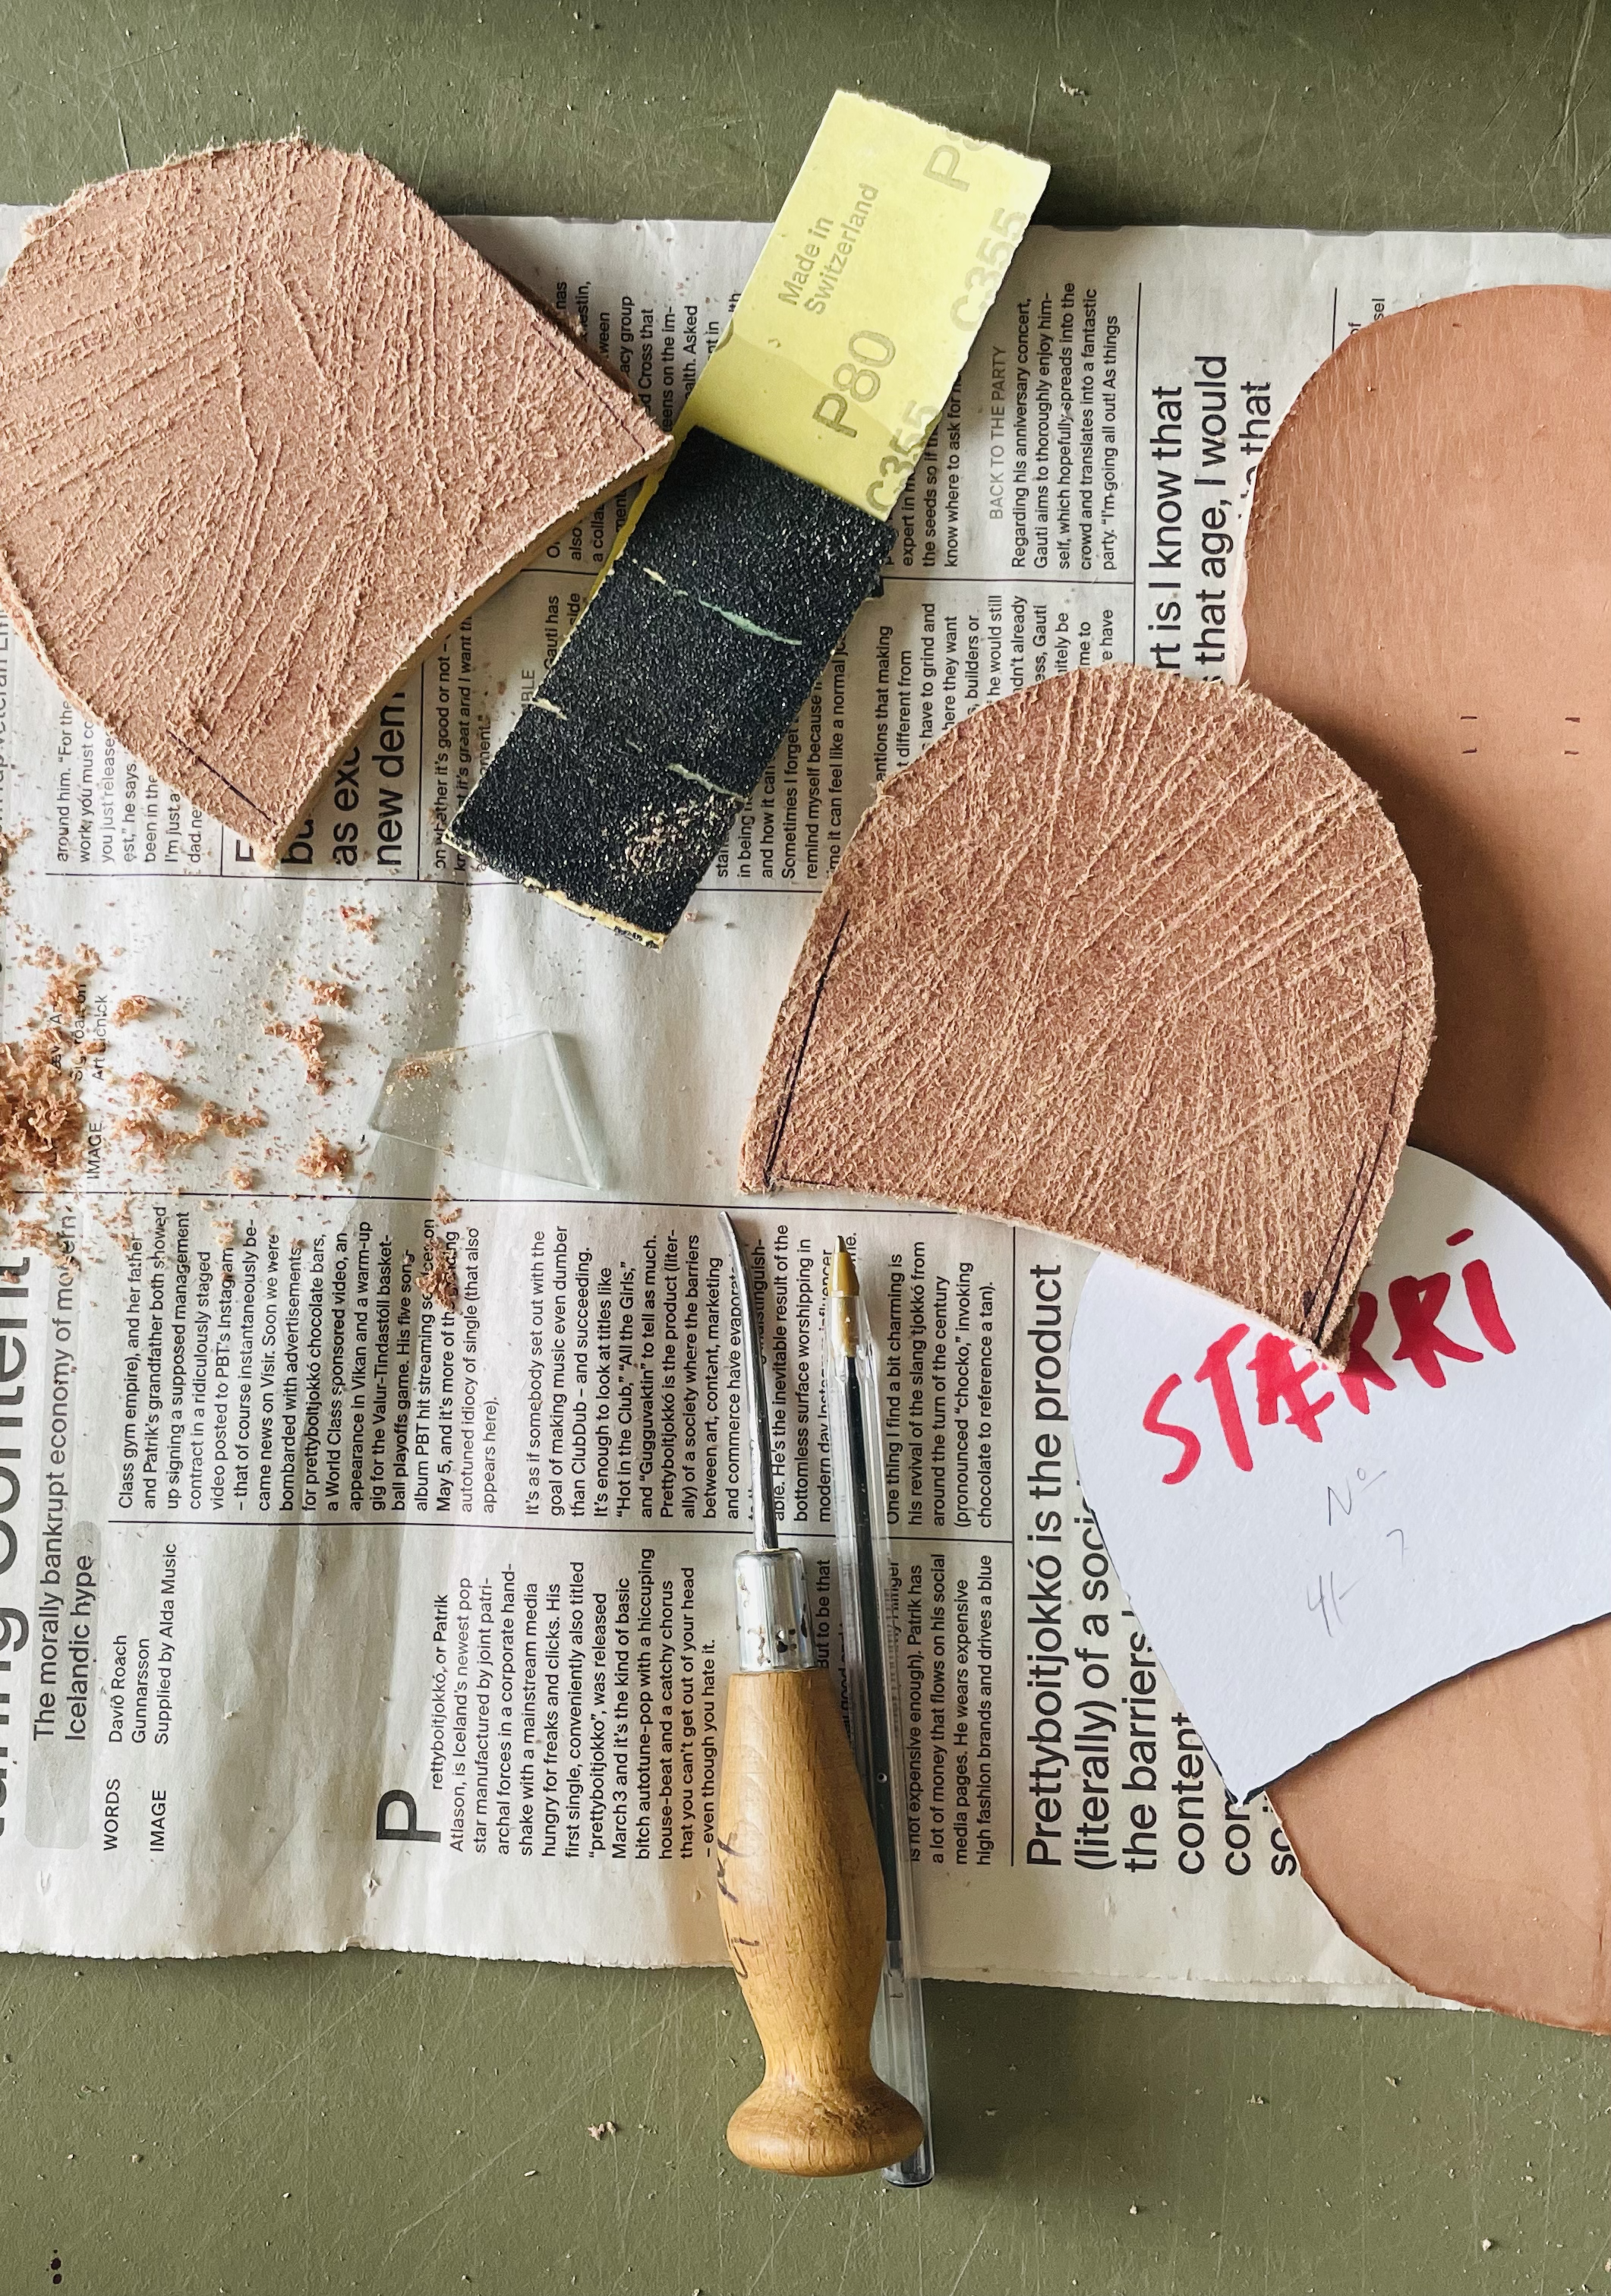
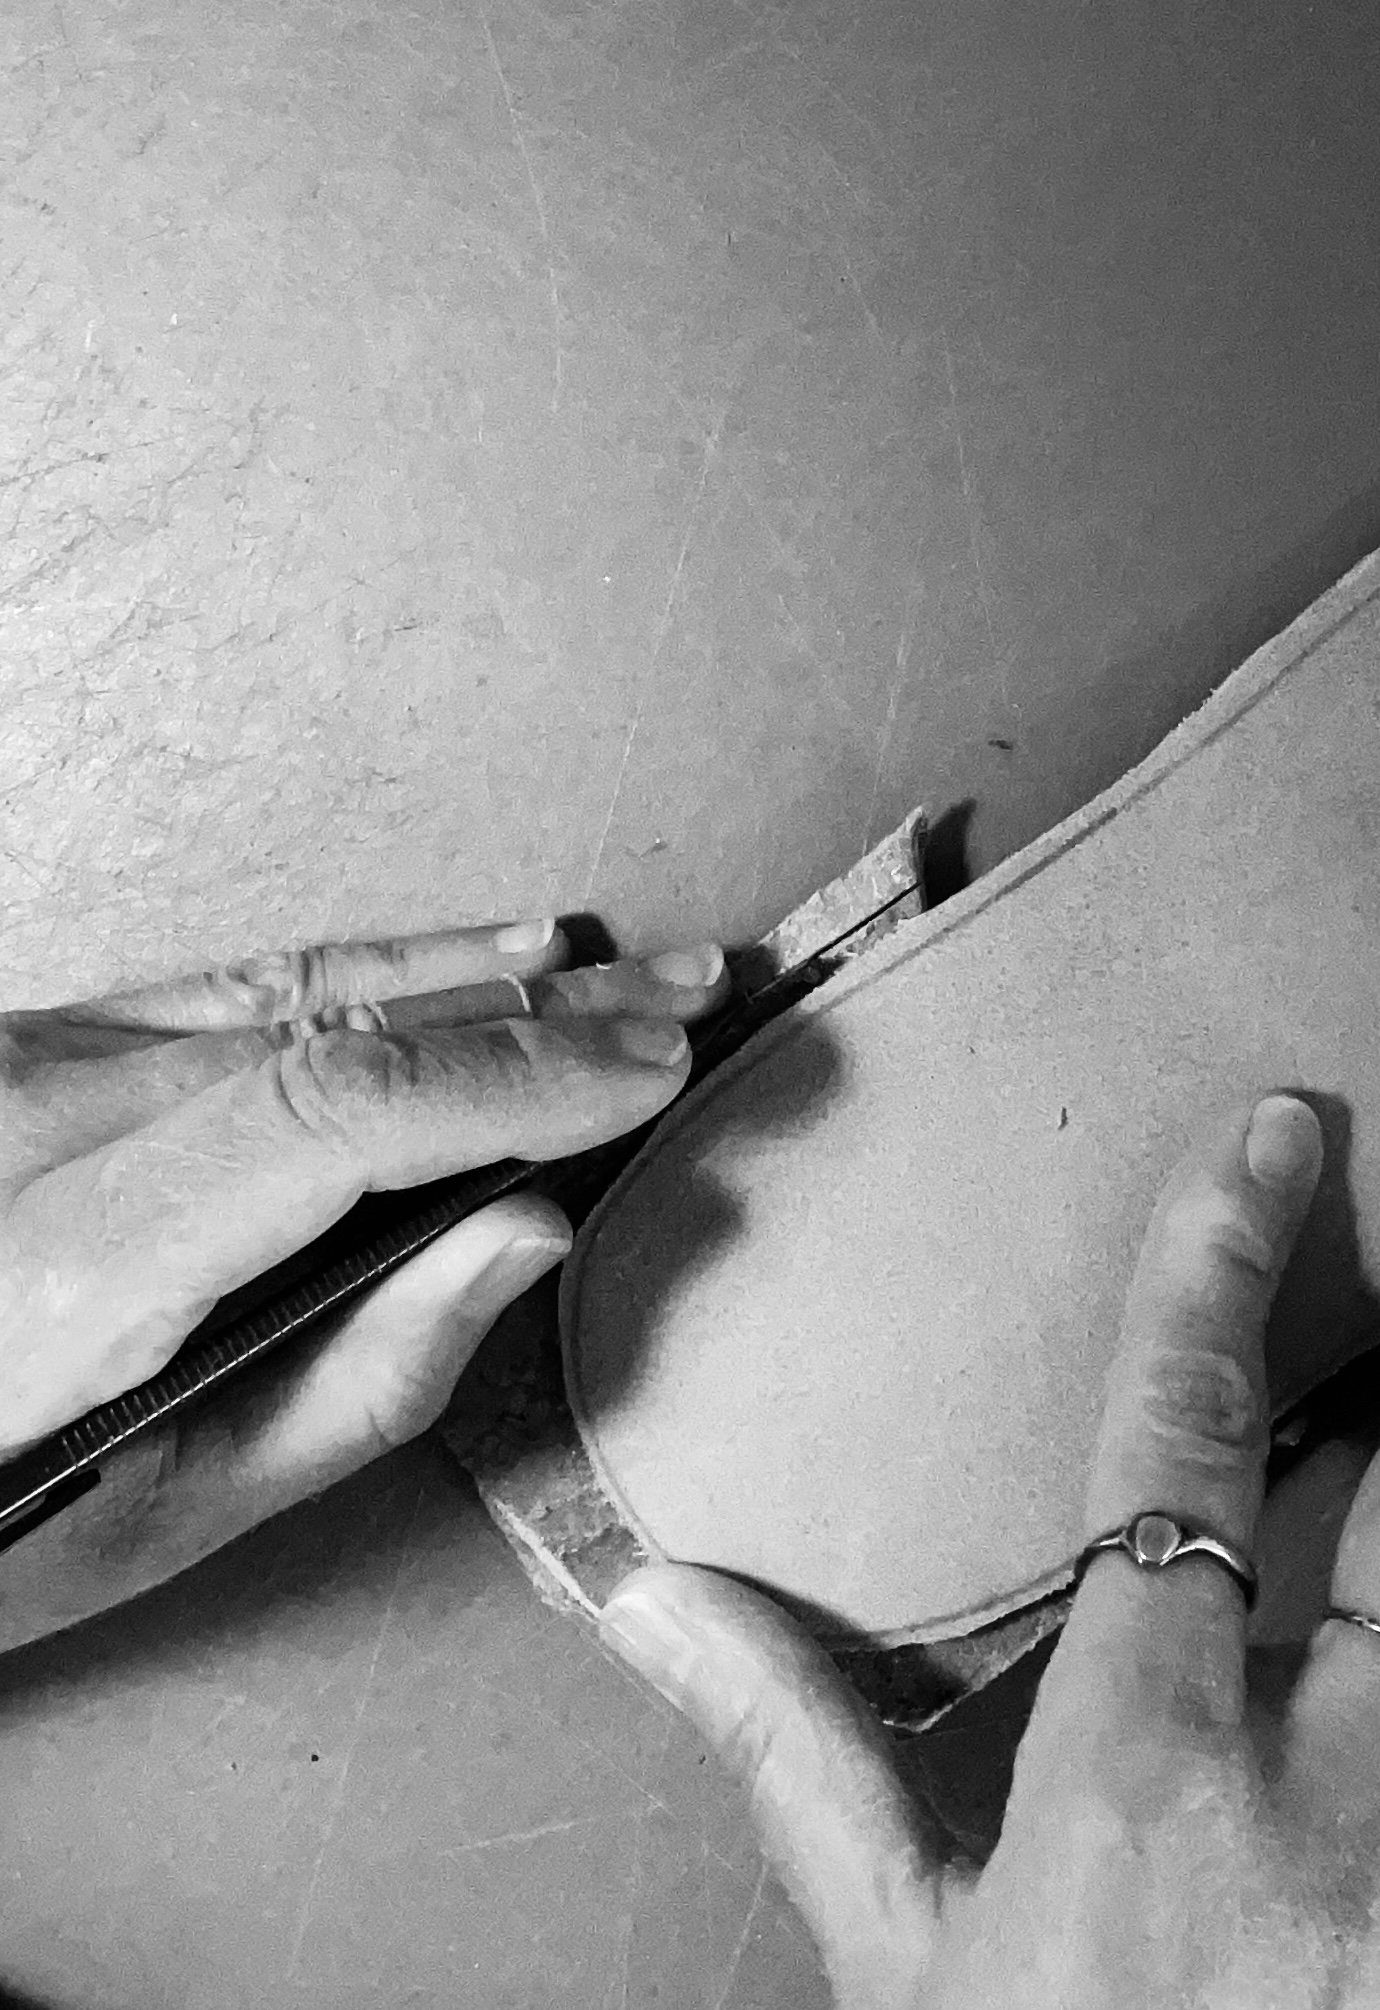
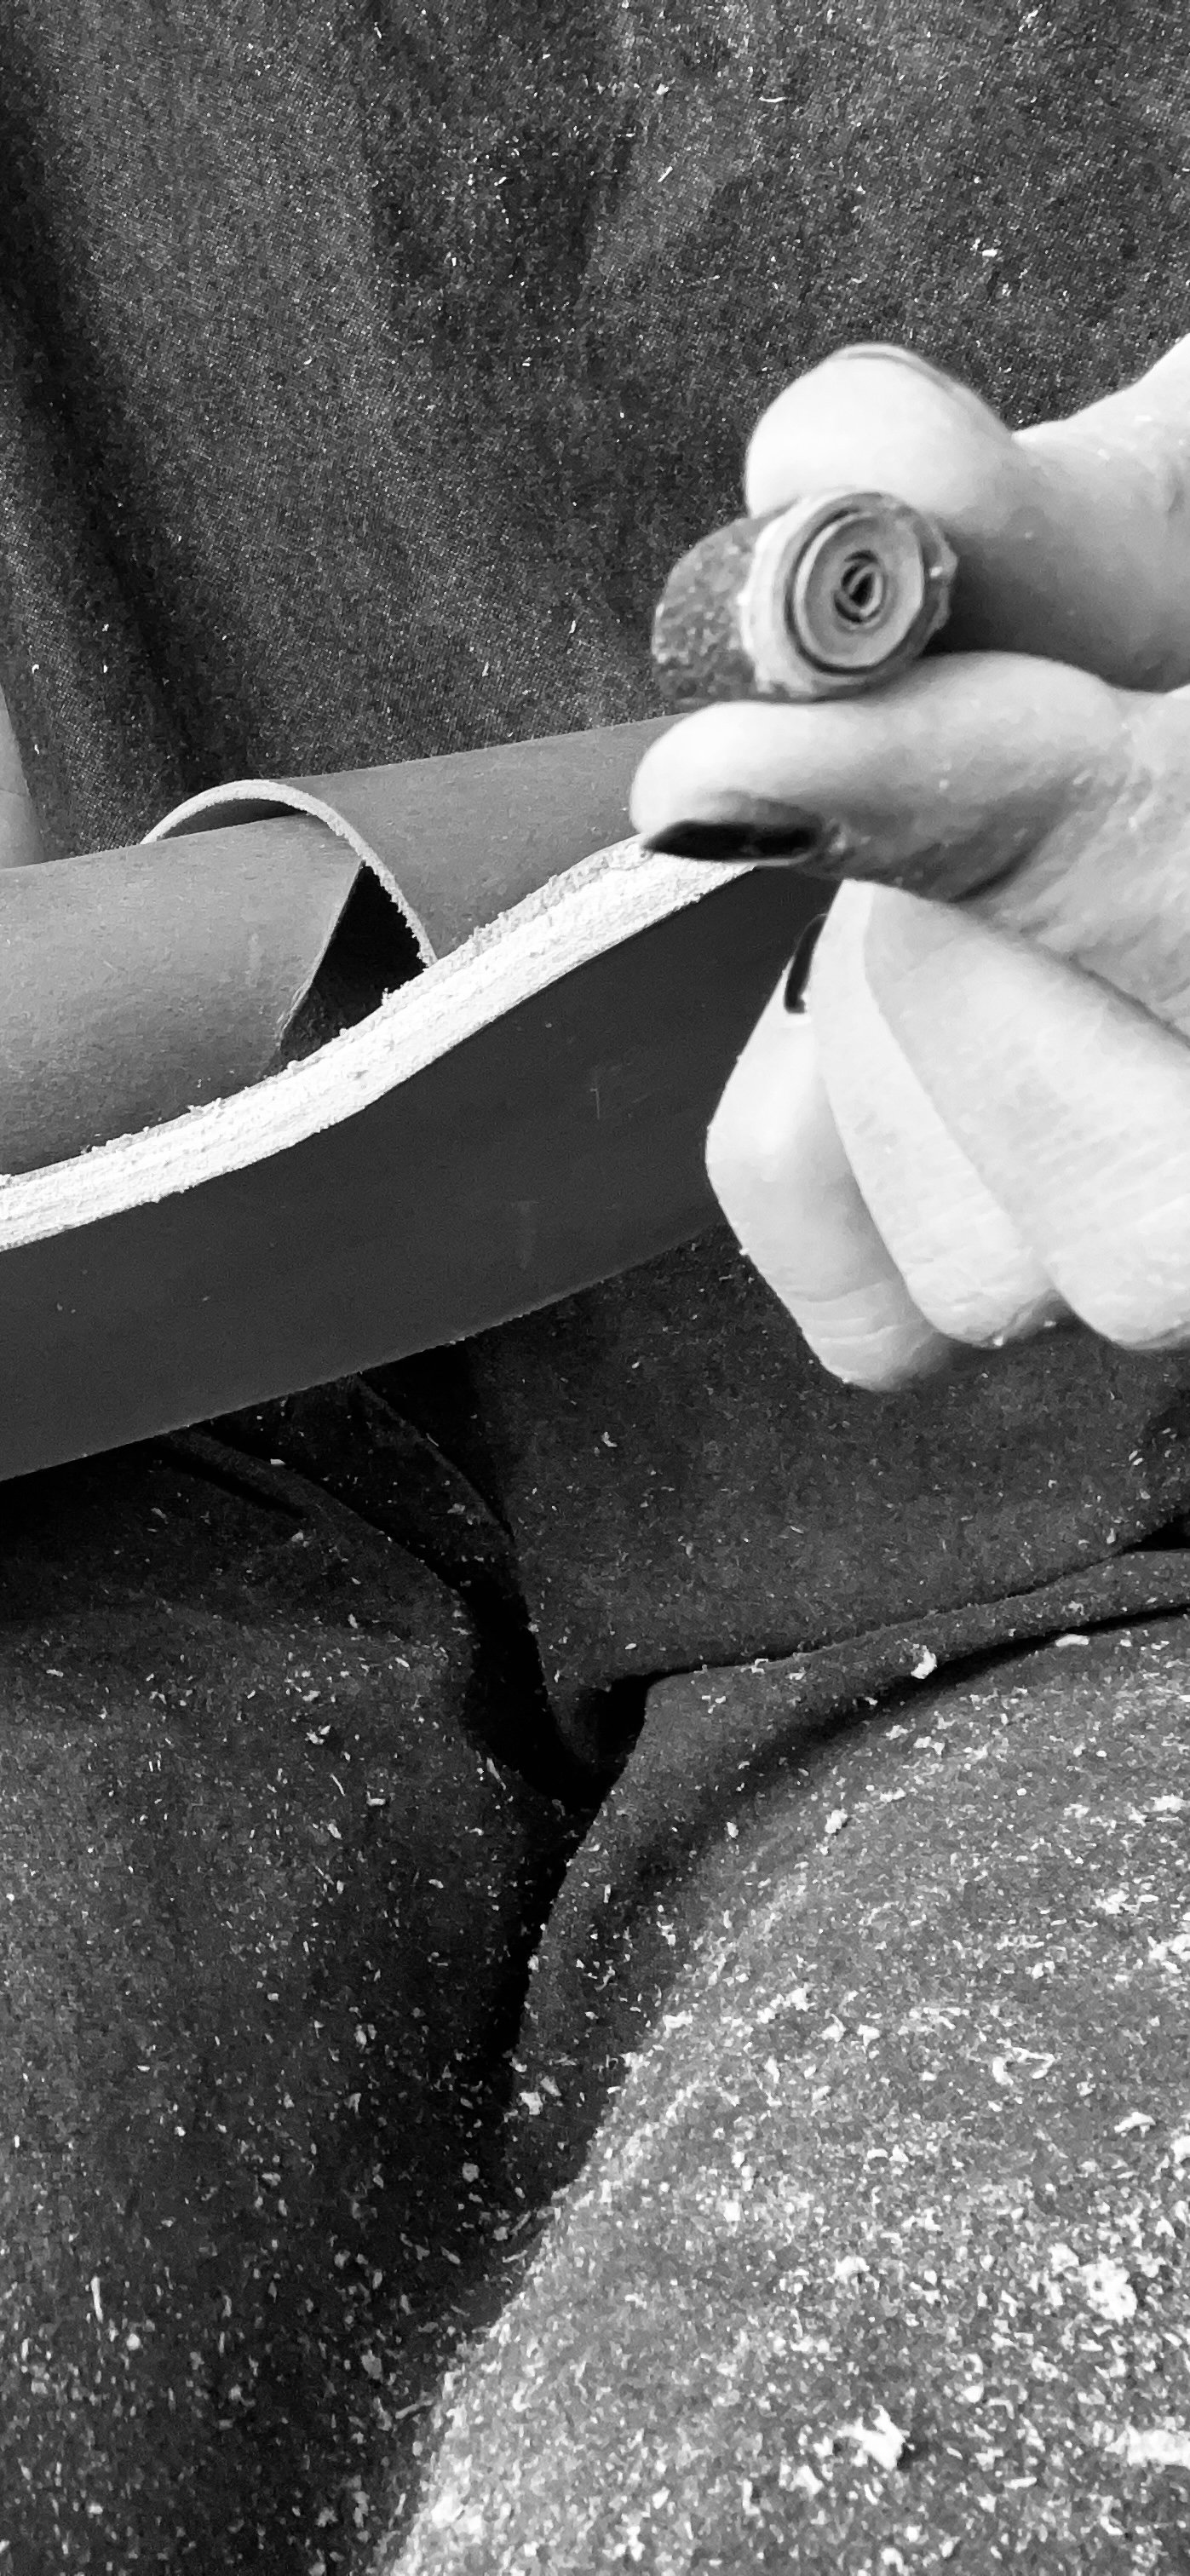
Myndirnar sýna ýmis trix og aðferðir við gerð sandala, svo sem:
• Hvernig á að brjóta glerbrot og nota það í frágang.
• Hvað er dúkknál, hvernig hún er notuð og hvað þú getur notað í staðinn.
• Hvernig á að þynna leður með hníf og fleira.
📌 Vinsamlegast lestu leiðbeiningarnar vandlega áður en þú byrjar og hafðu þær við höndina á meðan á smíðinni stendur.
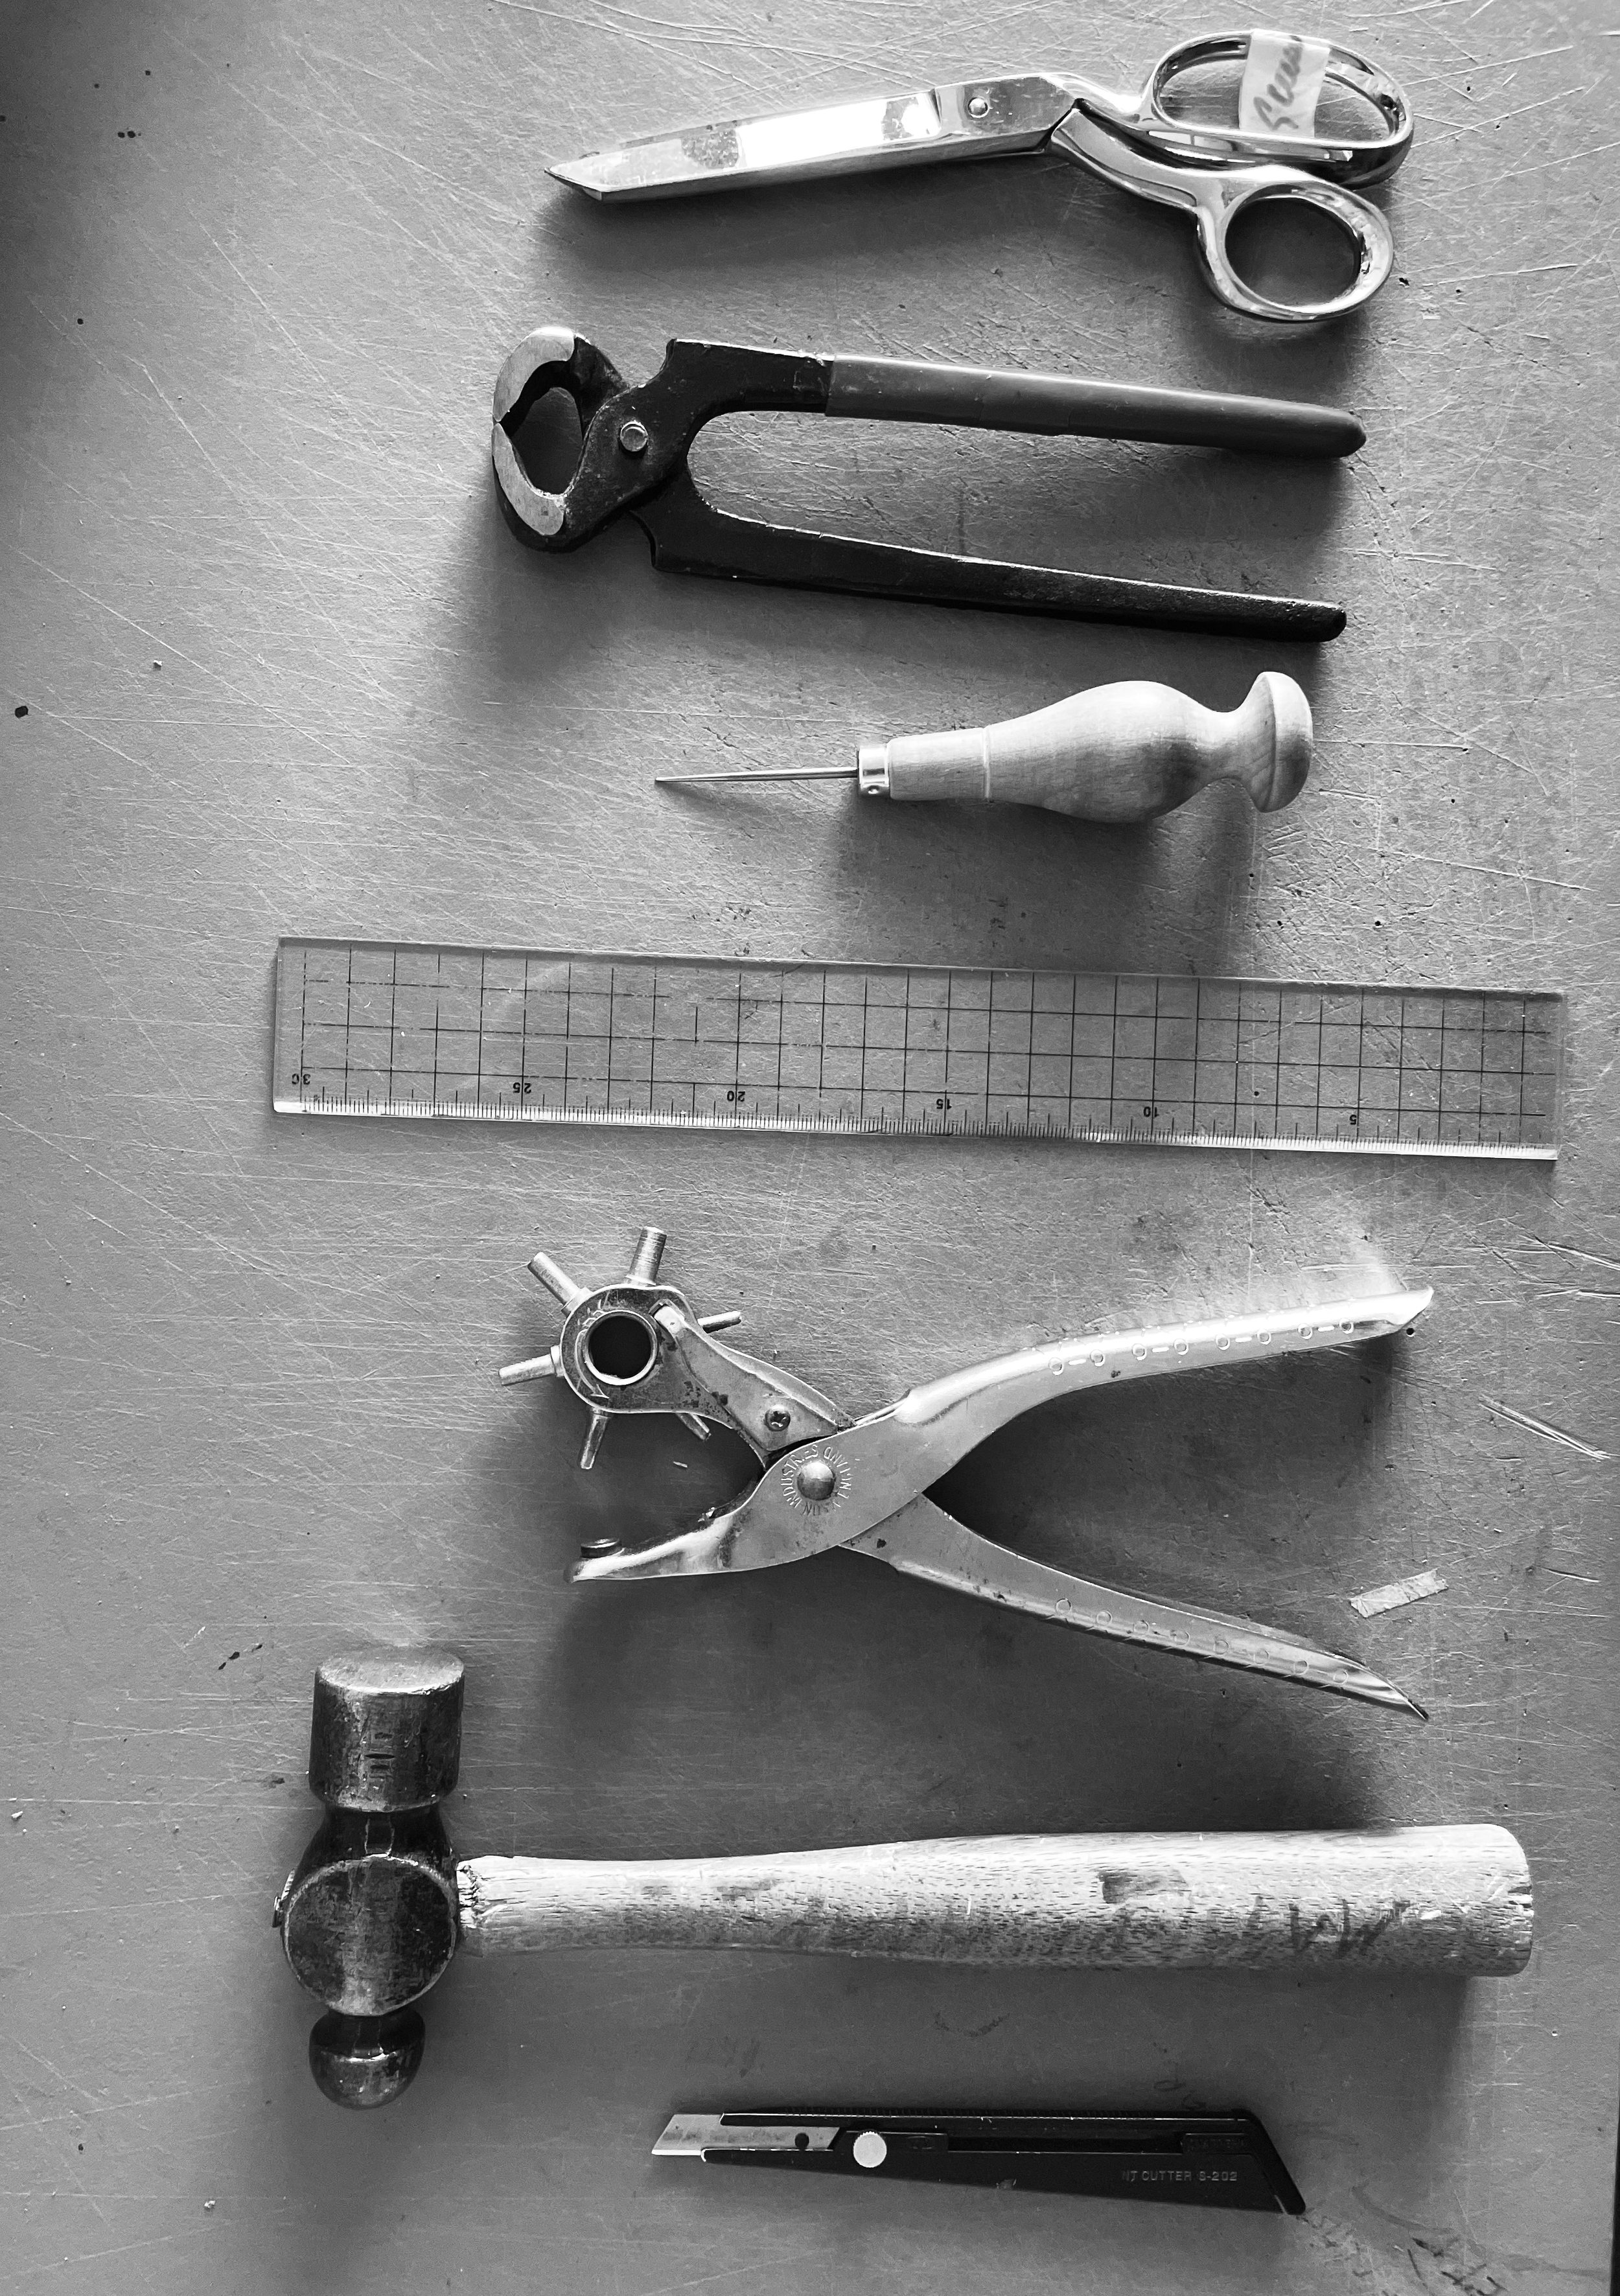
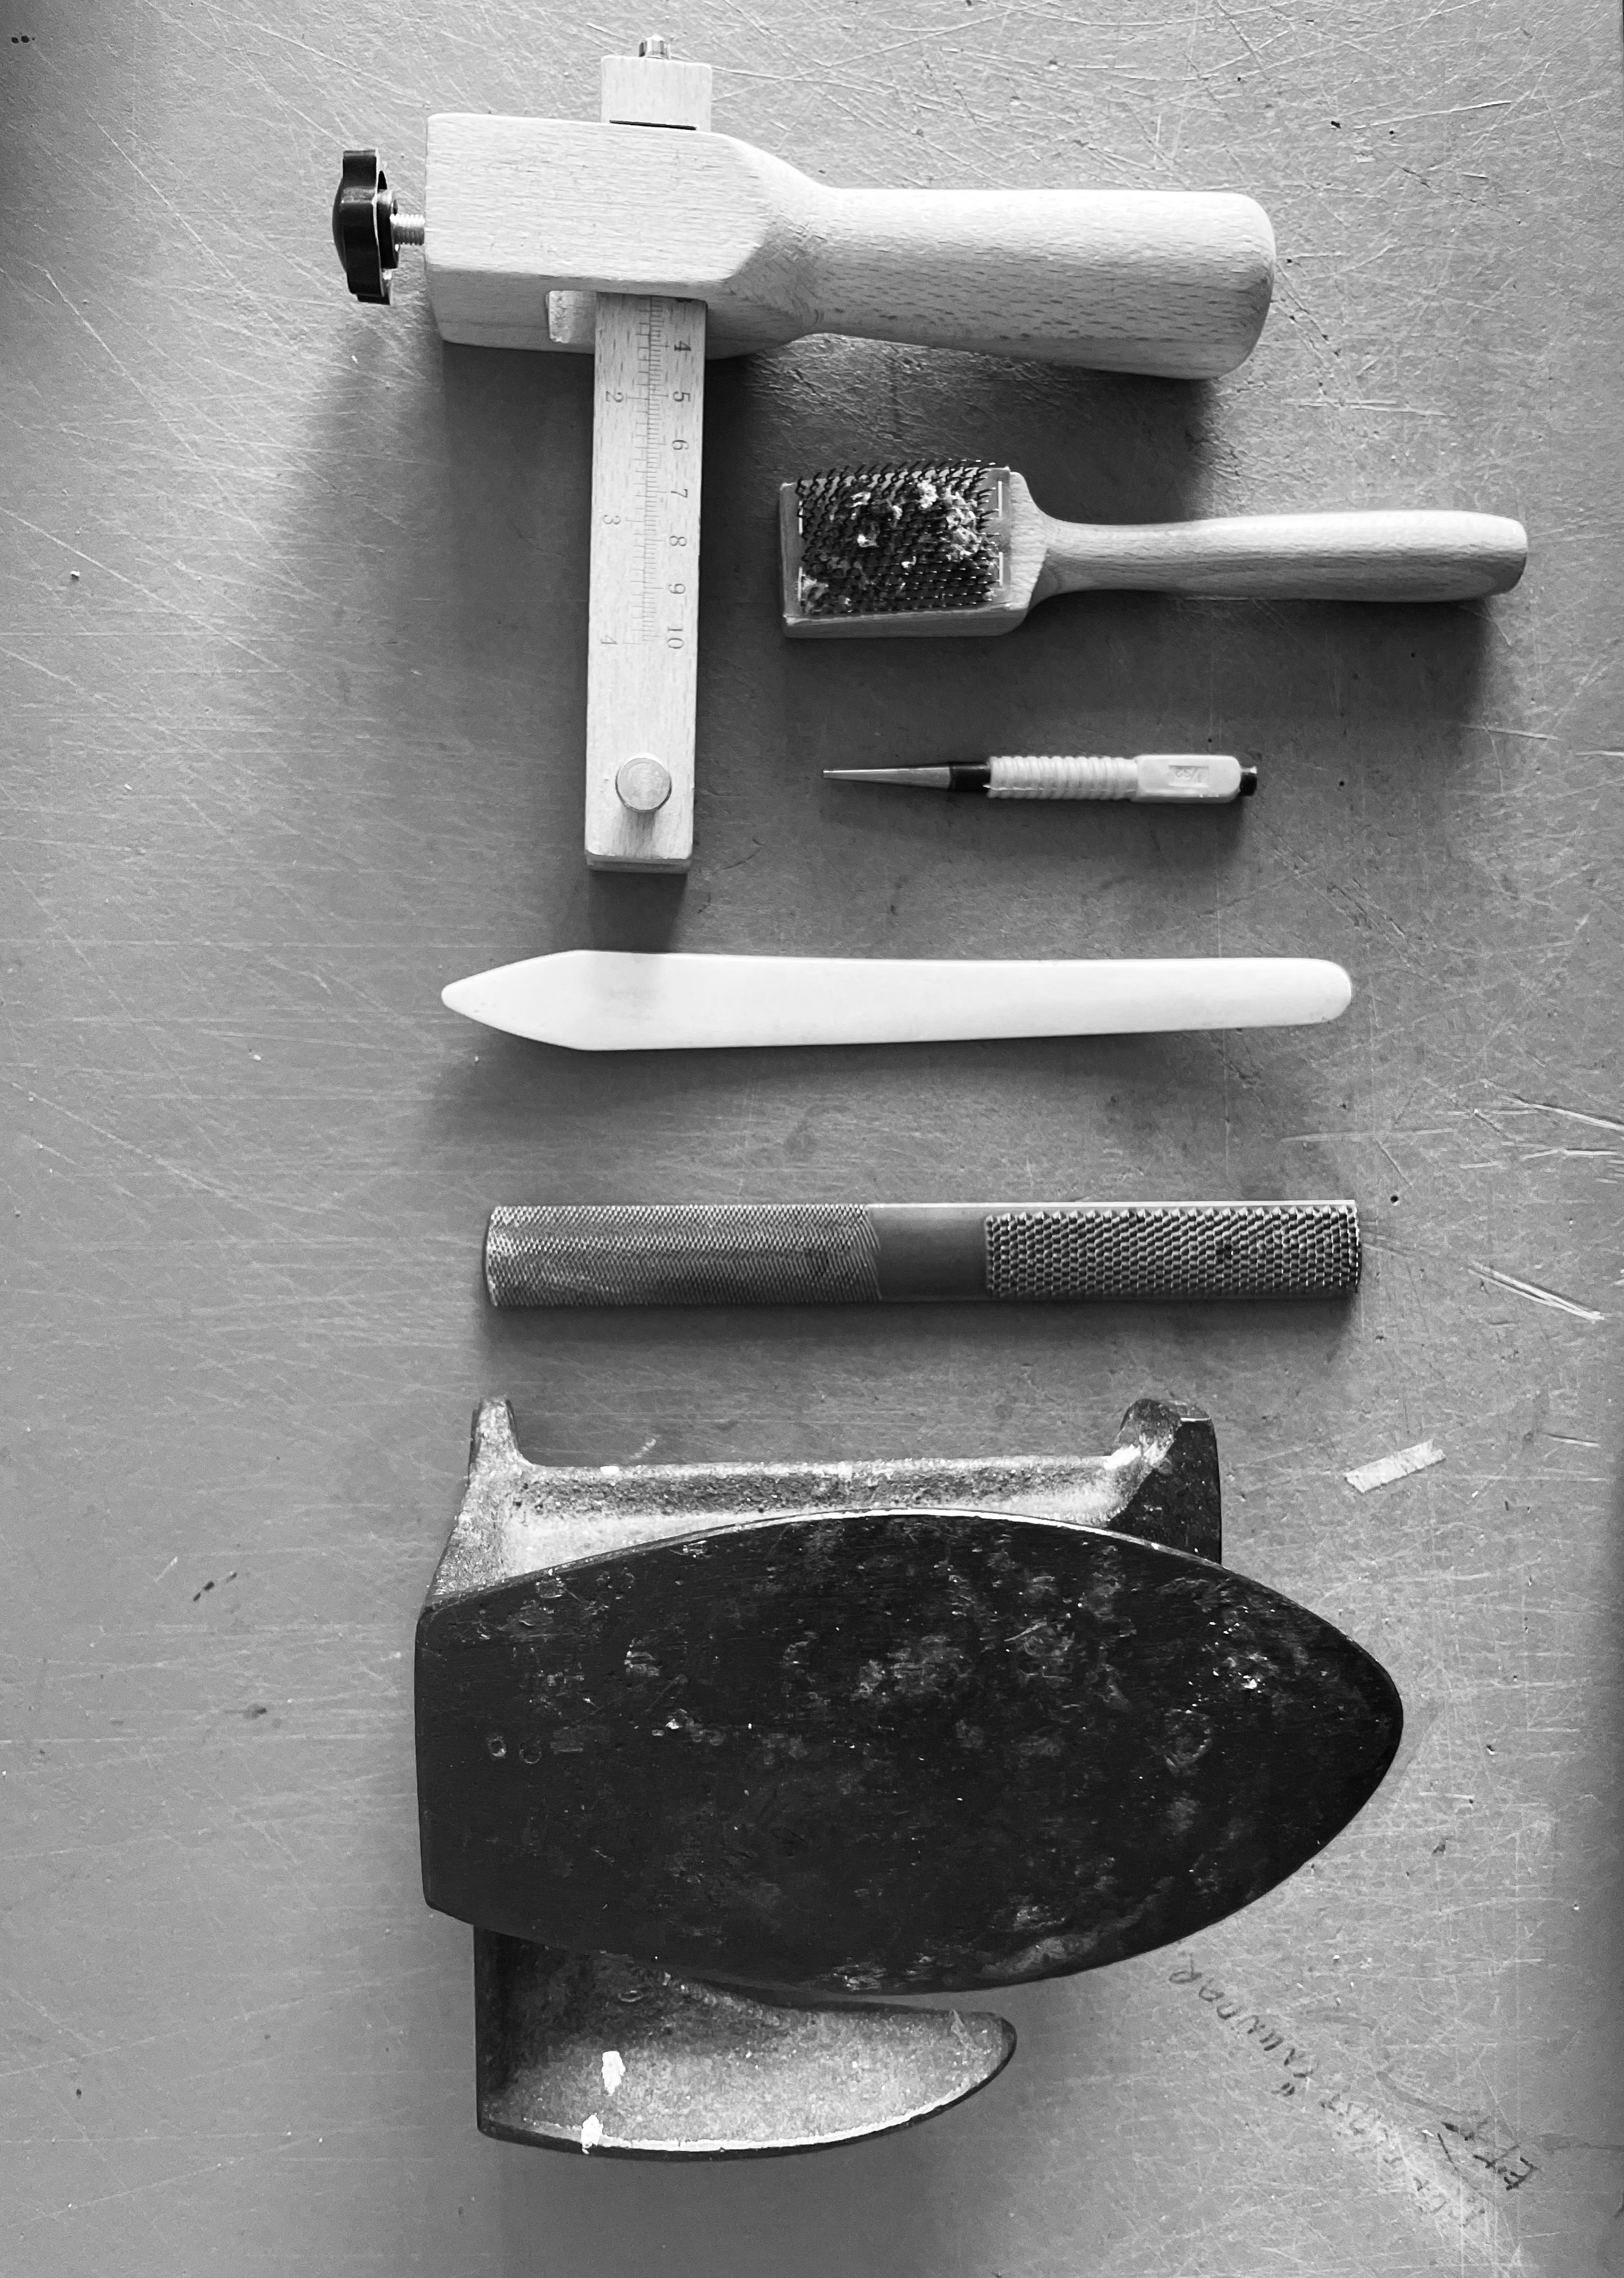
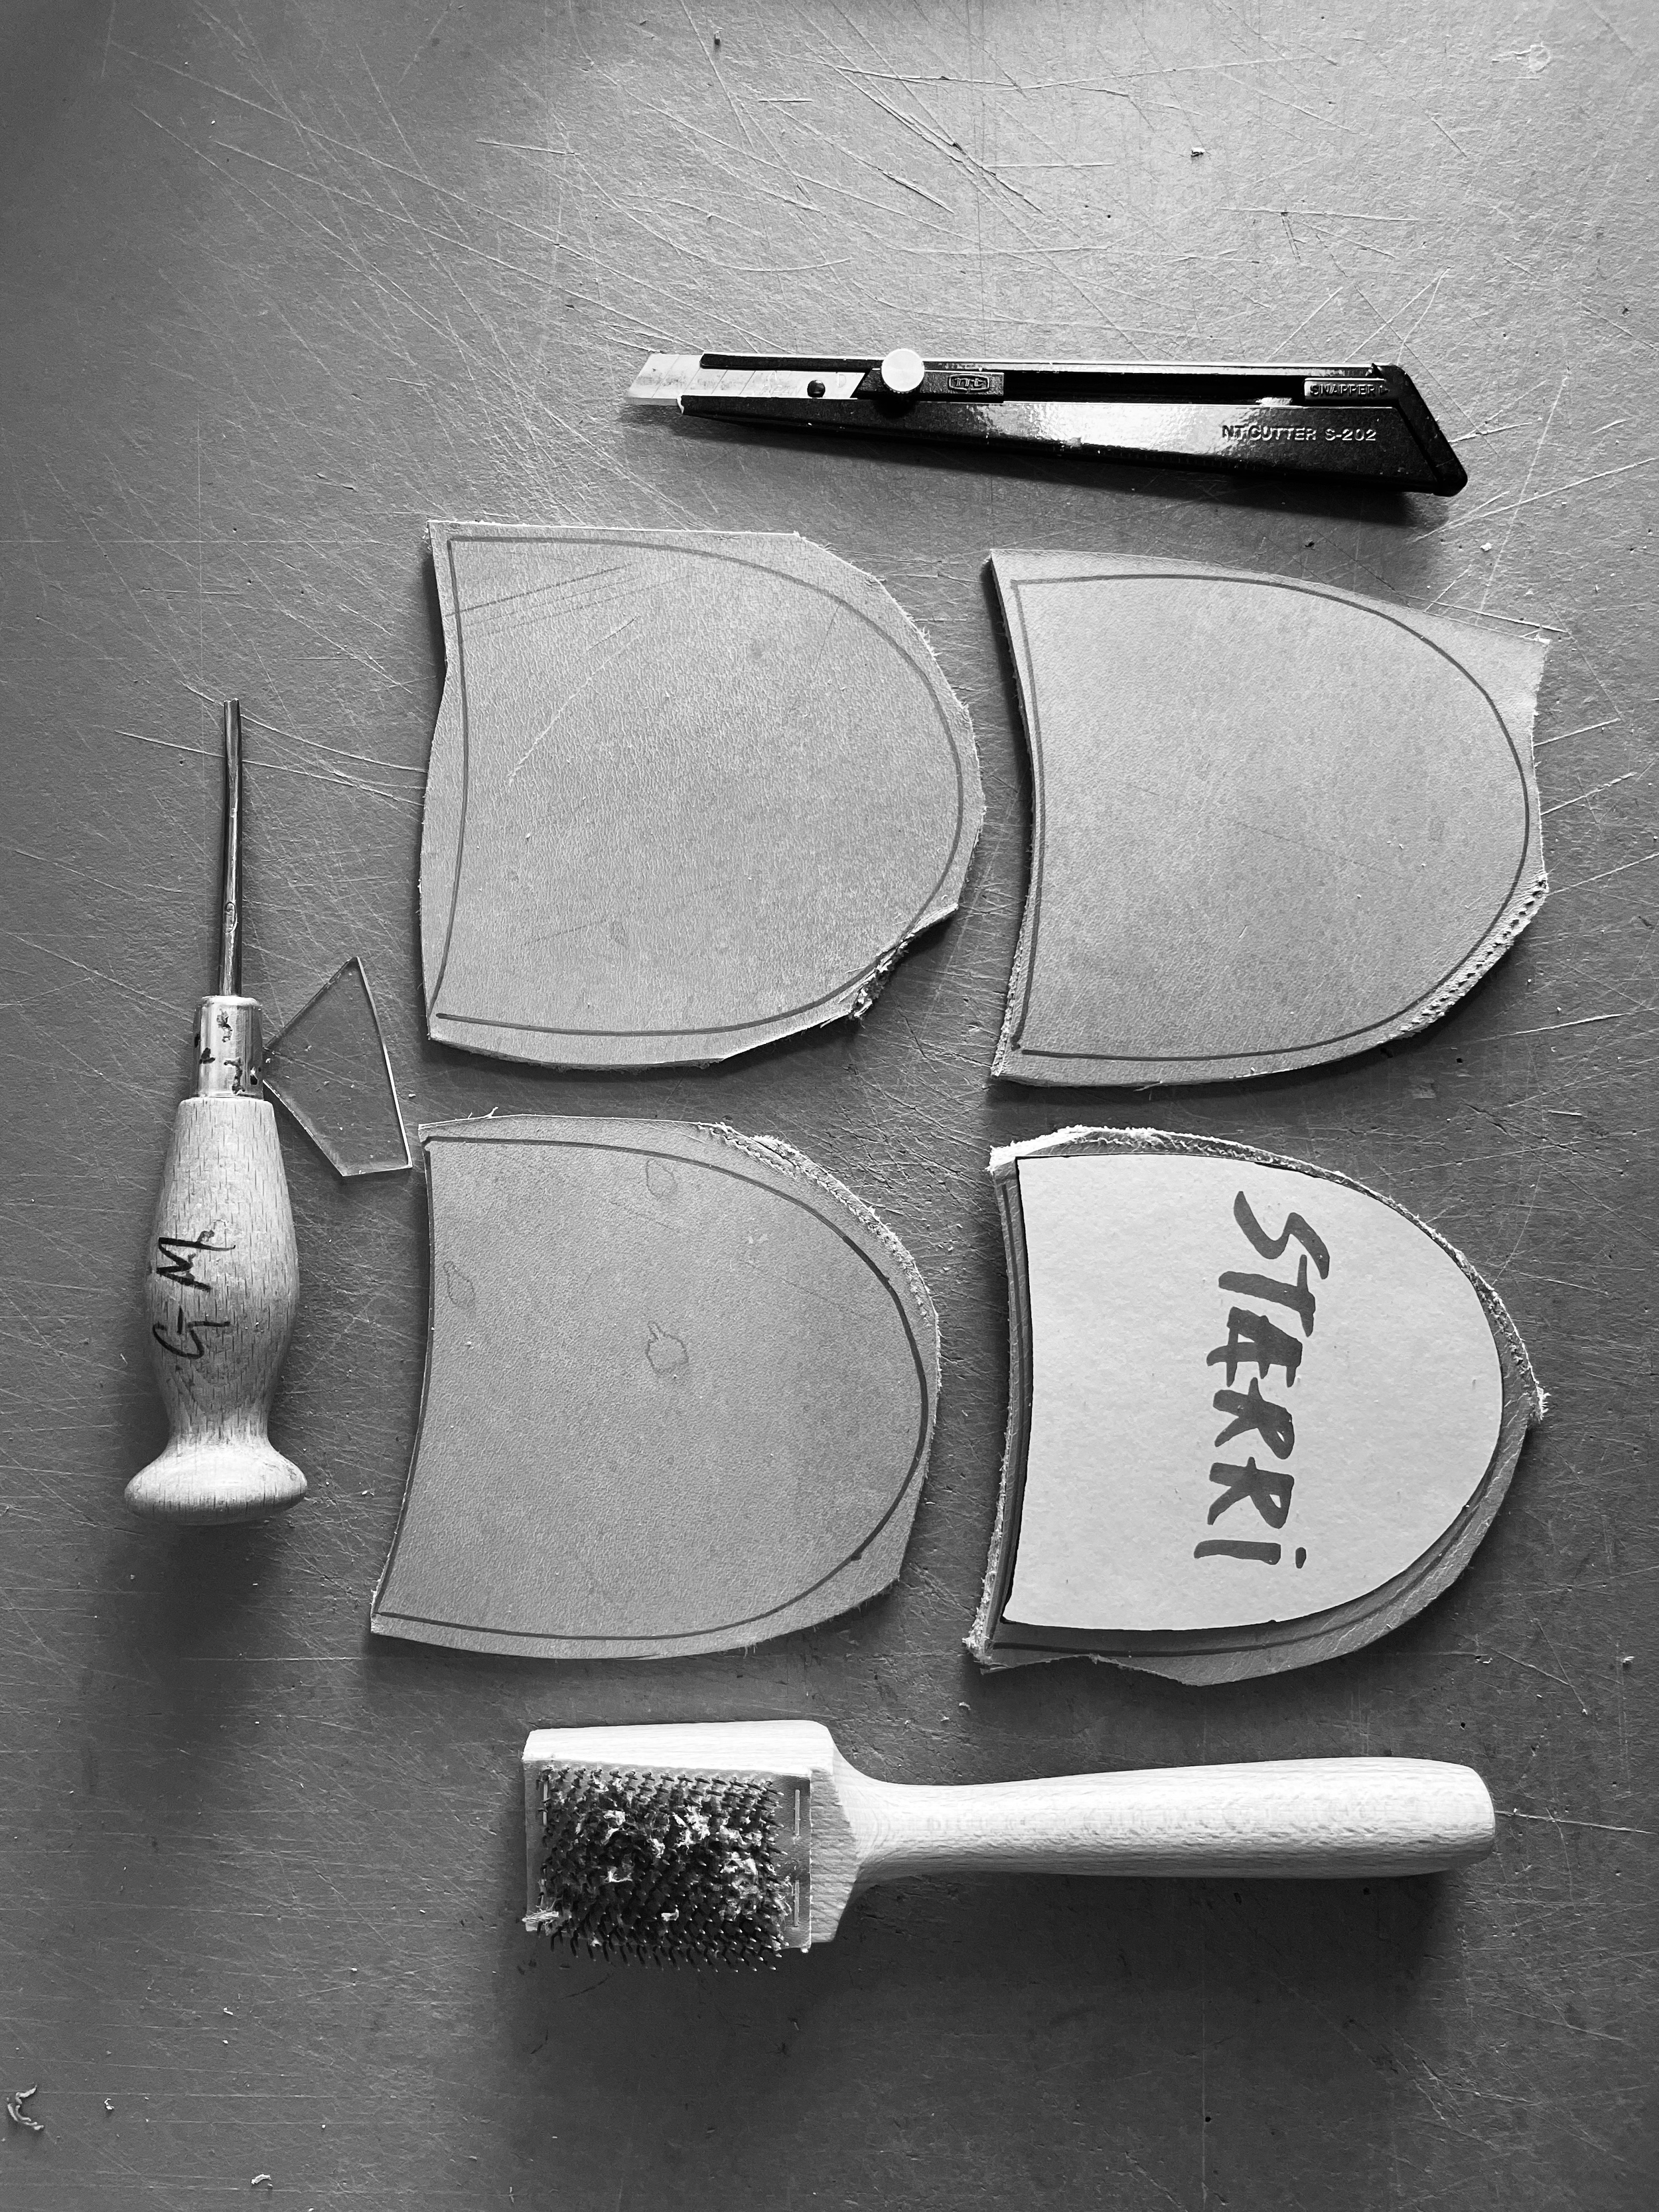
MYNDIR AF VERKFÆRUM
• Verkfæri sem fylgja settinu og verkfæri sem fylgja ekki en gott er að eiga.
• Auk þess, verkfæri sem eru ekki nauðsynleg en koma að góðum notum ef þú vilt halda áfram að smíða sandala í framtíðinni.
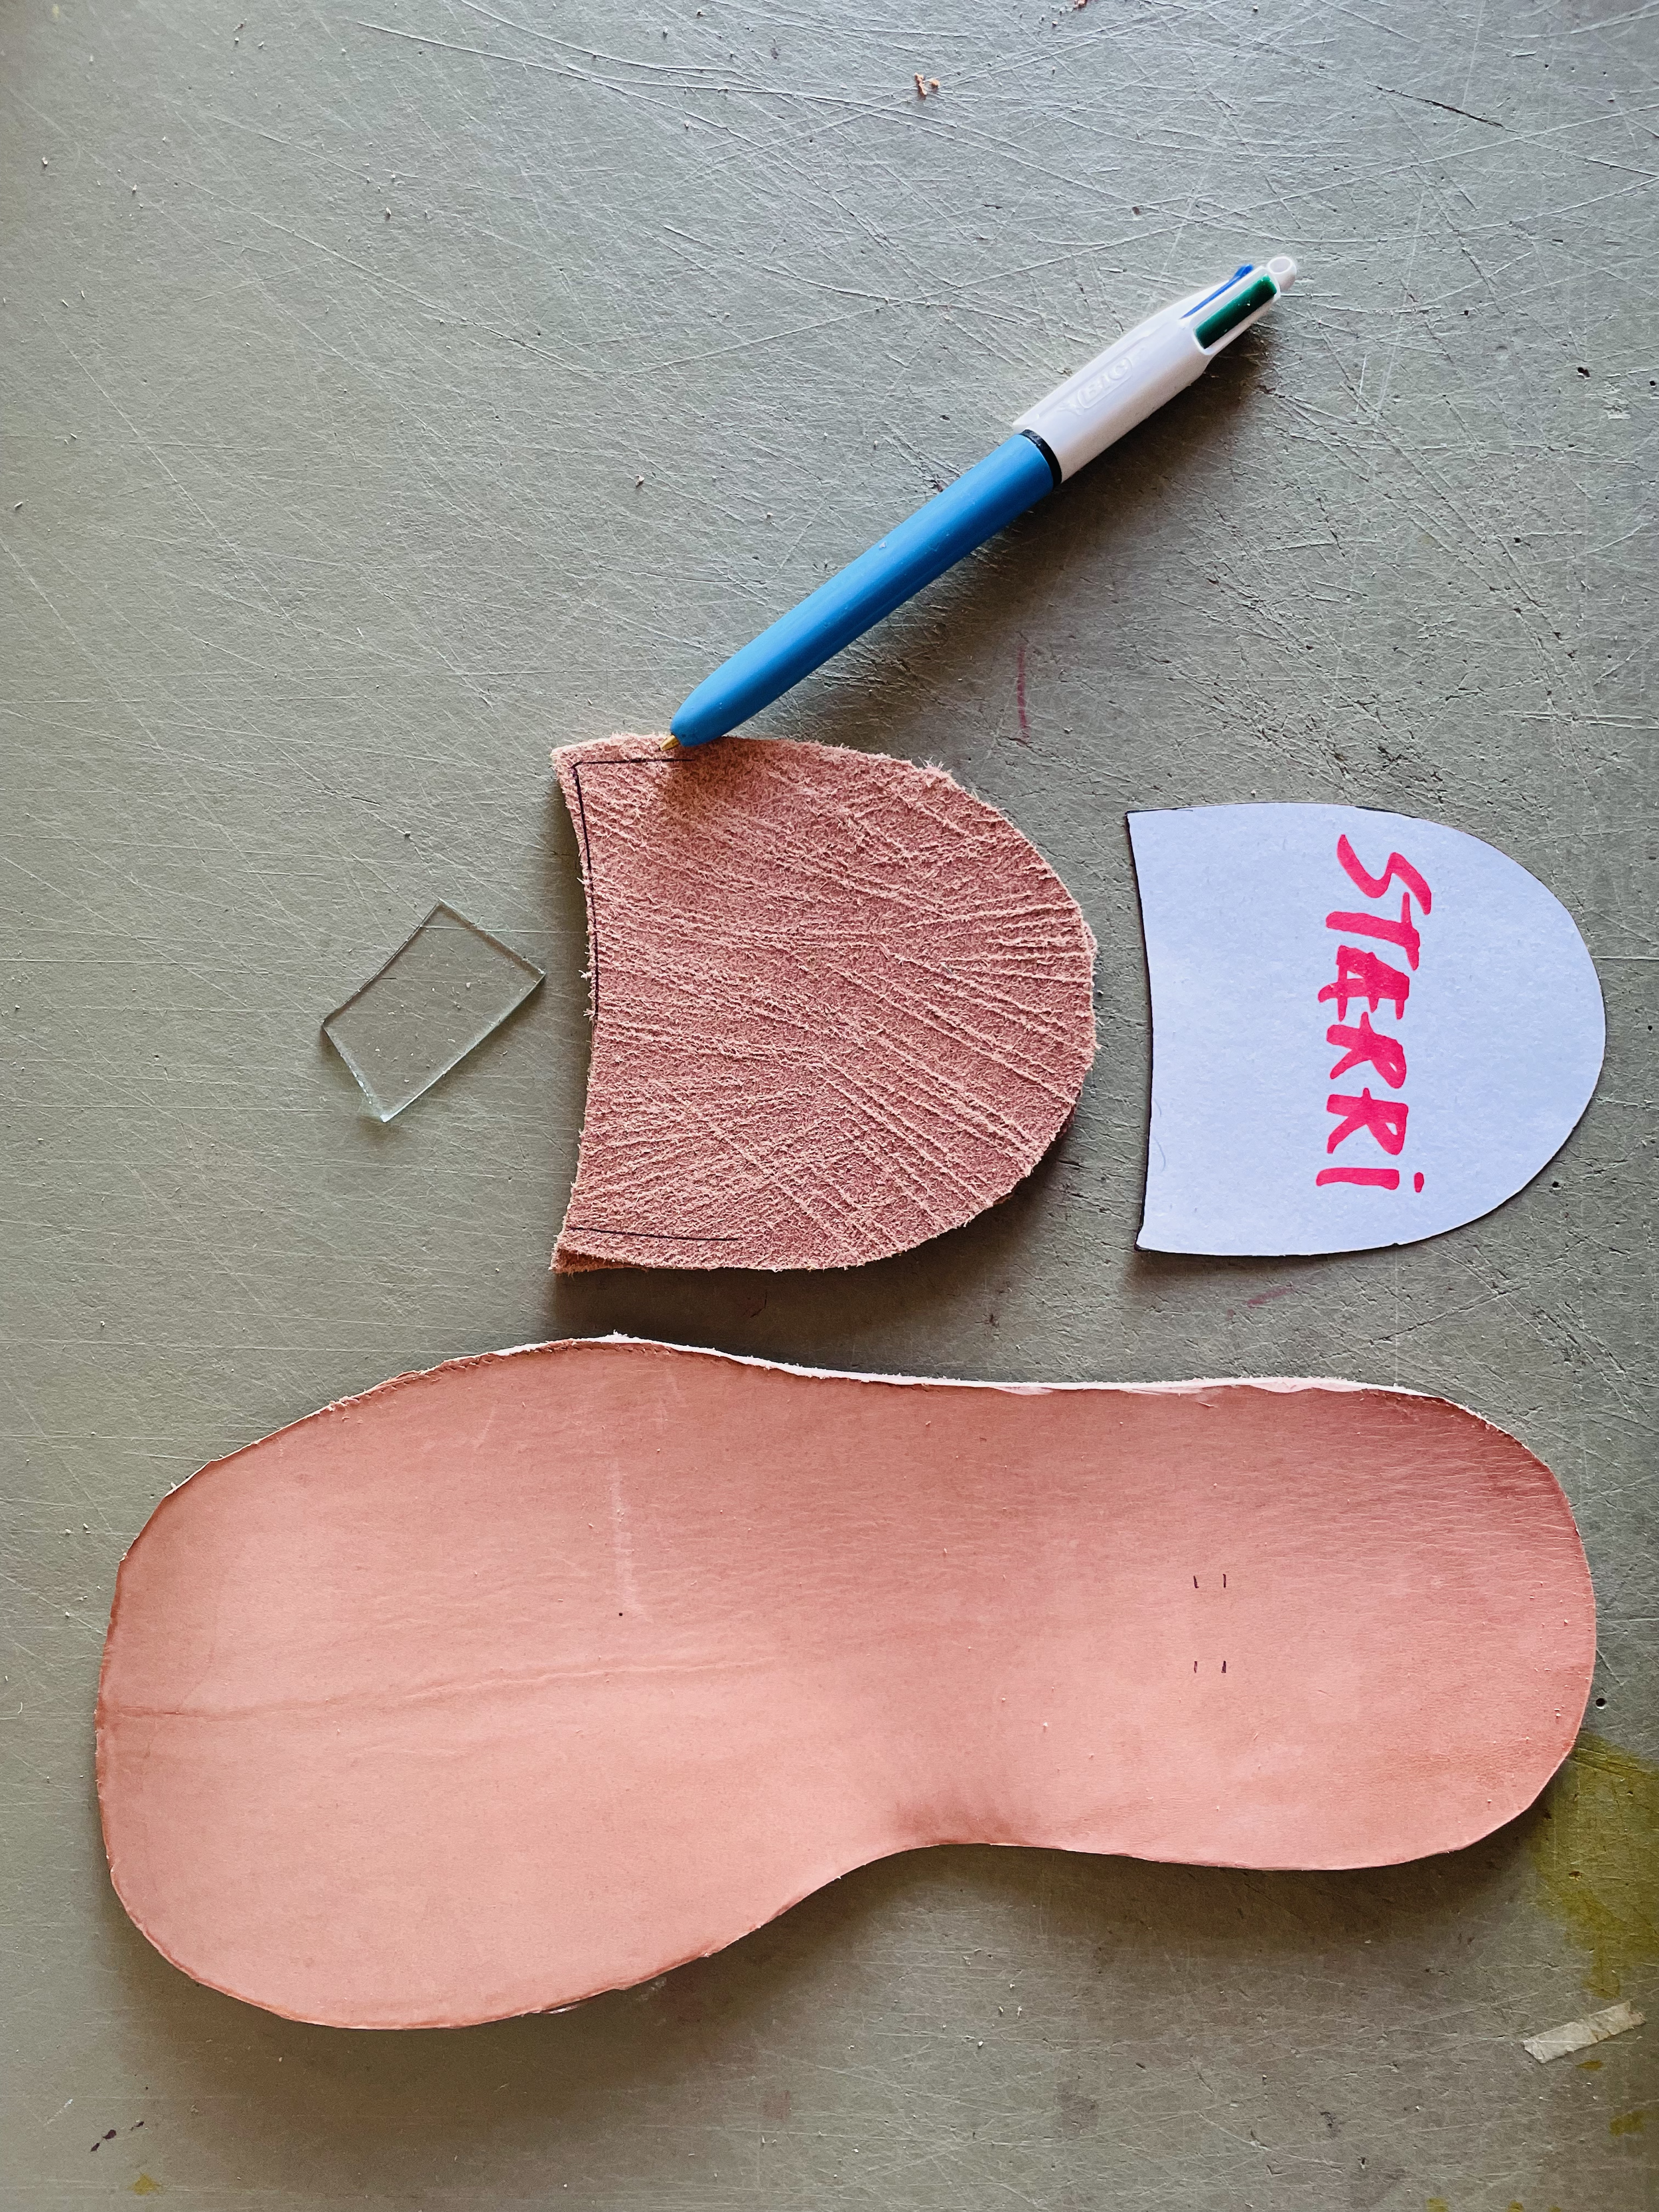
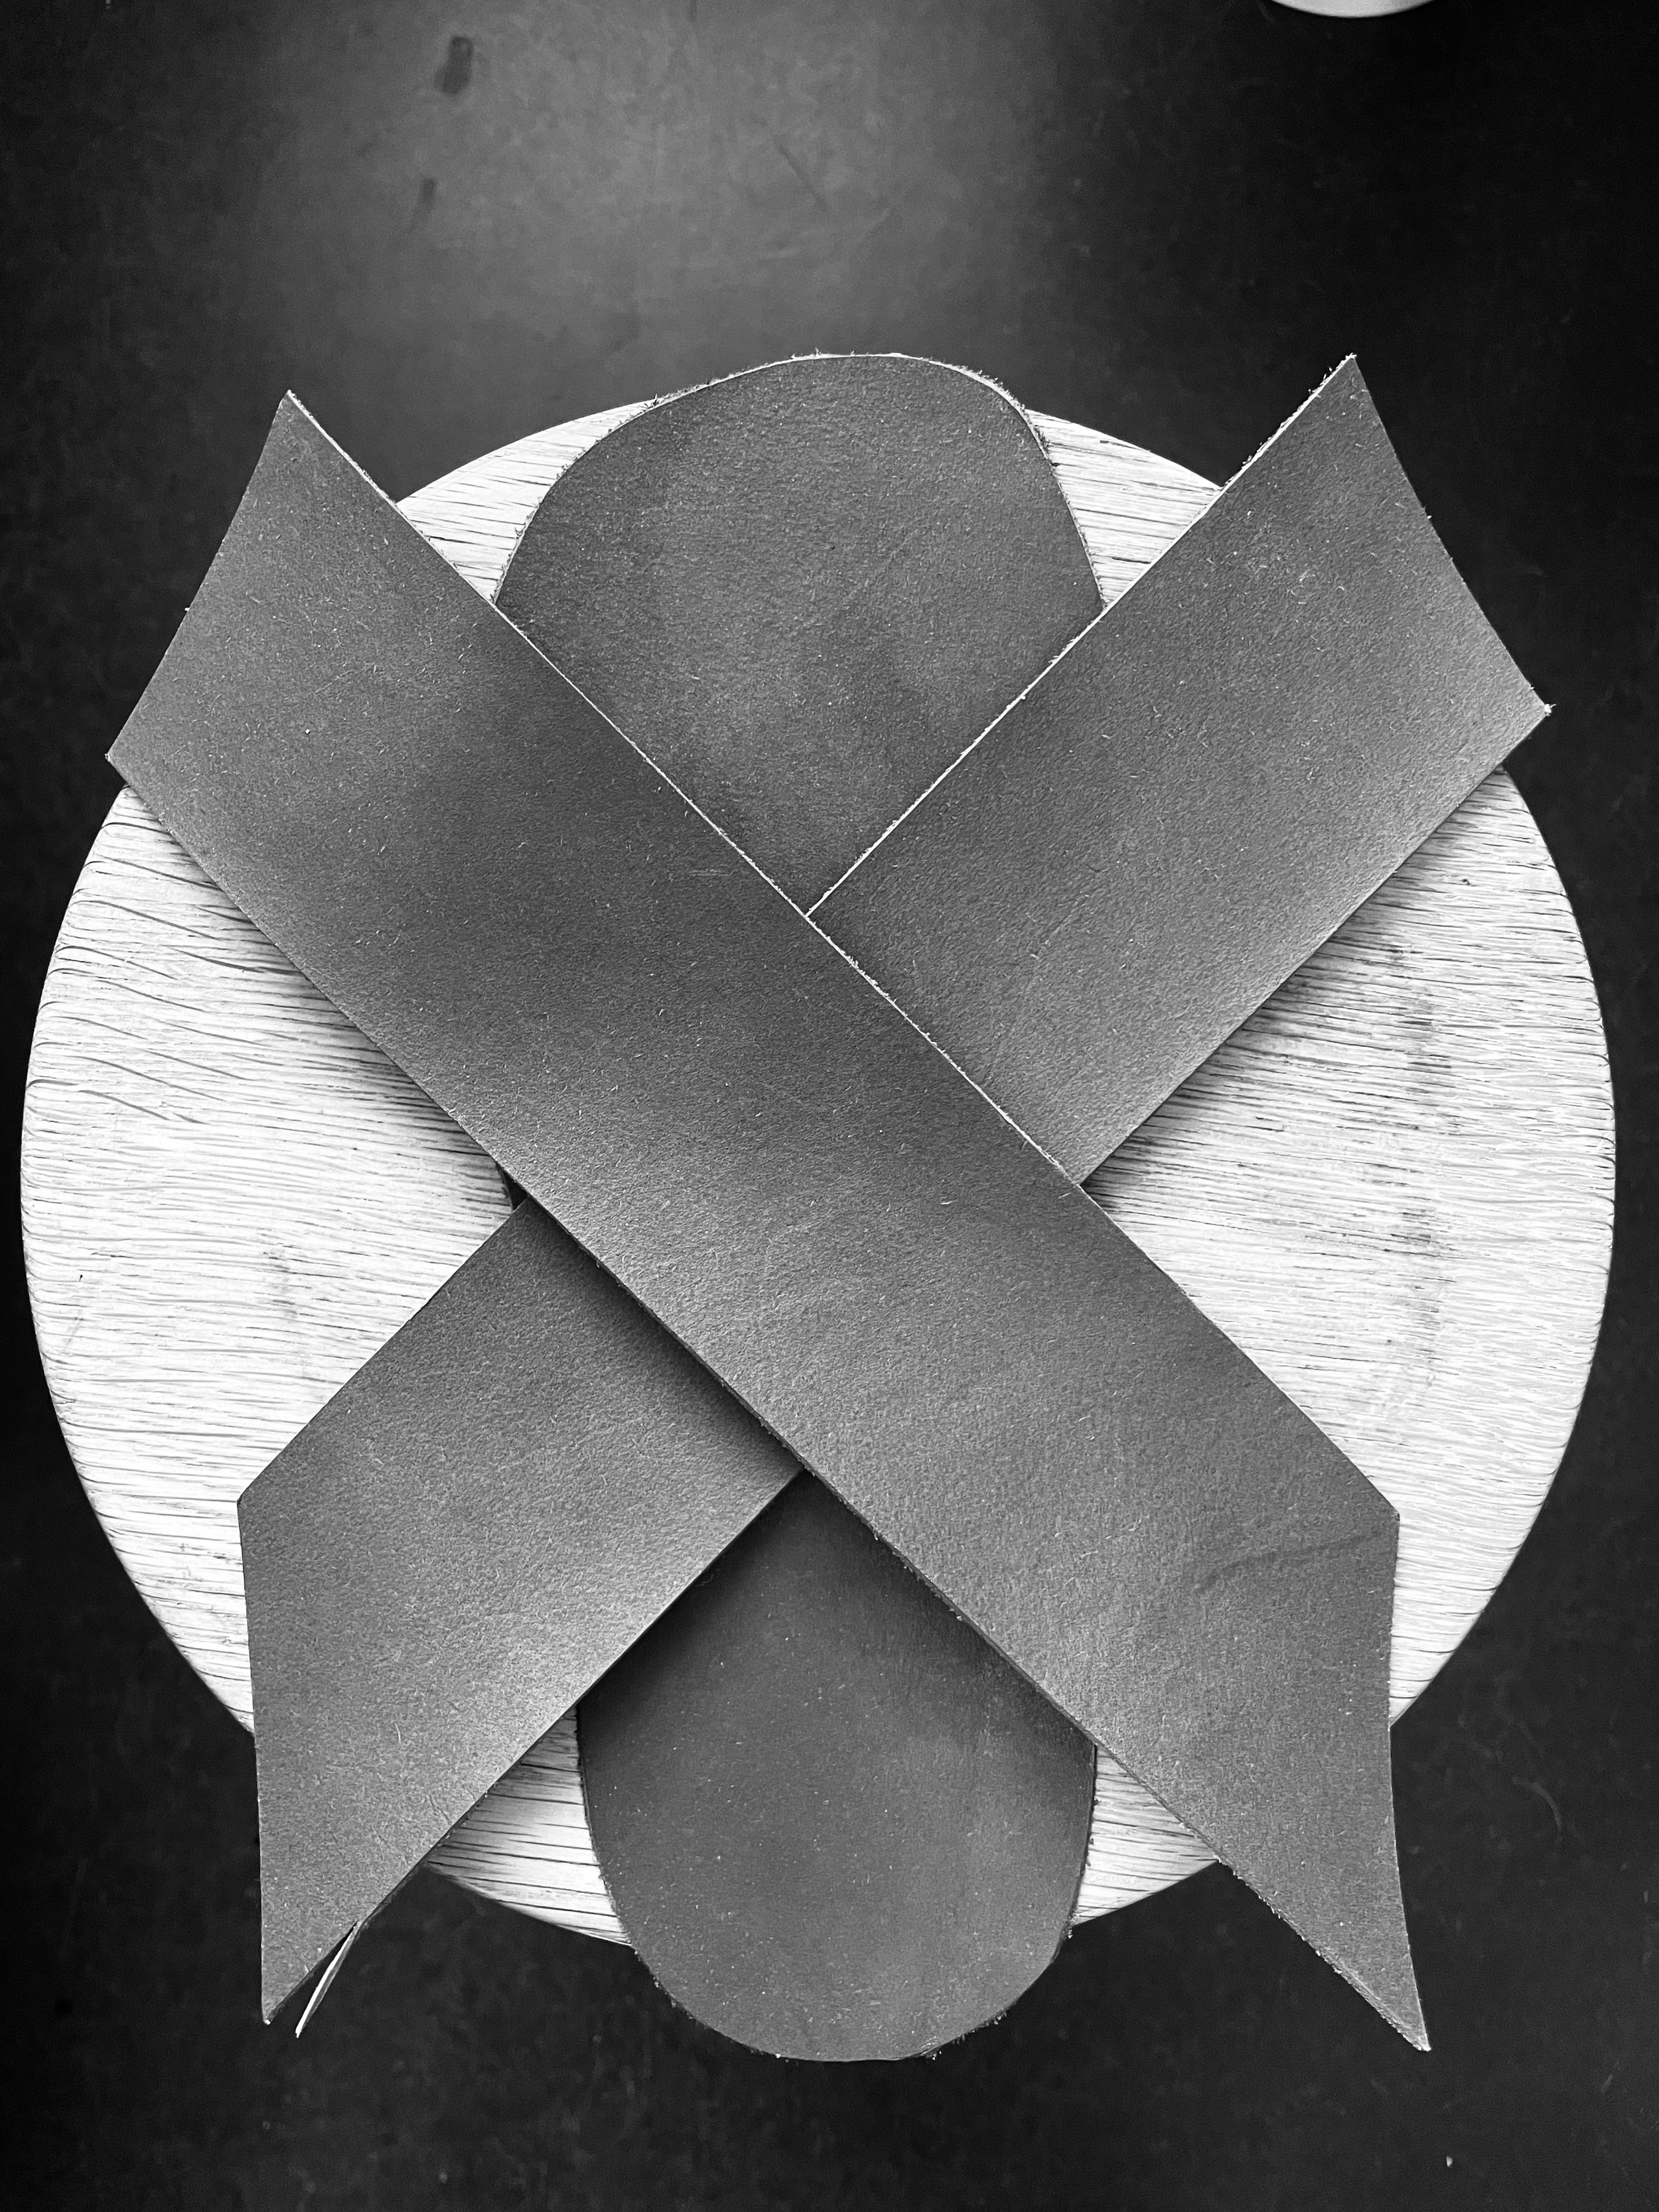
TVÖ SNIÐ AF YFIRLEÐRI
• Skalað snið fyrir ytri-, milli- og bindsólana í stærðum 36-42.
• Nóg er af yfirleðri til að láta ímyndunaraflið ráða för og breyta sniðinu að vild, svo lengi sem þú treystir þér til.
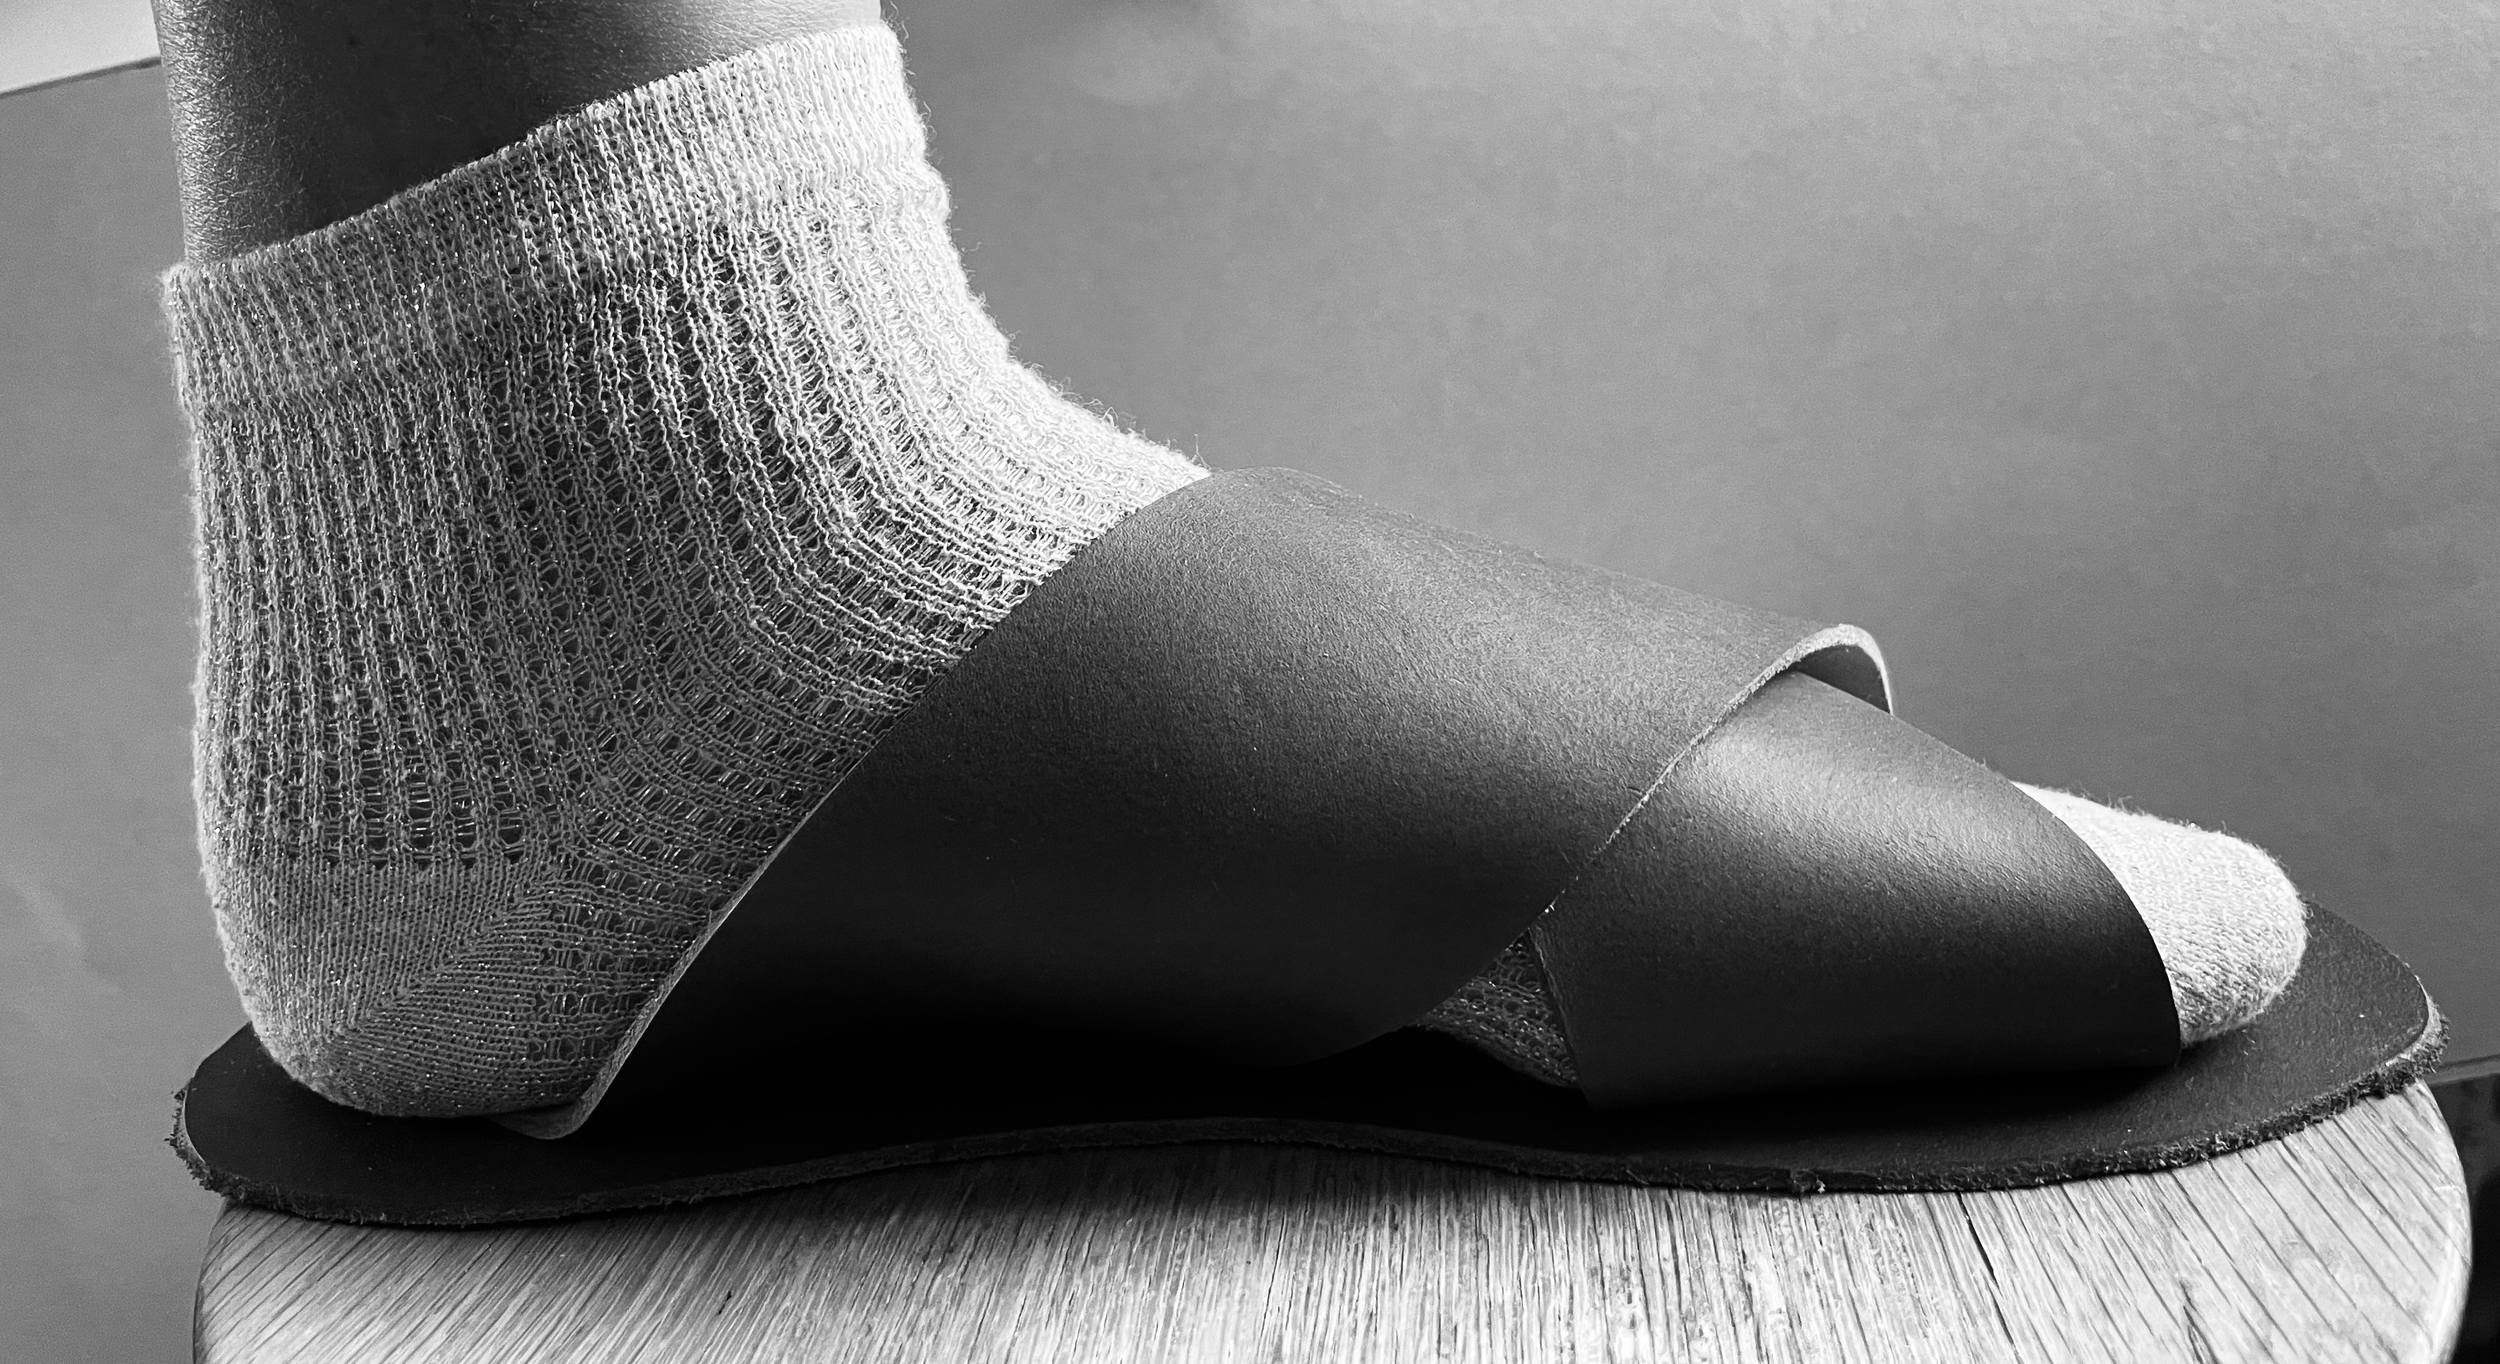
💡 Ráð: Ég mæli með því að klippa sniðið fyrst út í þunnum A4 pappír, máta það á fótinn og laga það að eigin fætur áður en leðrið er skorið.
TÍMAÁÆTLUN
Þessir sandalar ættu ekki að taka meira en 8-10 klukkustundir að fullgera. Hins vegar fer allt eftir tíma, handlagni og hversu nákvæm/ur þú vilt vera í frágangi.
VERKFÆRI OG EFNI
Sum þessara efna eru erfið að finna, ekki seld í smásölu eða erfitt að nálgast. Þess vegna hef ég safnað þeim saman í þessu setti fyrir þig.
INNIFALIN EFNI:
✔ Sterkt skósmíðalím (Gætið þess að börn nái ekki til þess).
✔ Pensill (Einungis fyrir límið).
✔ Þynnir (Til að þrífa pensil, geymið frá börnum).
✔ Fimm naglar (Til að festa límdu hælblokkina við ytri sólann).
✔ Korkkubbur (Fyrir sandpappír og fíniseringu á hælum).
✔ Grófur/fínn sandpappír (Fyrir lokafrágang).
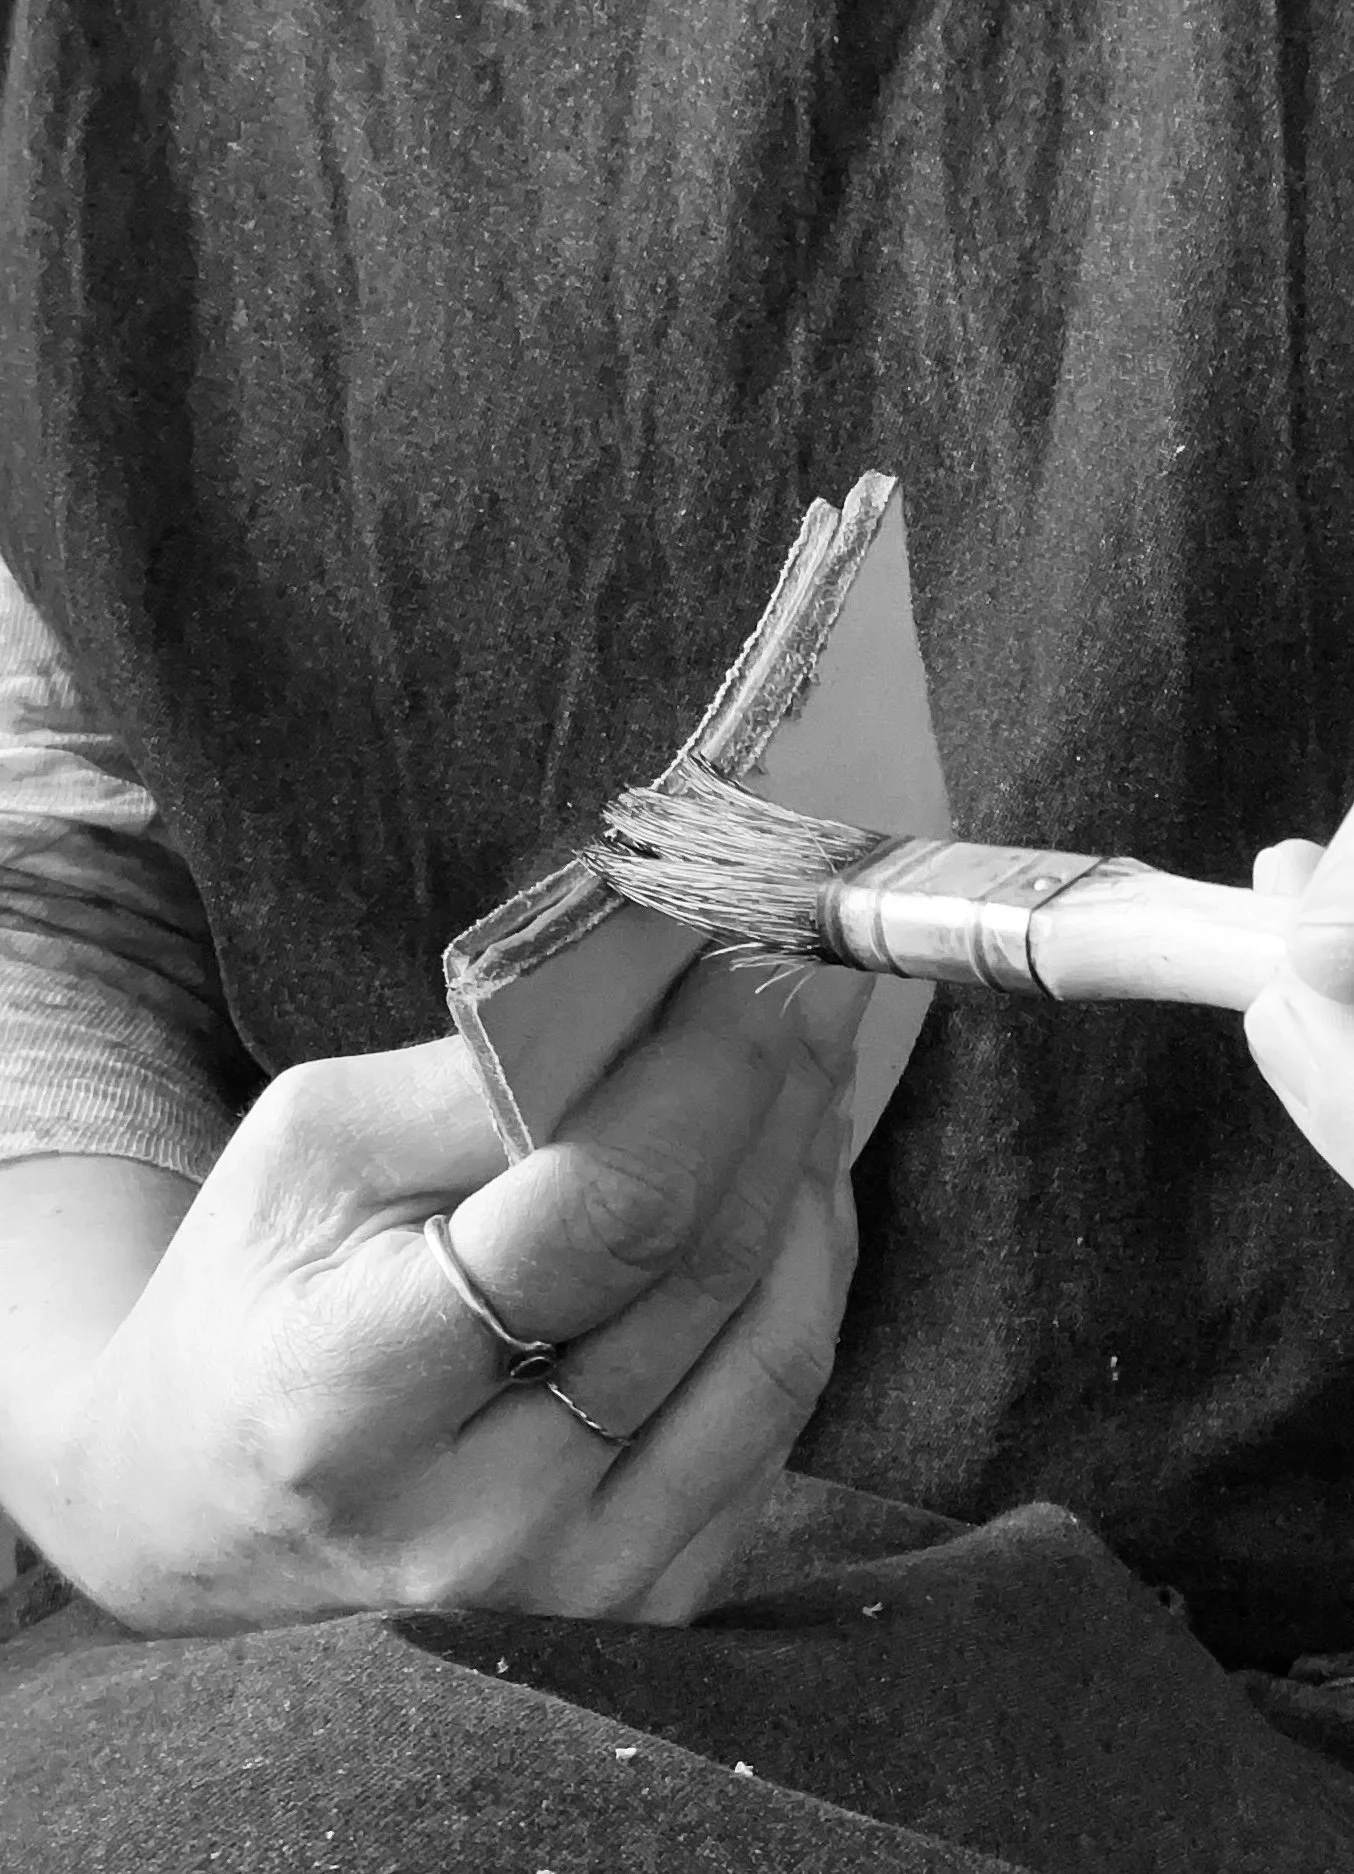
✔ Glerkrús og pensill (Einungis fyrir vatn).
✔ Brotið gler (Tilbúið til notkunar fyrir frágang á hæl og sólahliðum).
✔ Dúkahnífur (Ég kýs minni týpuna, en stærri getur verið nytsamleg).
✔ Ytrisólarleður (Þykkasta og stífasta lagið, næst jörðinni, nóg fyrir stærðir 36-42).
✔ Millisóla-leður (Þykkara lag sem situr á milli bindsóla og ytrisóla, gefur þægindi og styrk).
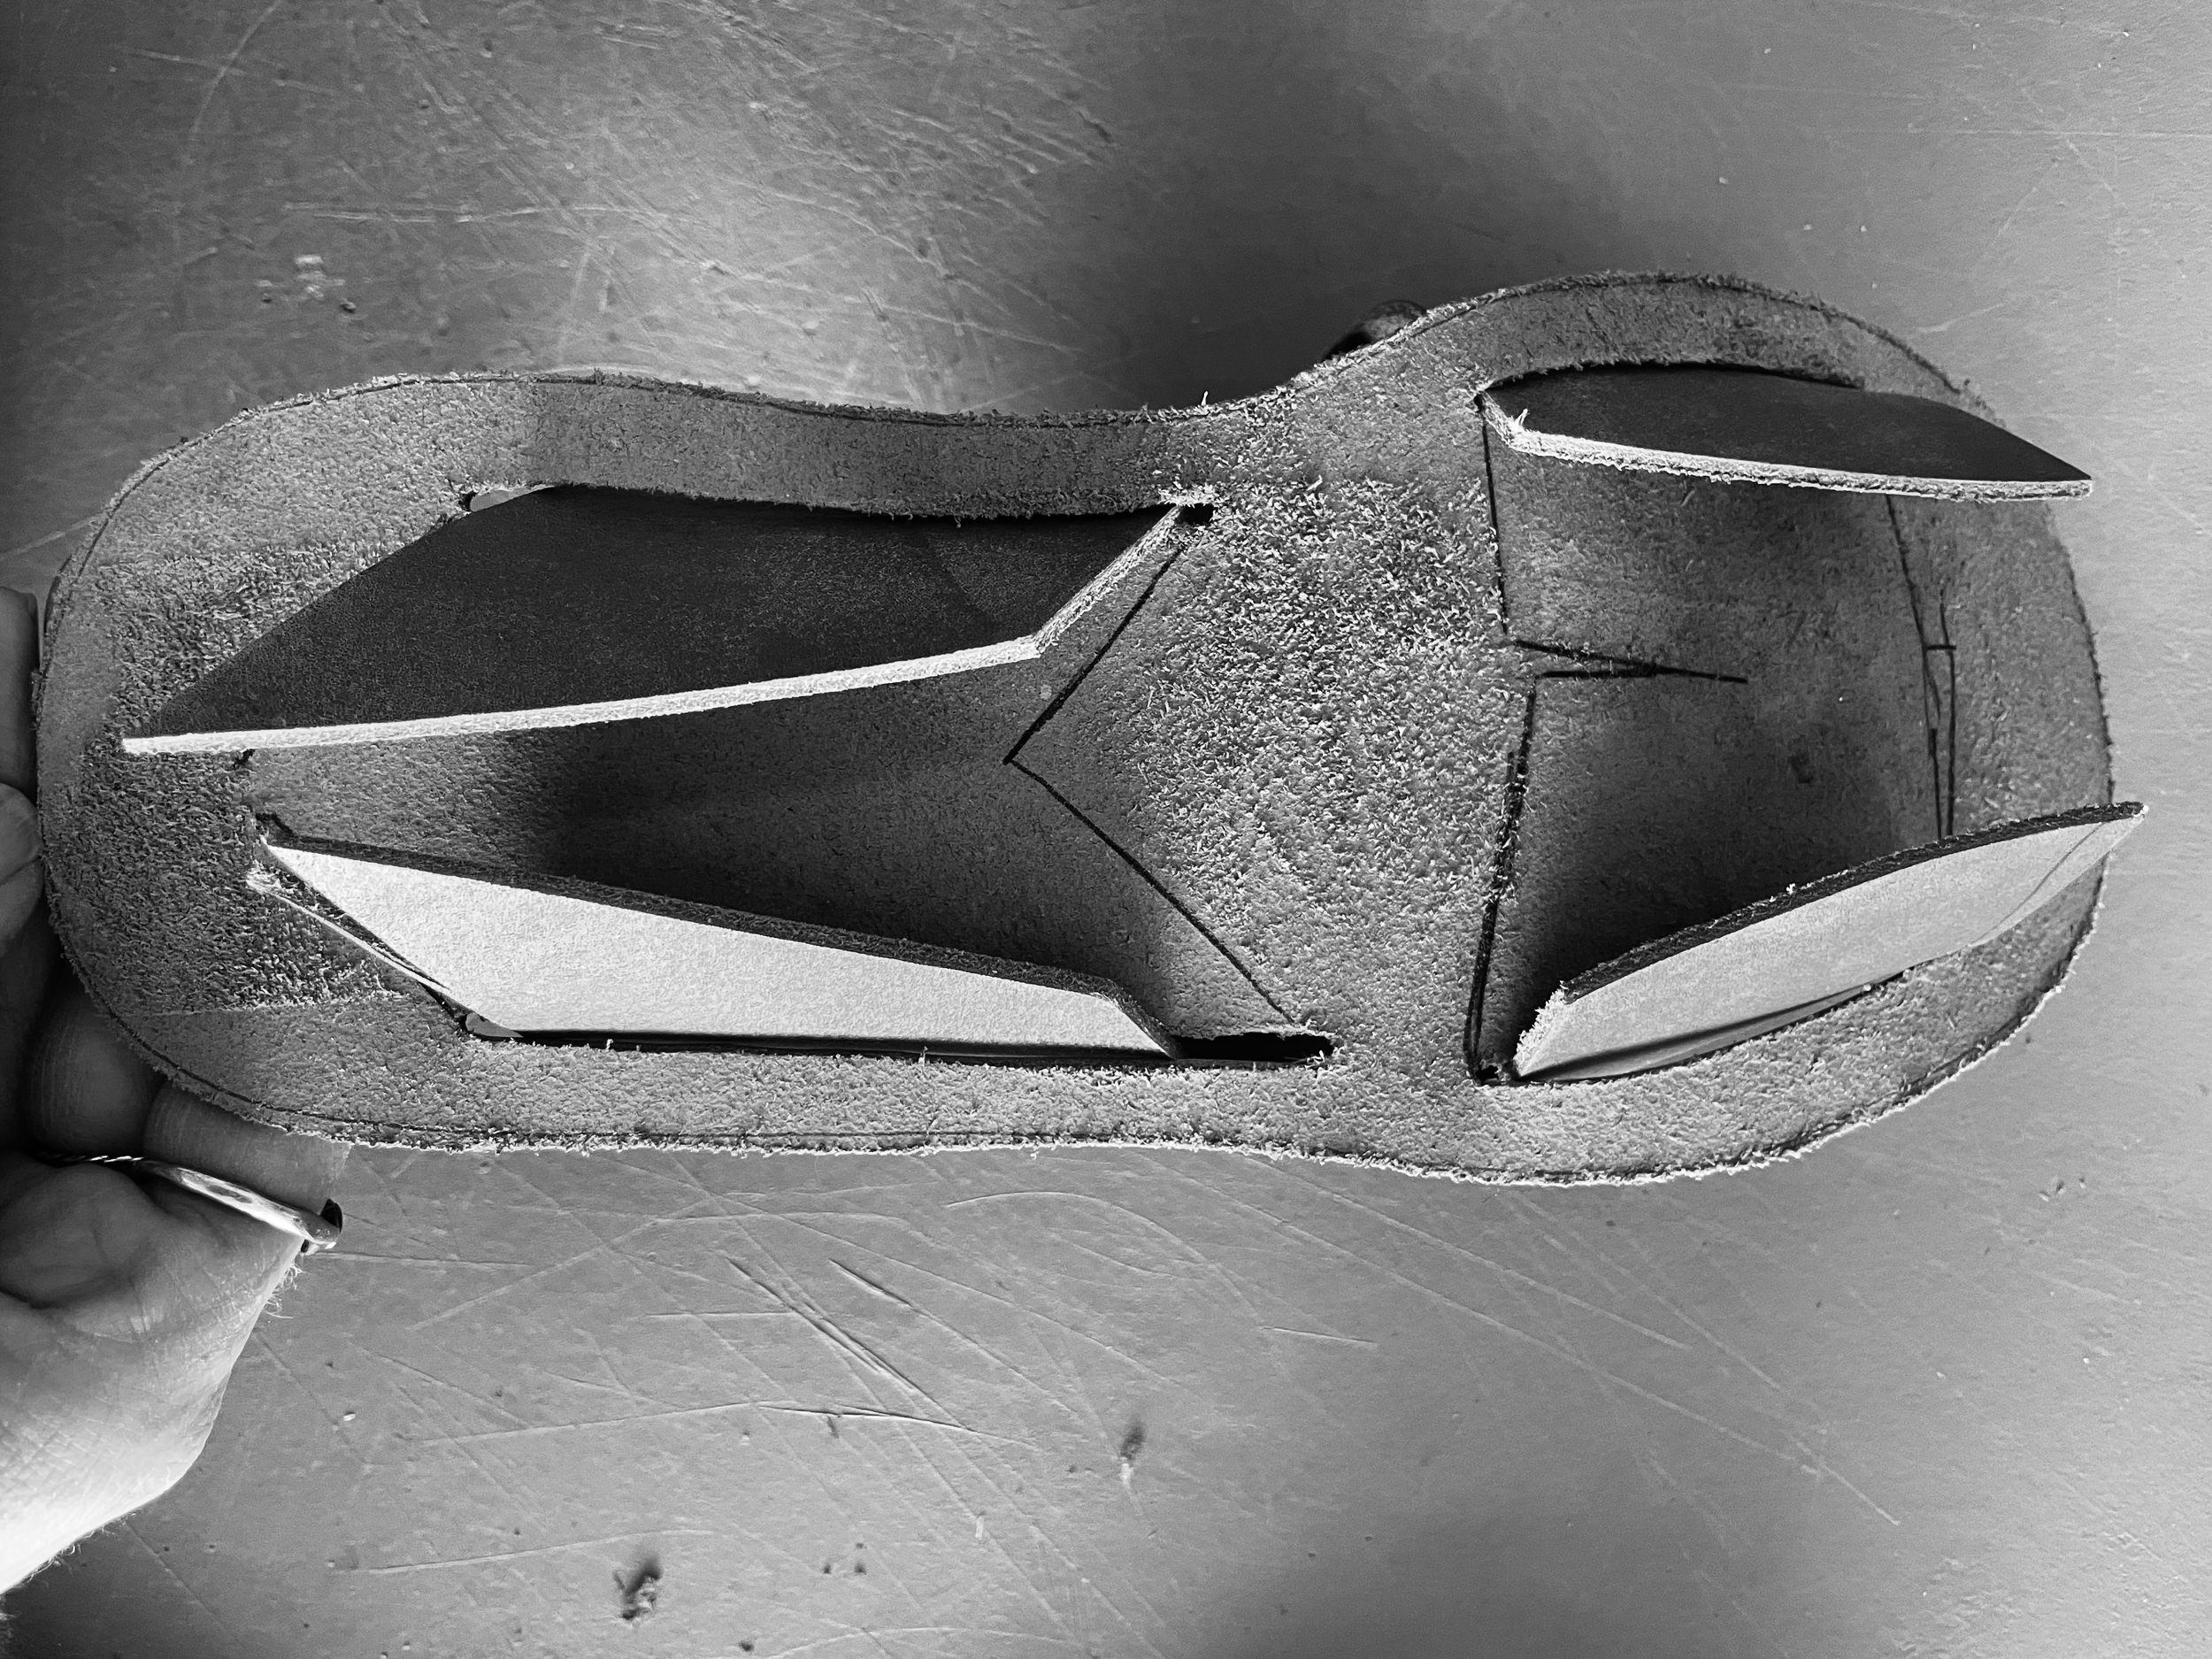
✔ Bindsólaleður (Miðlungsþykkt leður, ca. 32x60 cm, þar sem raufar fyrir ólar eru skornar).
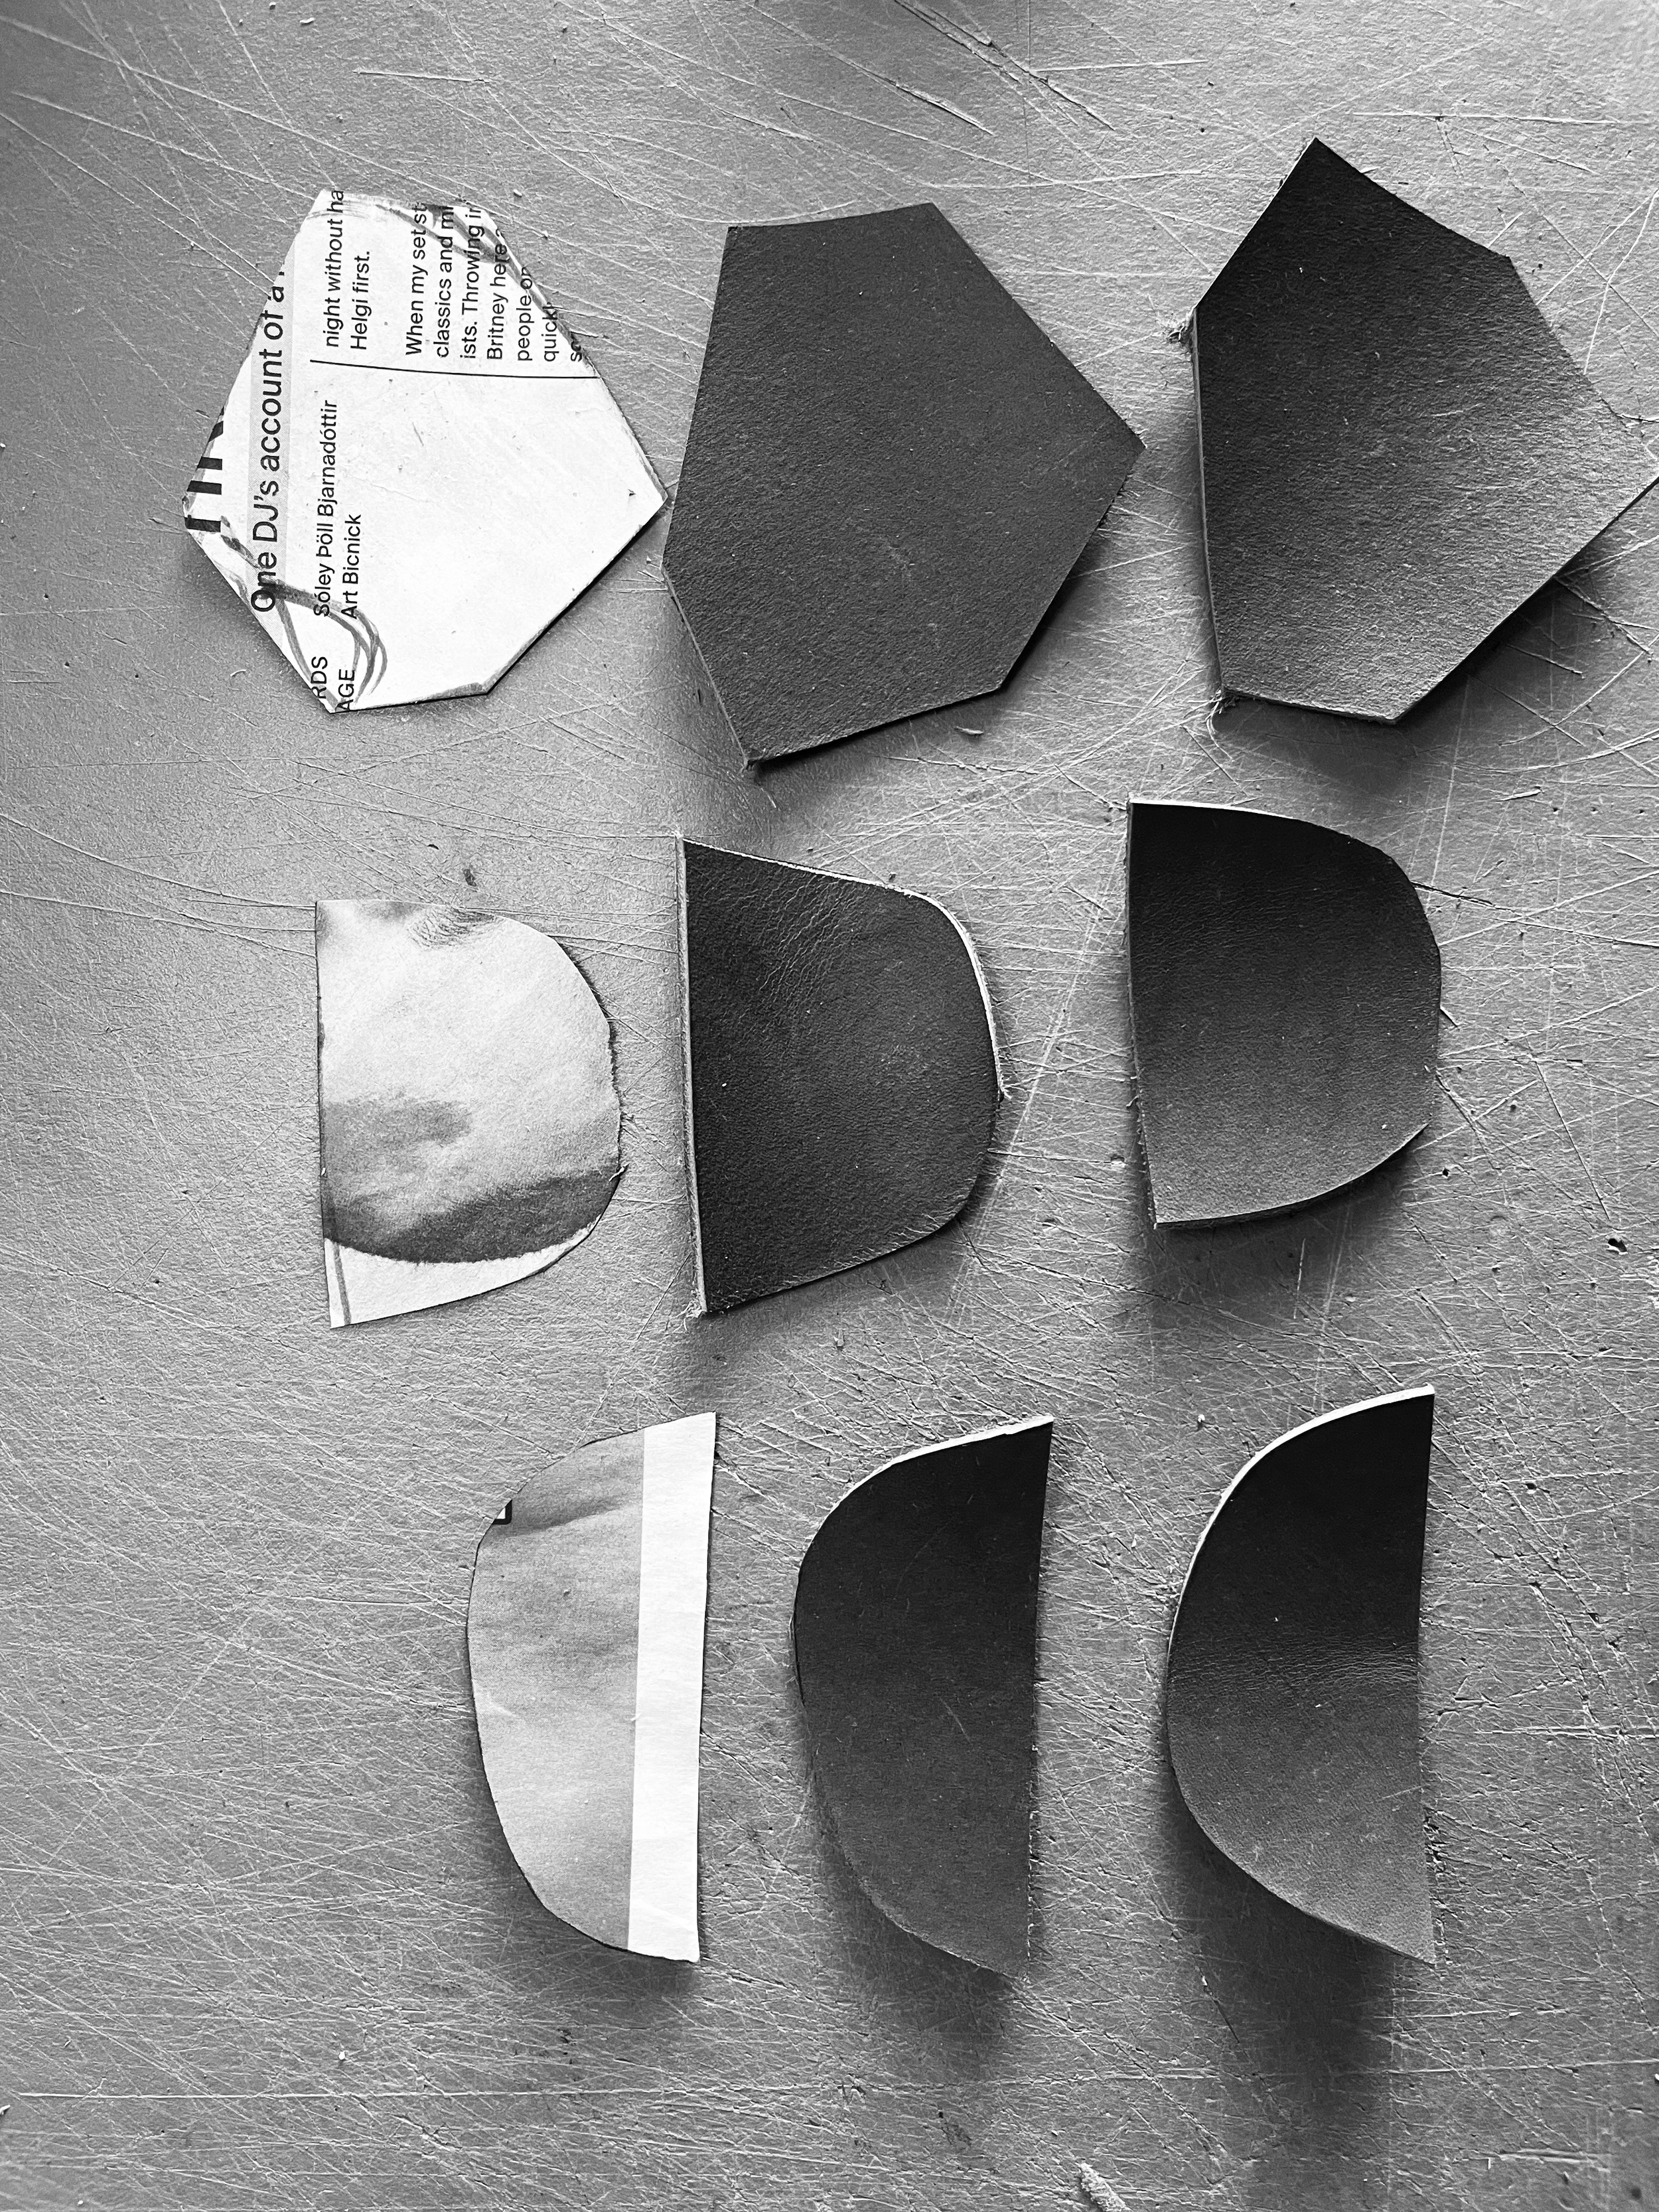
✔ Hælalög (3x3 cm, ca. 15 mm þykkir bútarnir sem staflast saman og eru límdir).
✔ Anatómíumynd af sandölum í settinu.
✔ Anatómíumynd af fæti.
EFNI SEM ÞÚ LÍKLEGA ÁTT HEIMA EÐA GETUR AUÐVELDLEGA FUNDIÐ:
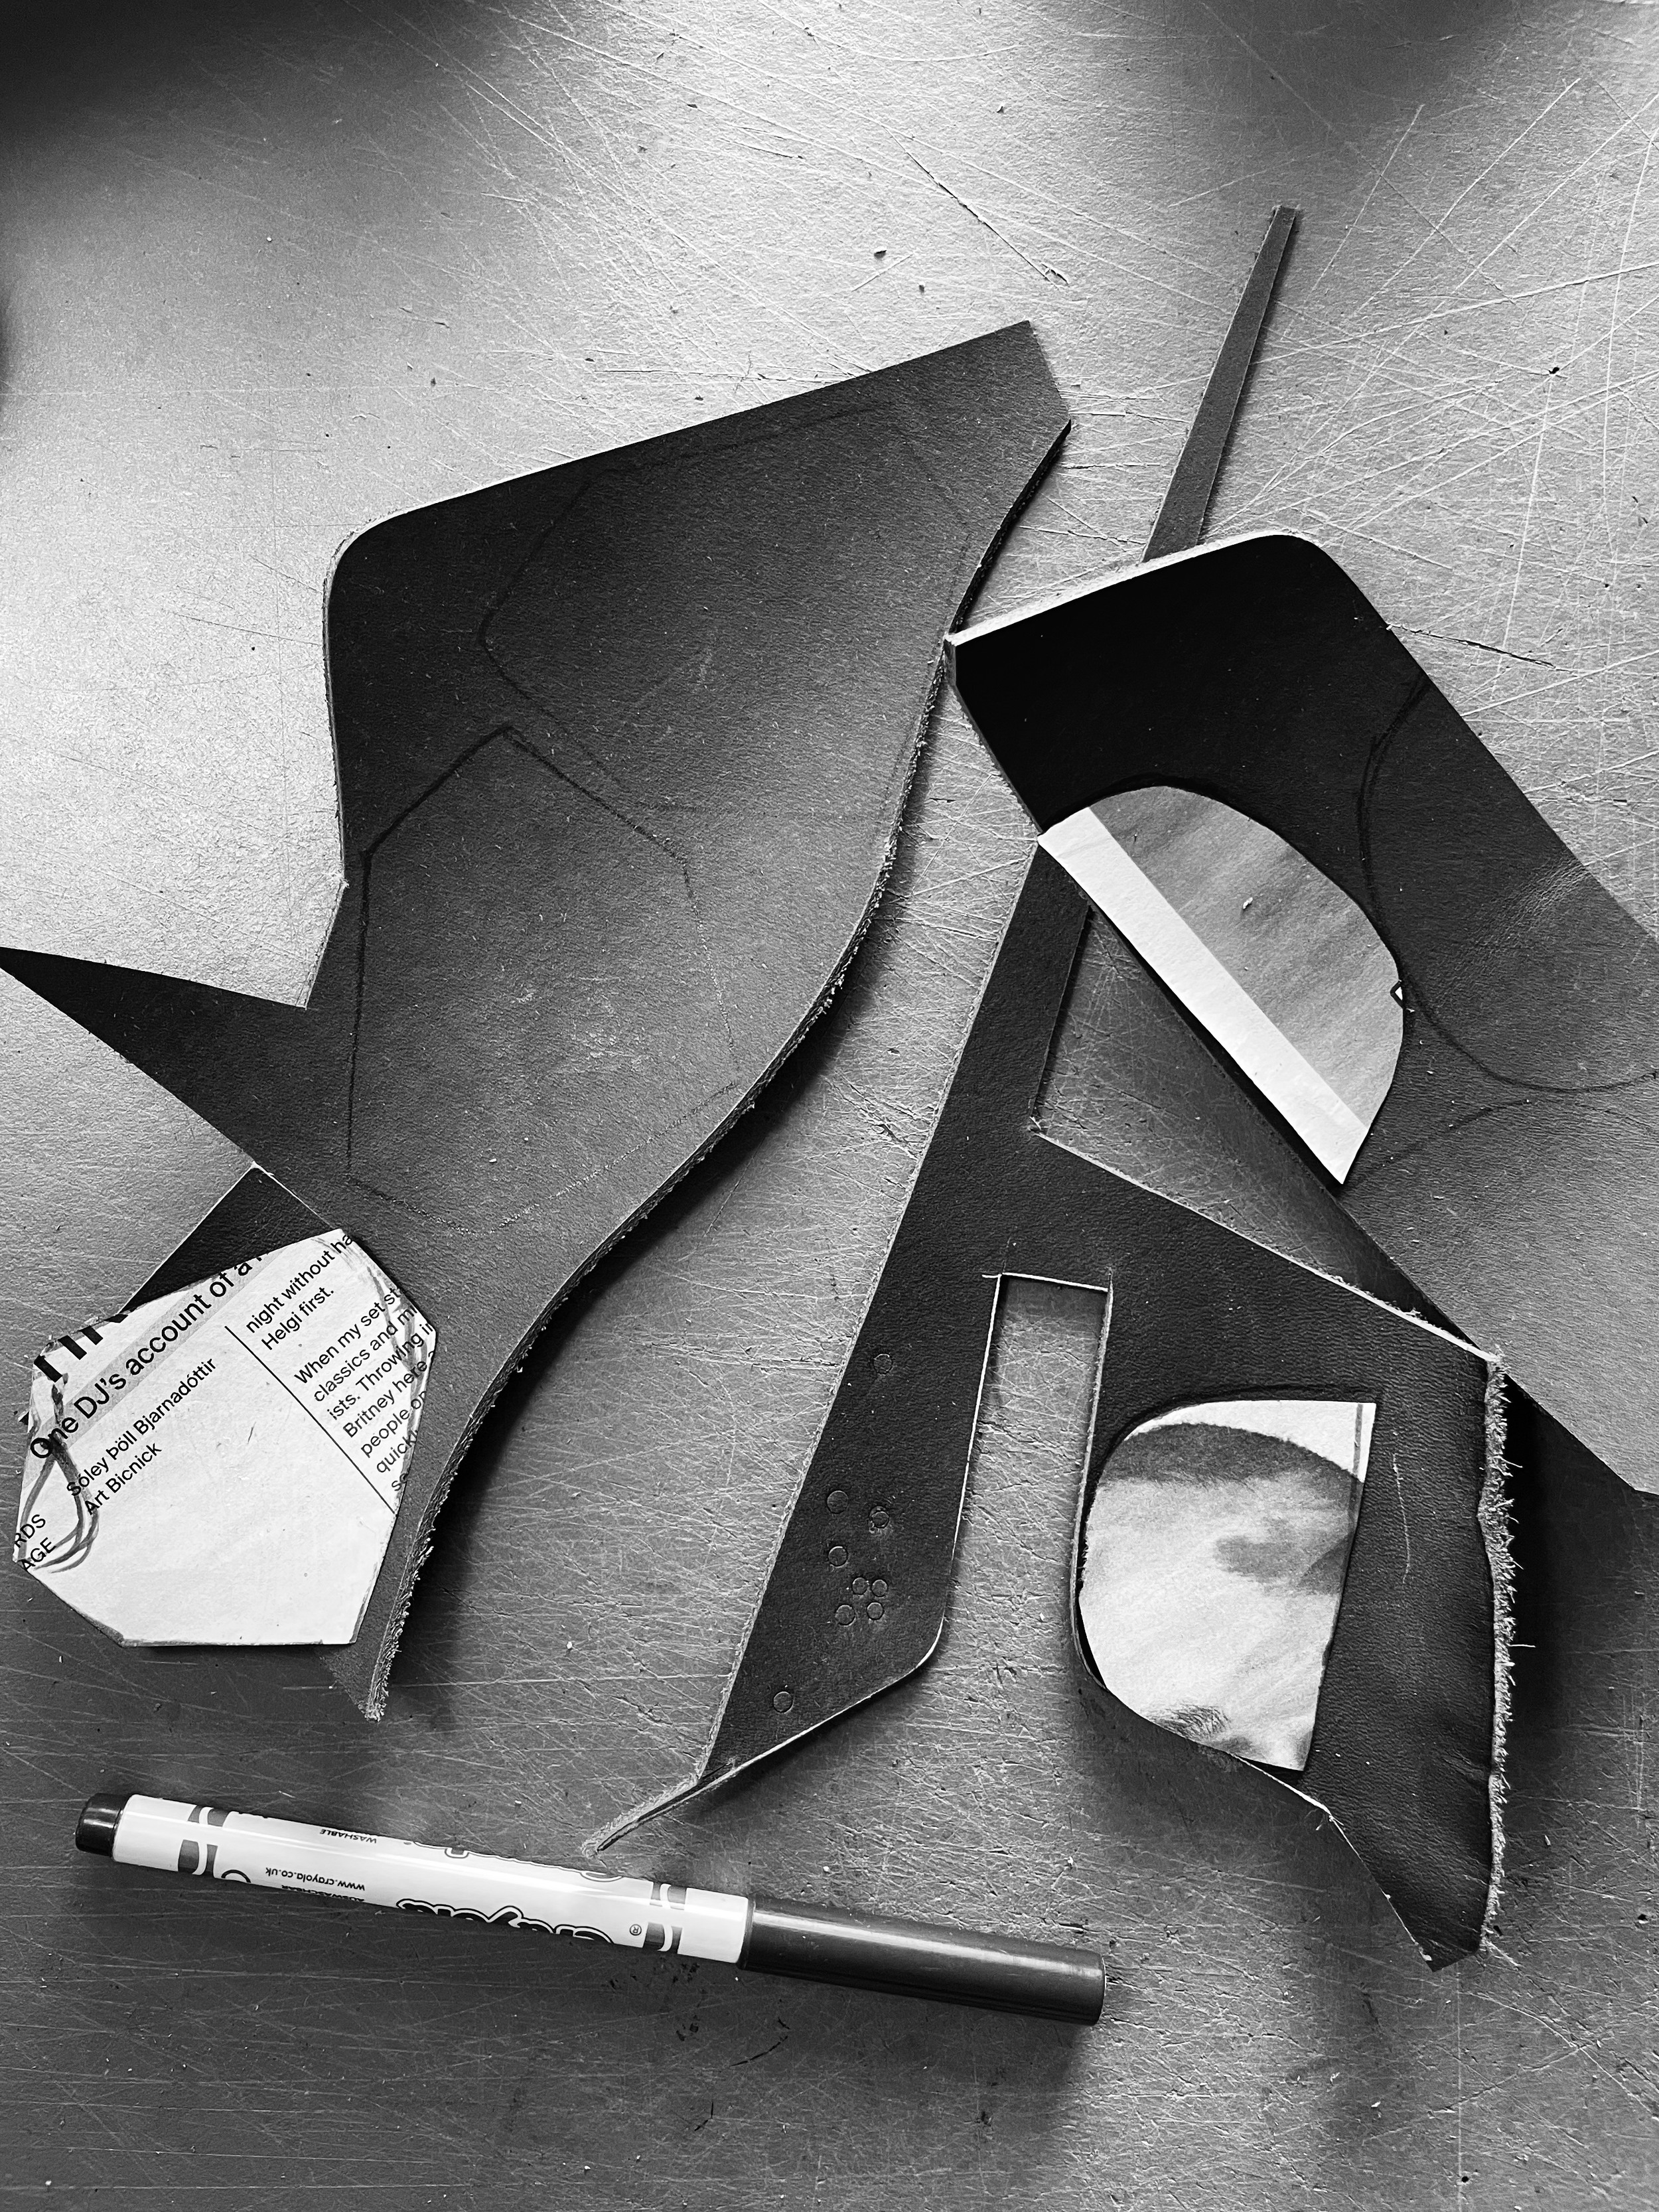
✔ Túss (Til að yfirfæra snið á leður).
✔ A4 pappír (Til að breyta sniðum; þykkari pappír fyrir varanleg snið).
✔ Reglustika (Gegnsæ með 1 cm ferningum er sérstaklega hentug).
✔ Skæri
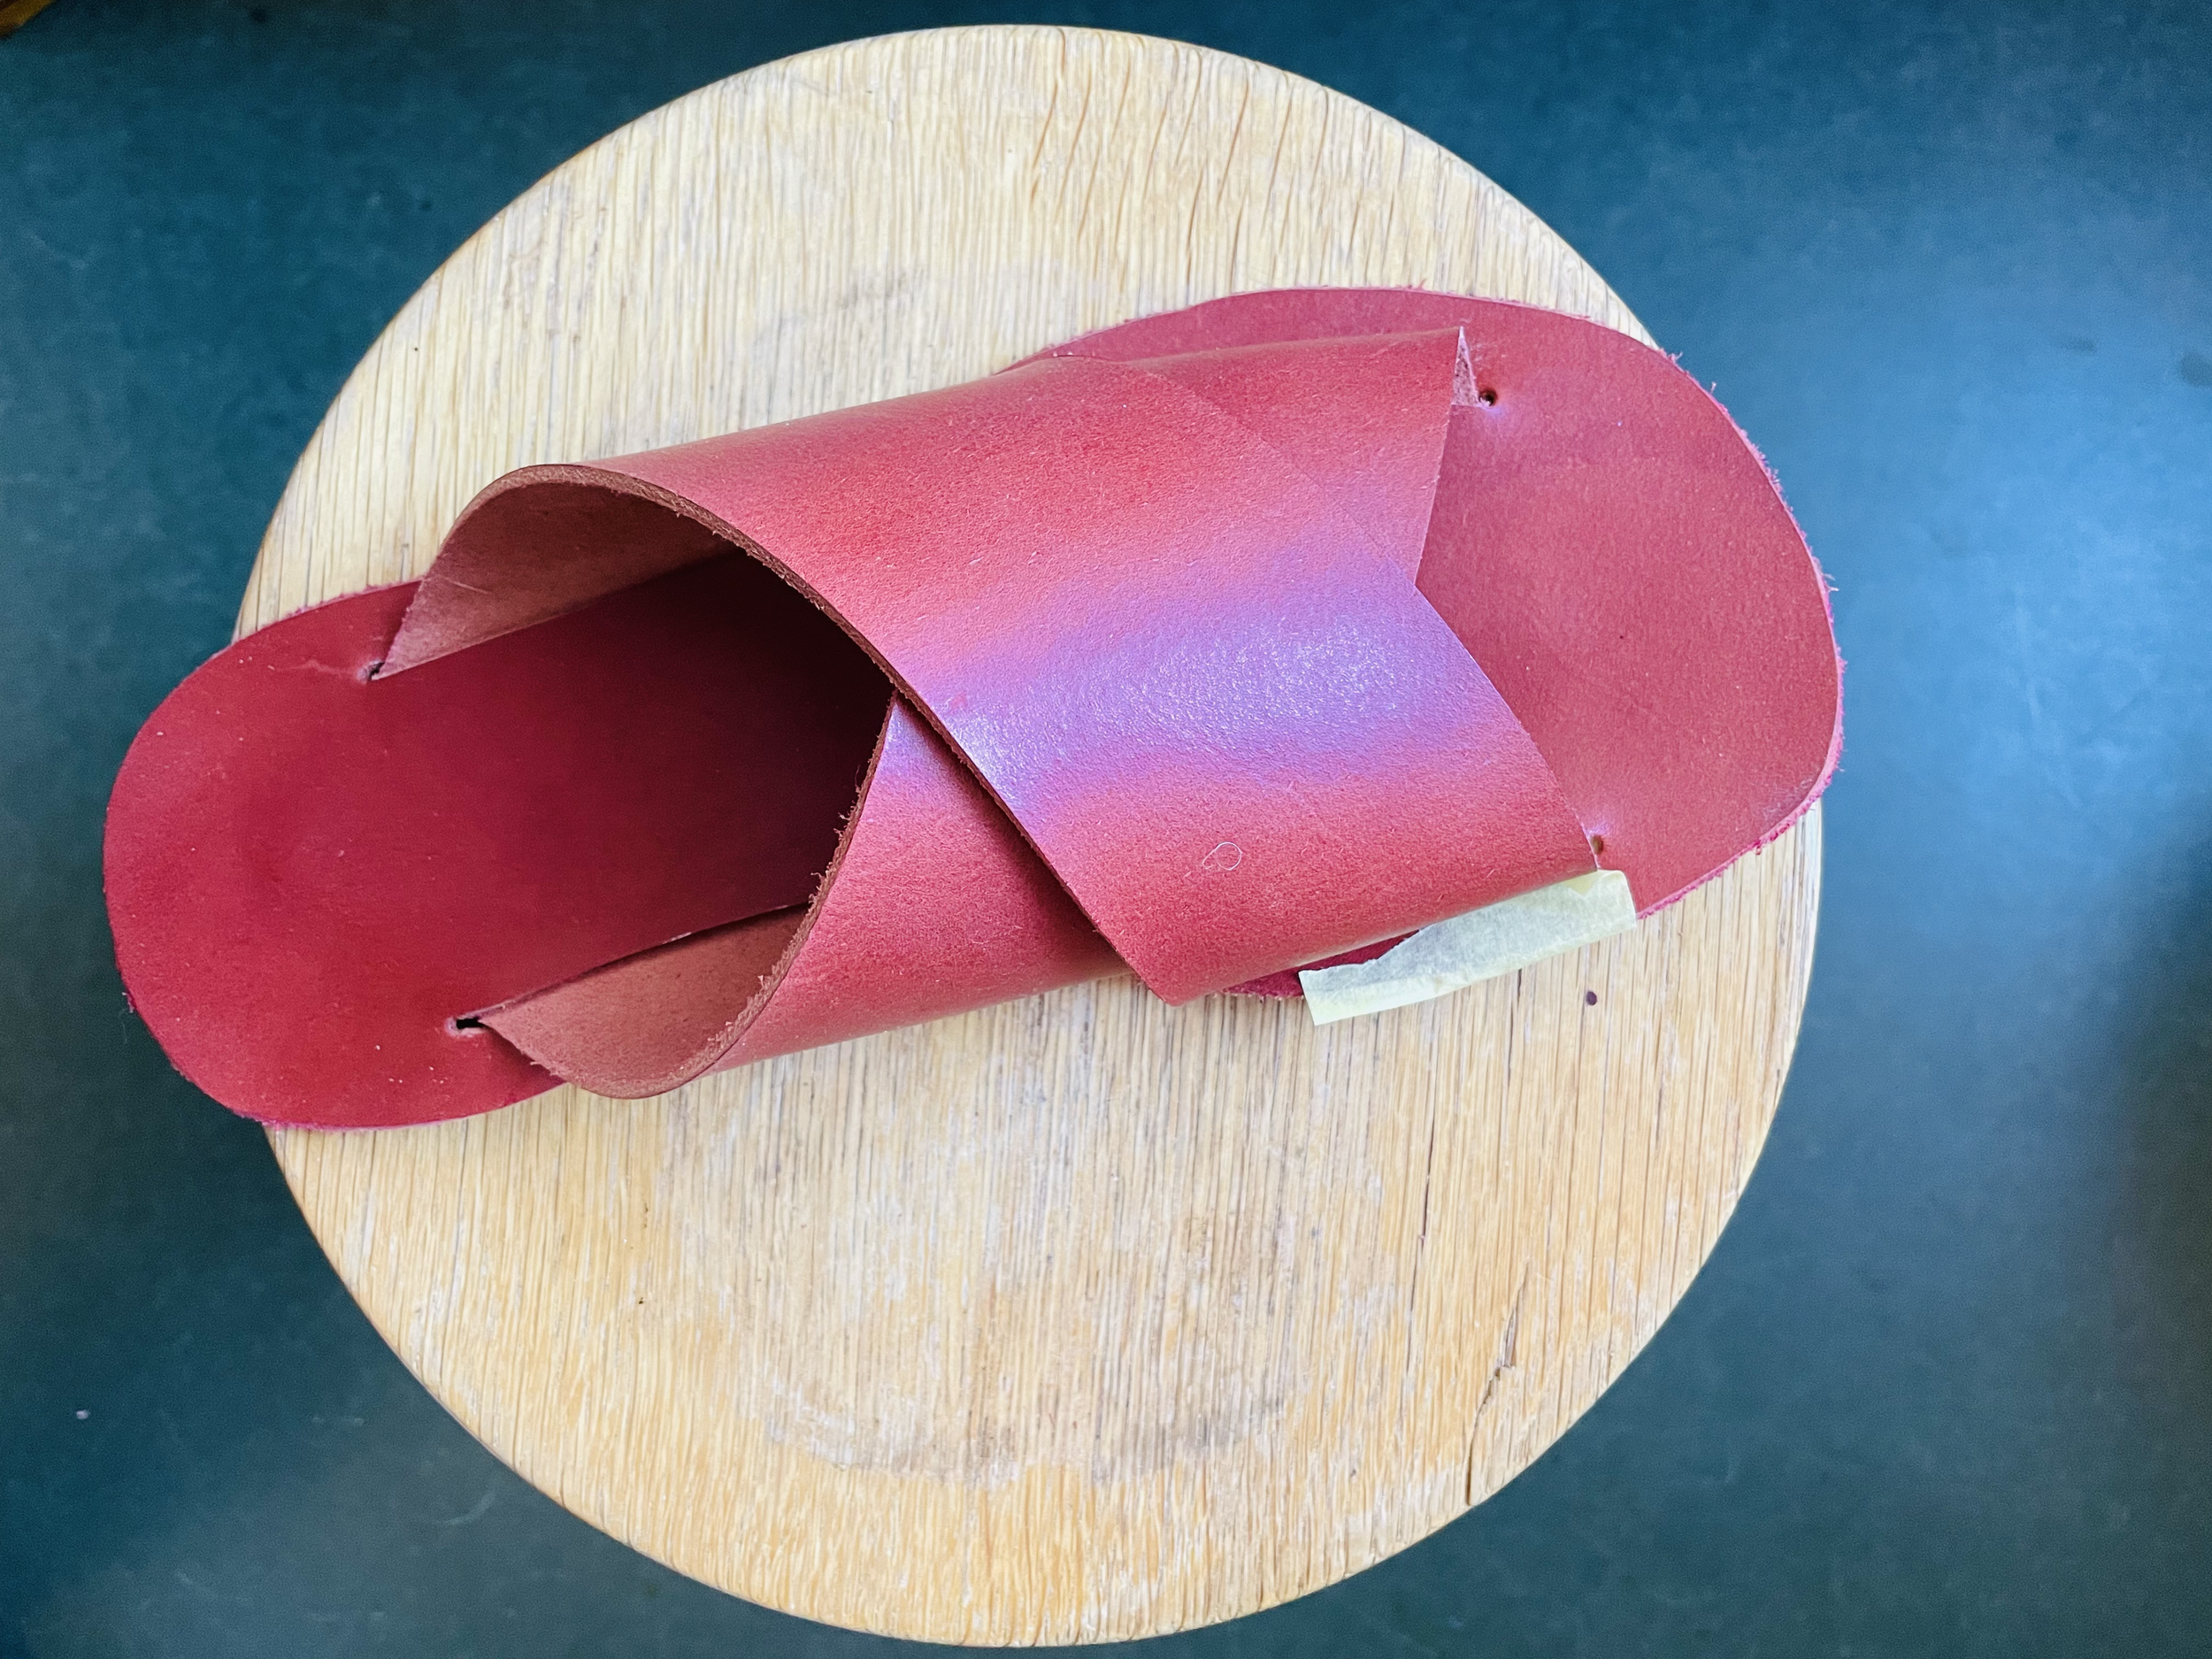
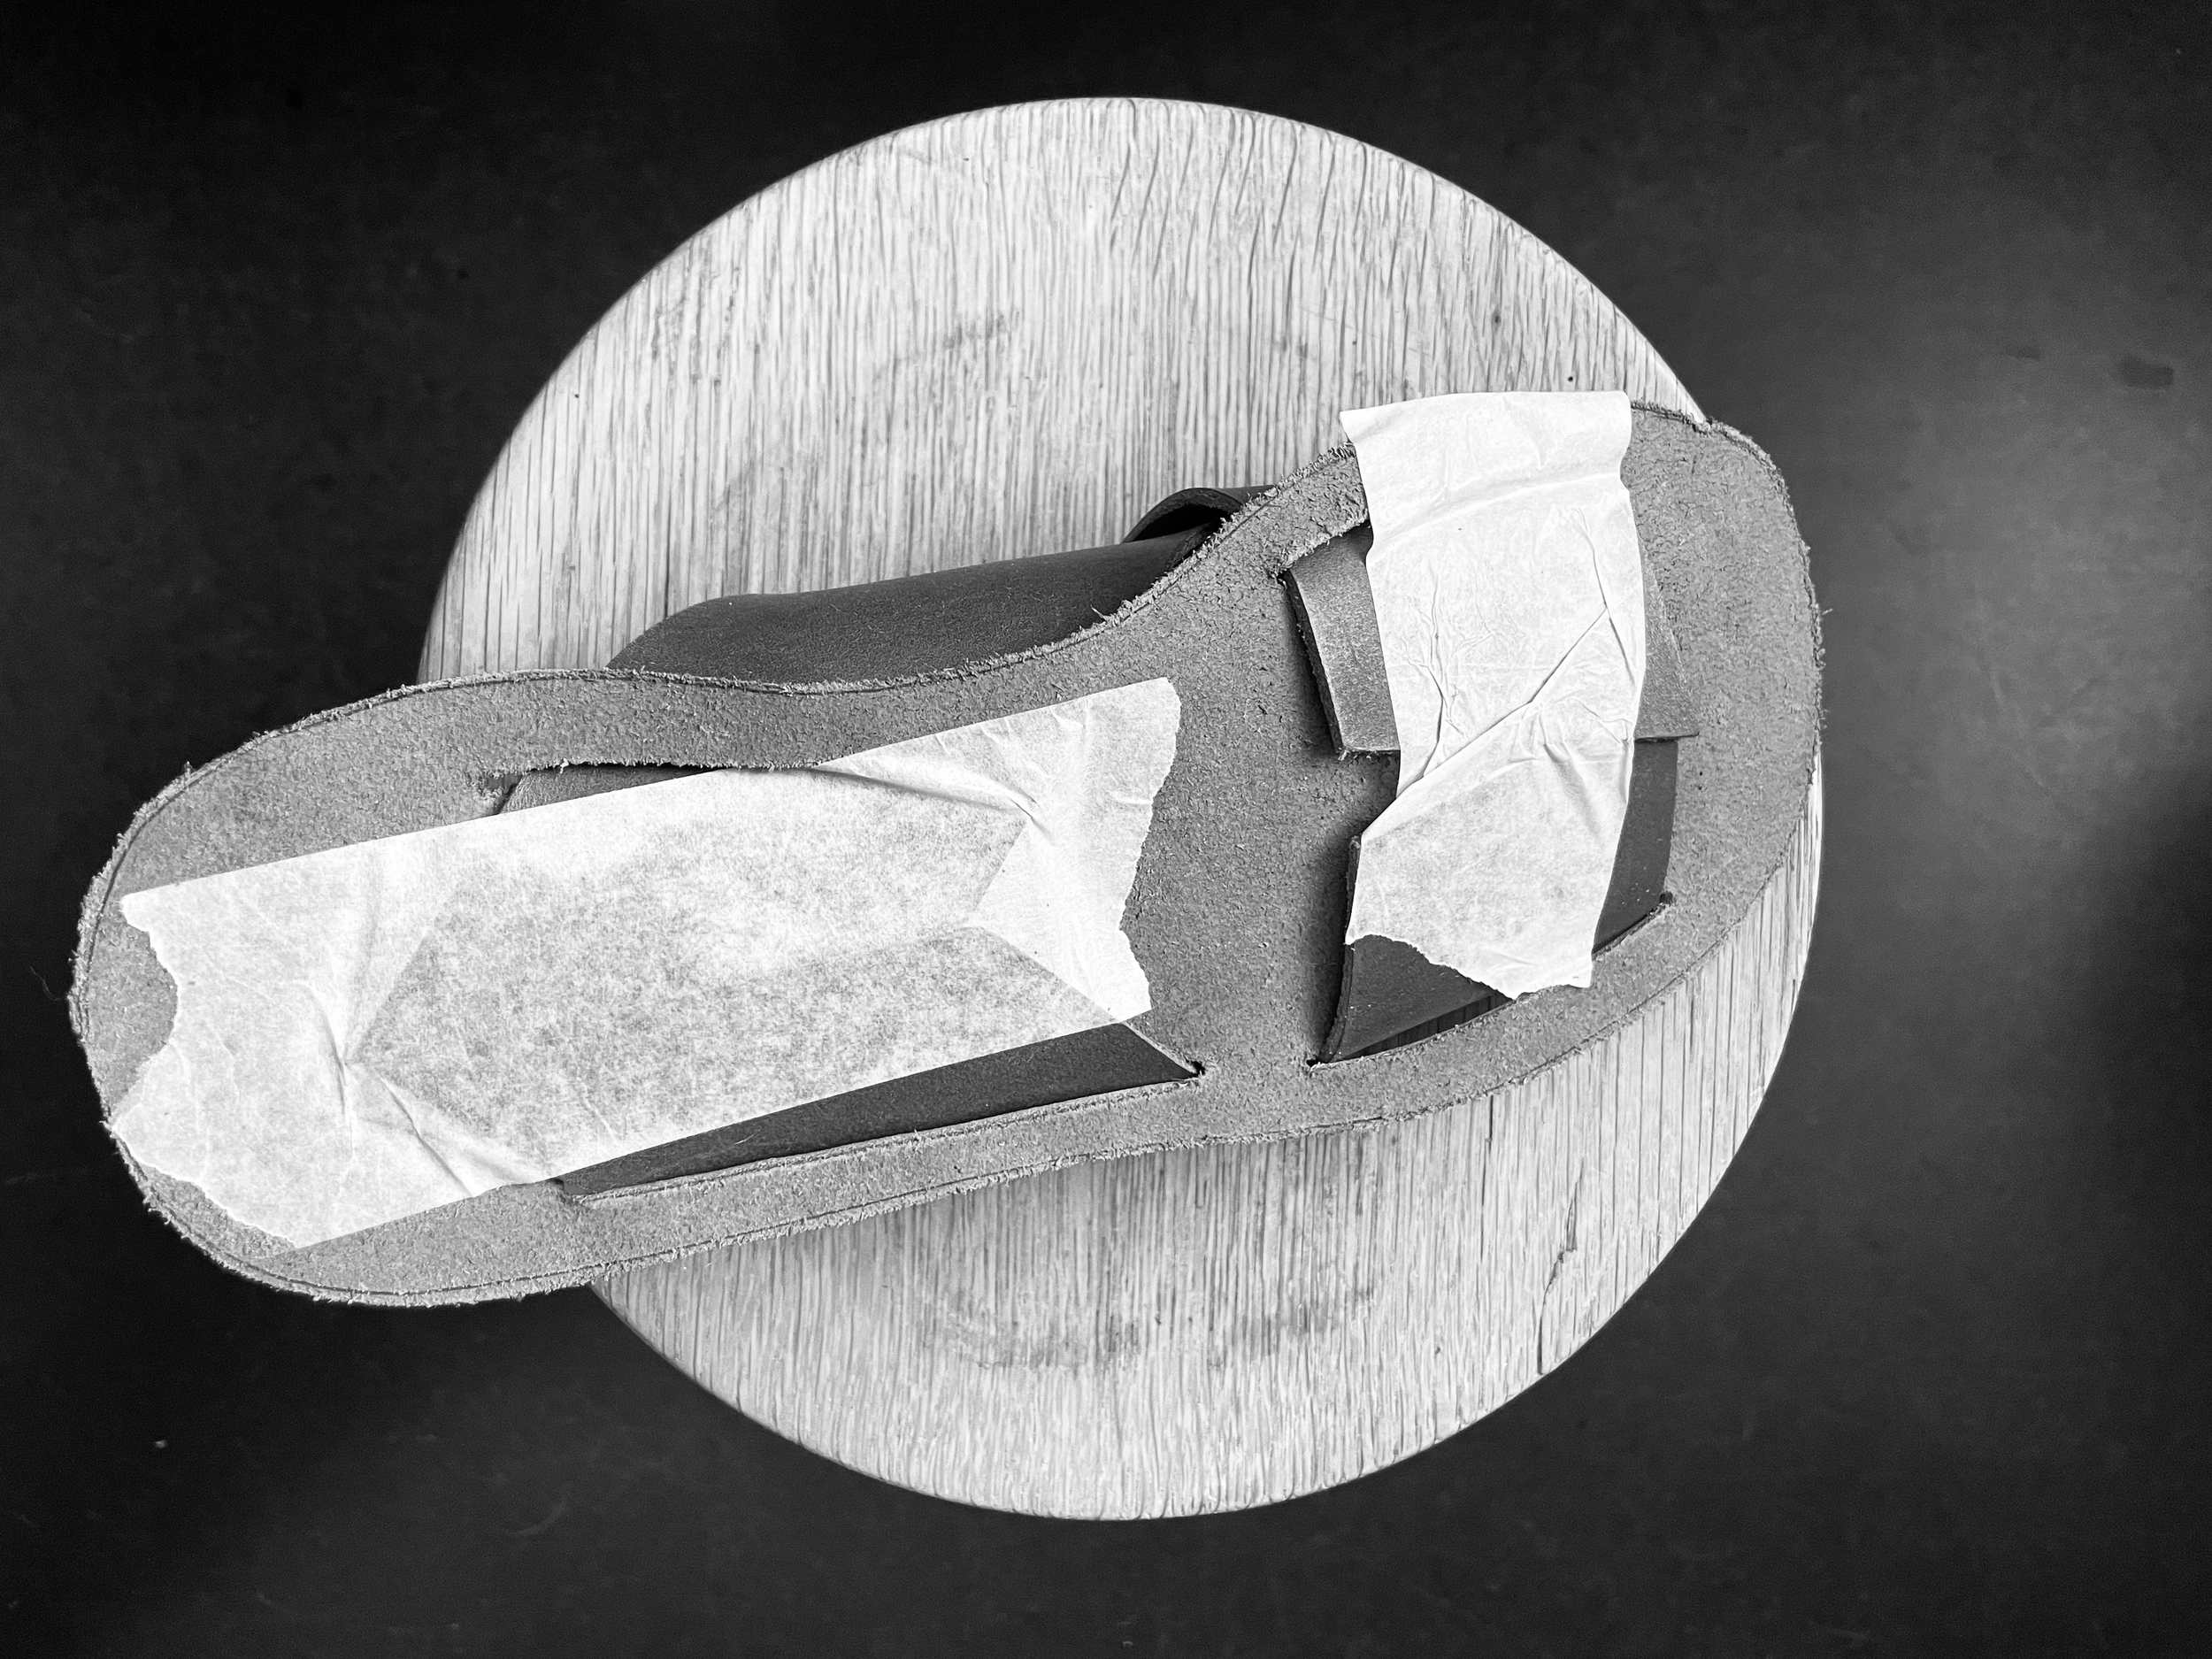
✔ Málningarteip (Til að festa ólar tímabundið undir bindsólann áður en límt er).
✔ Hamar
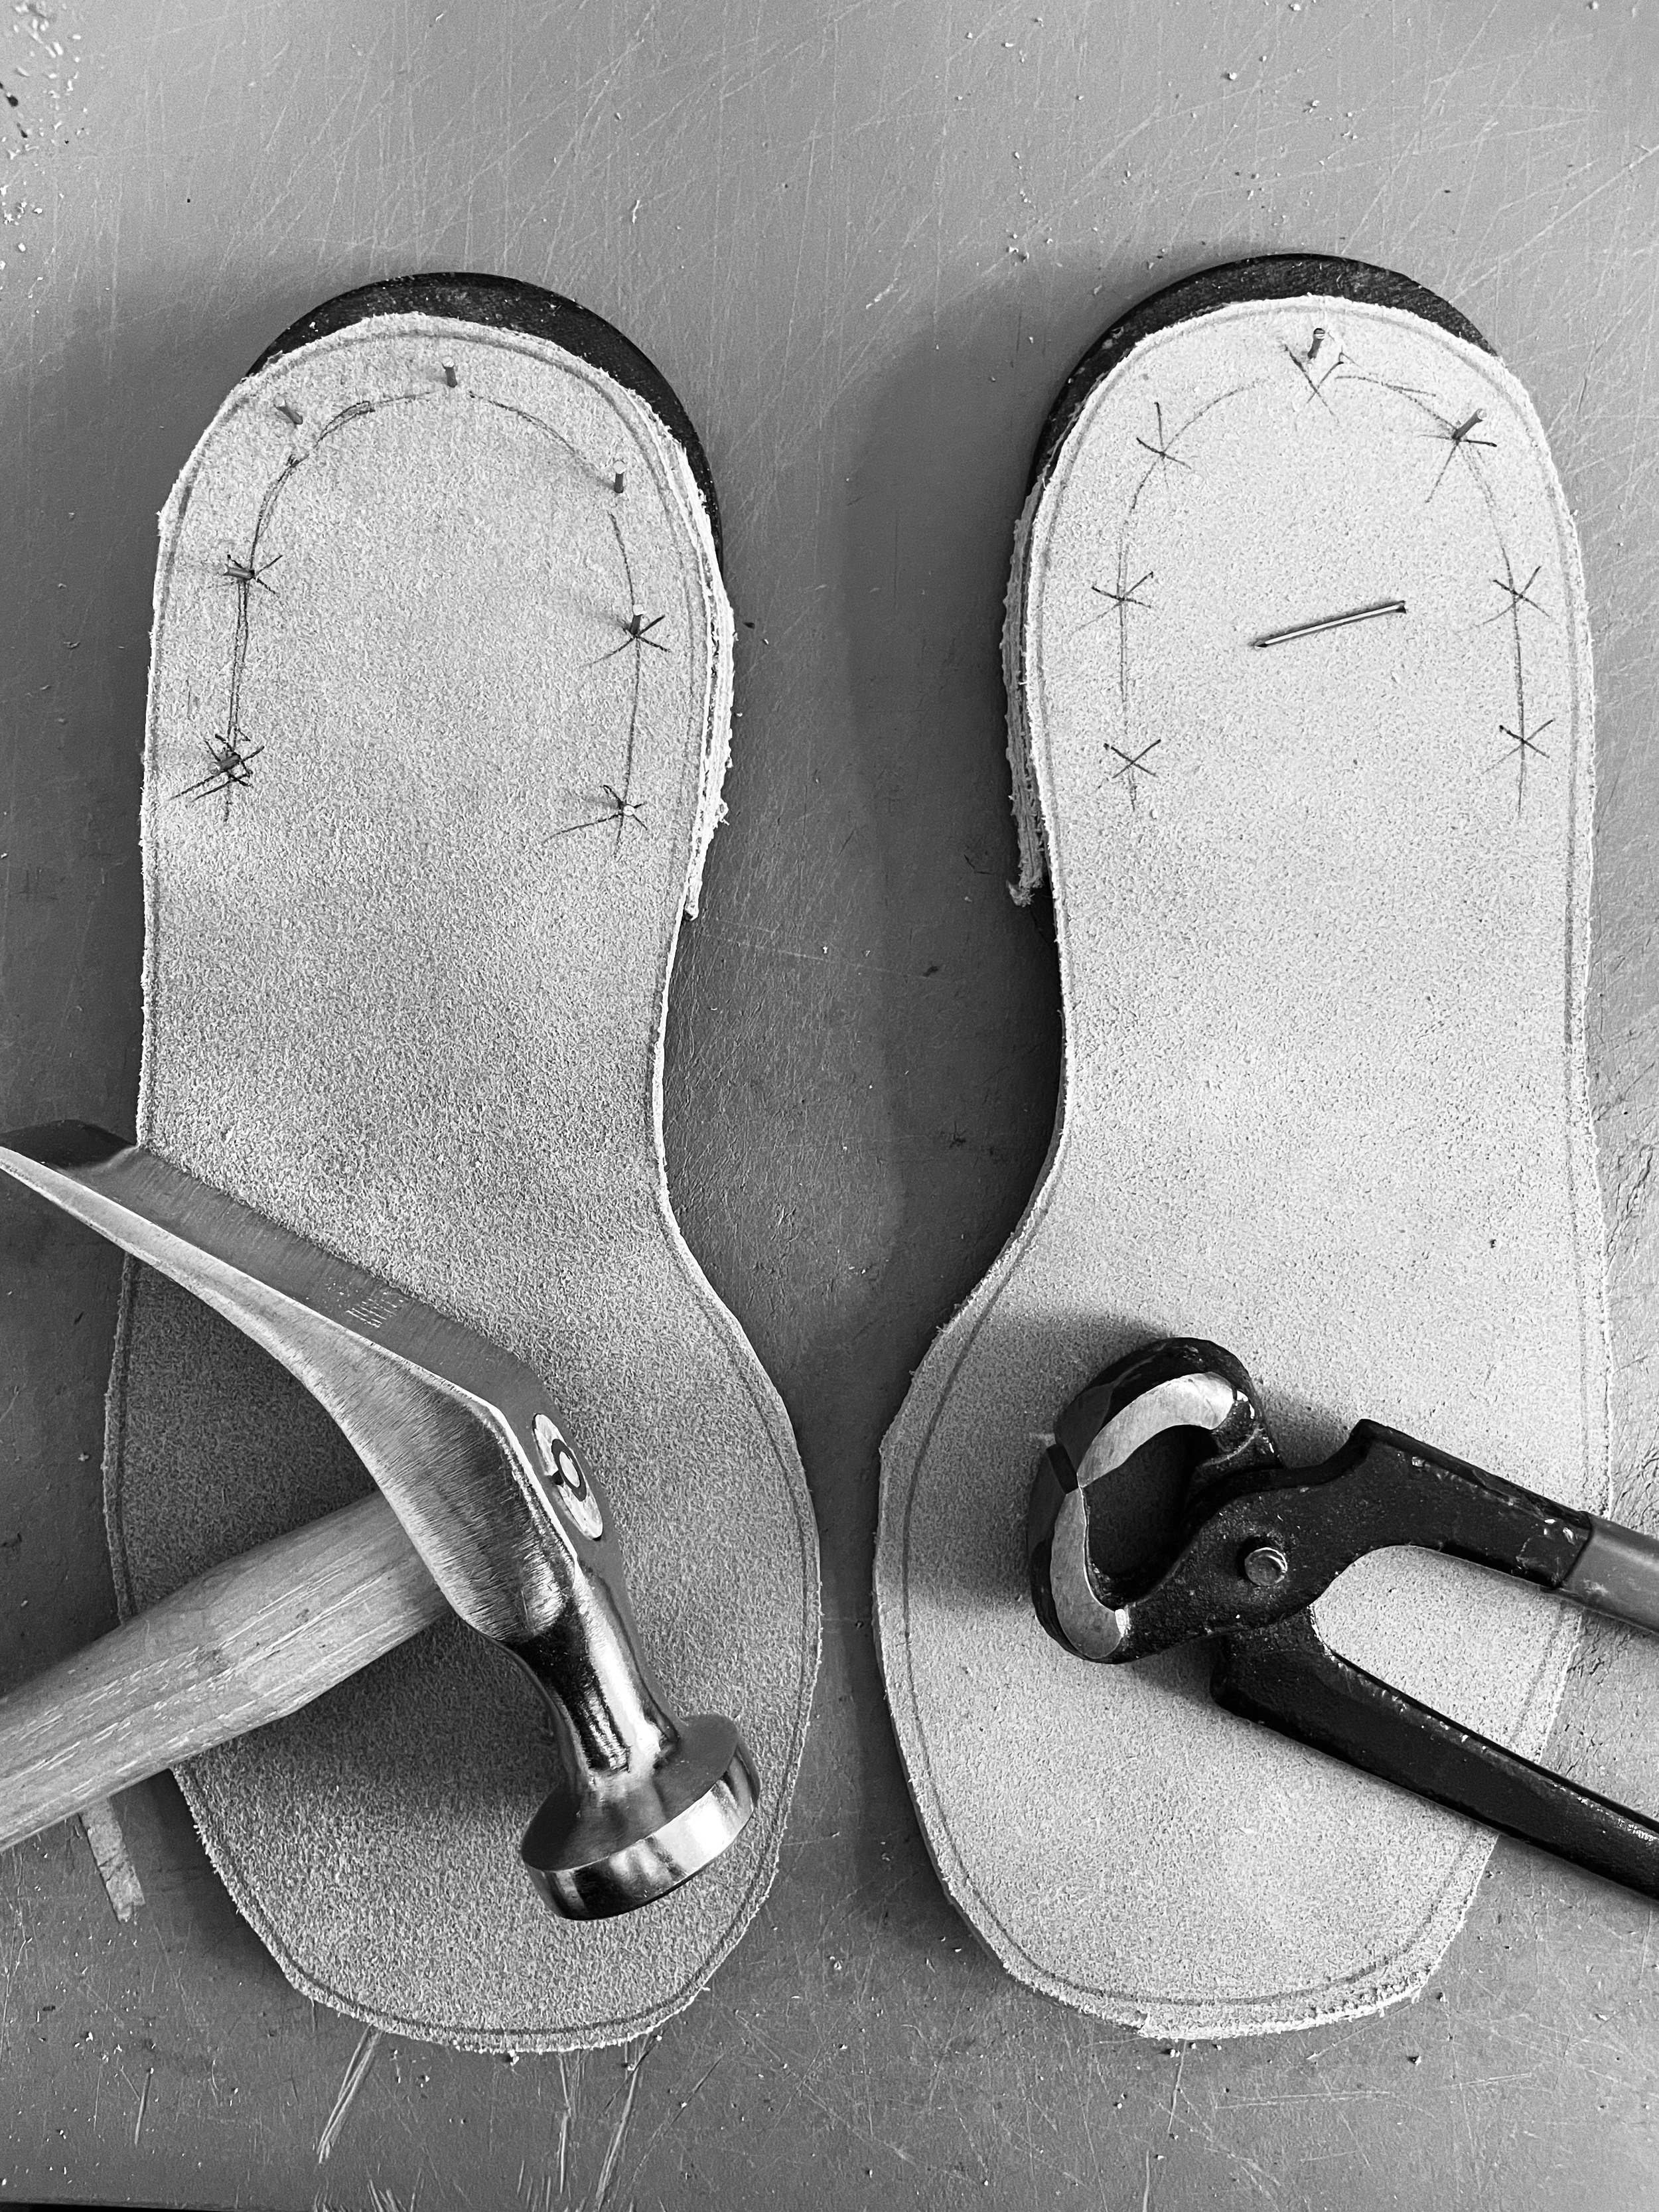
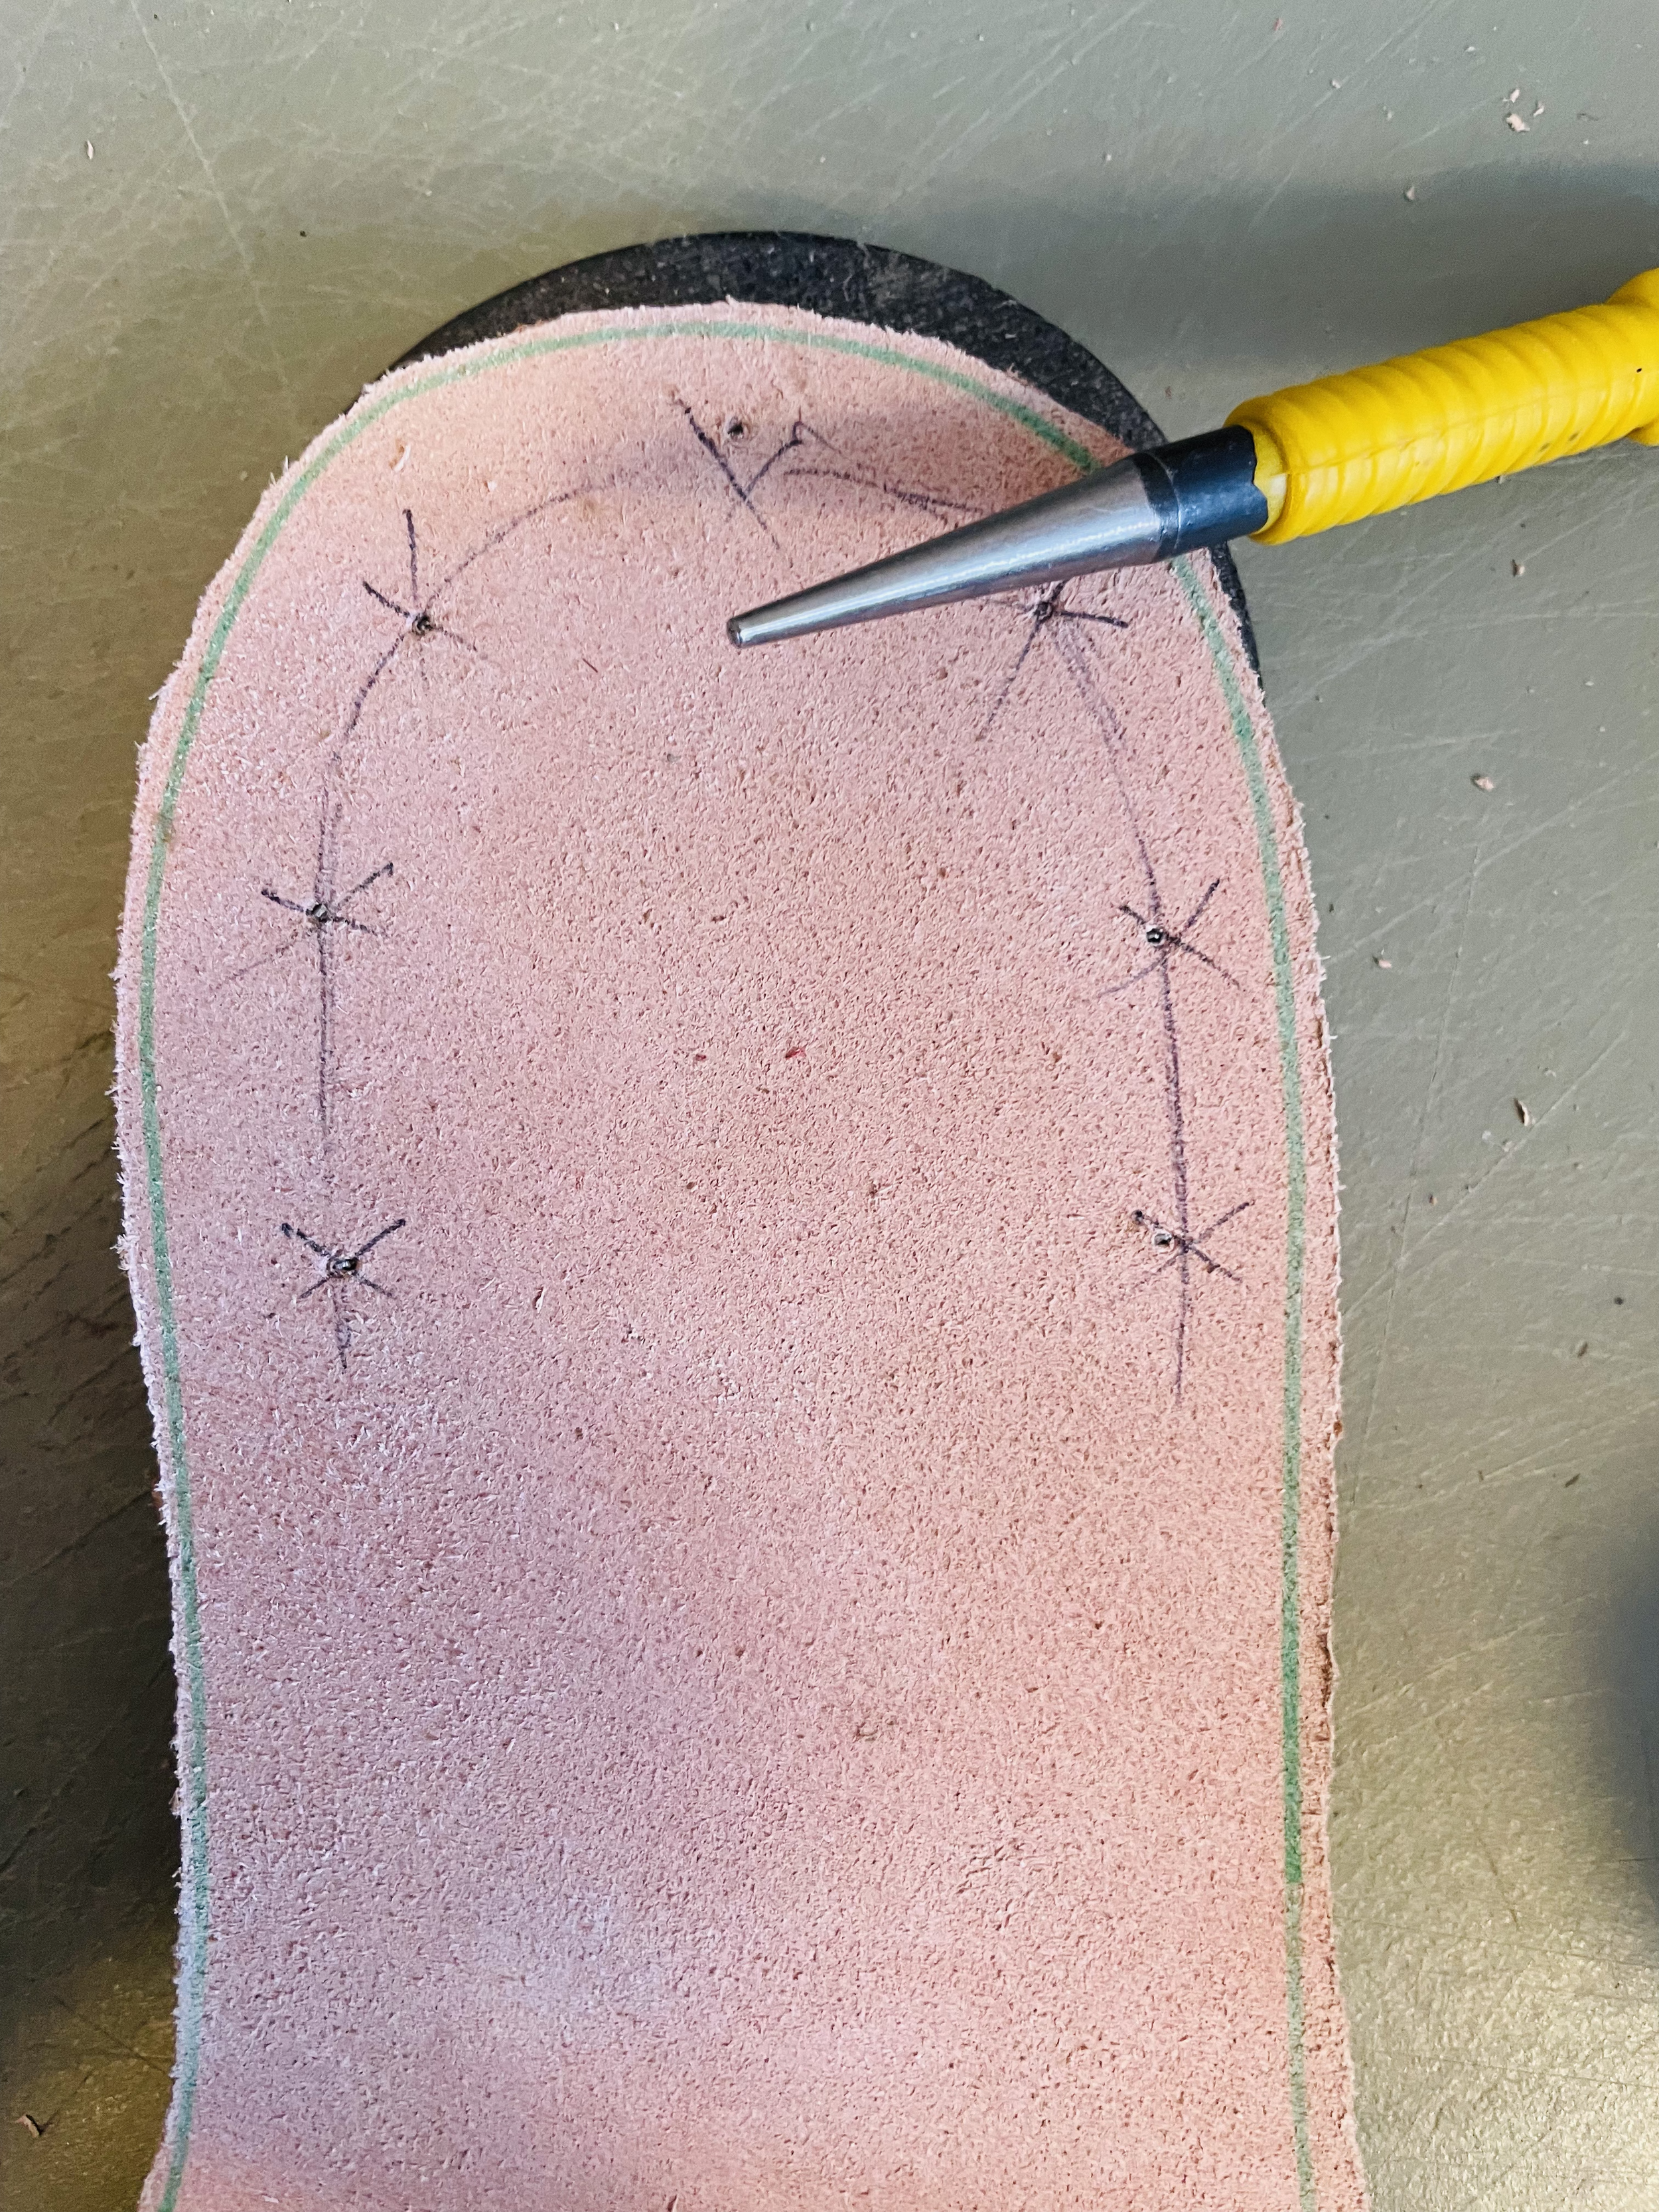
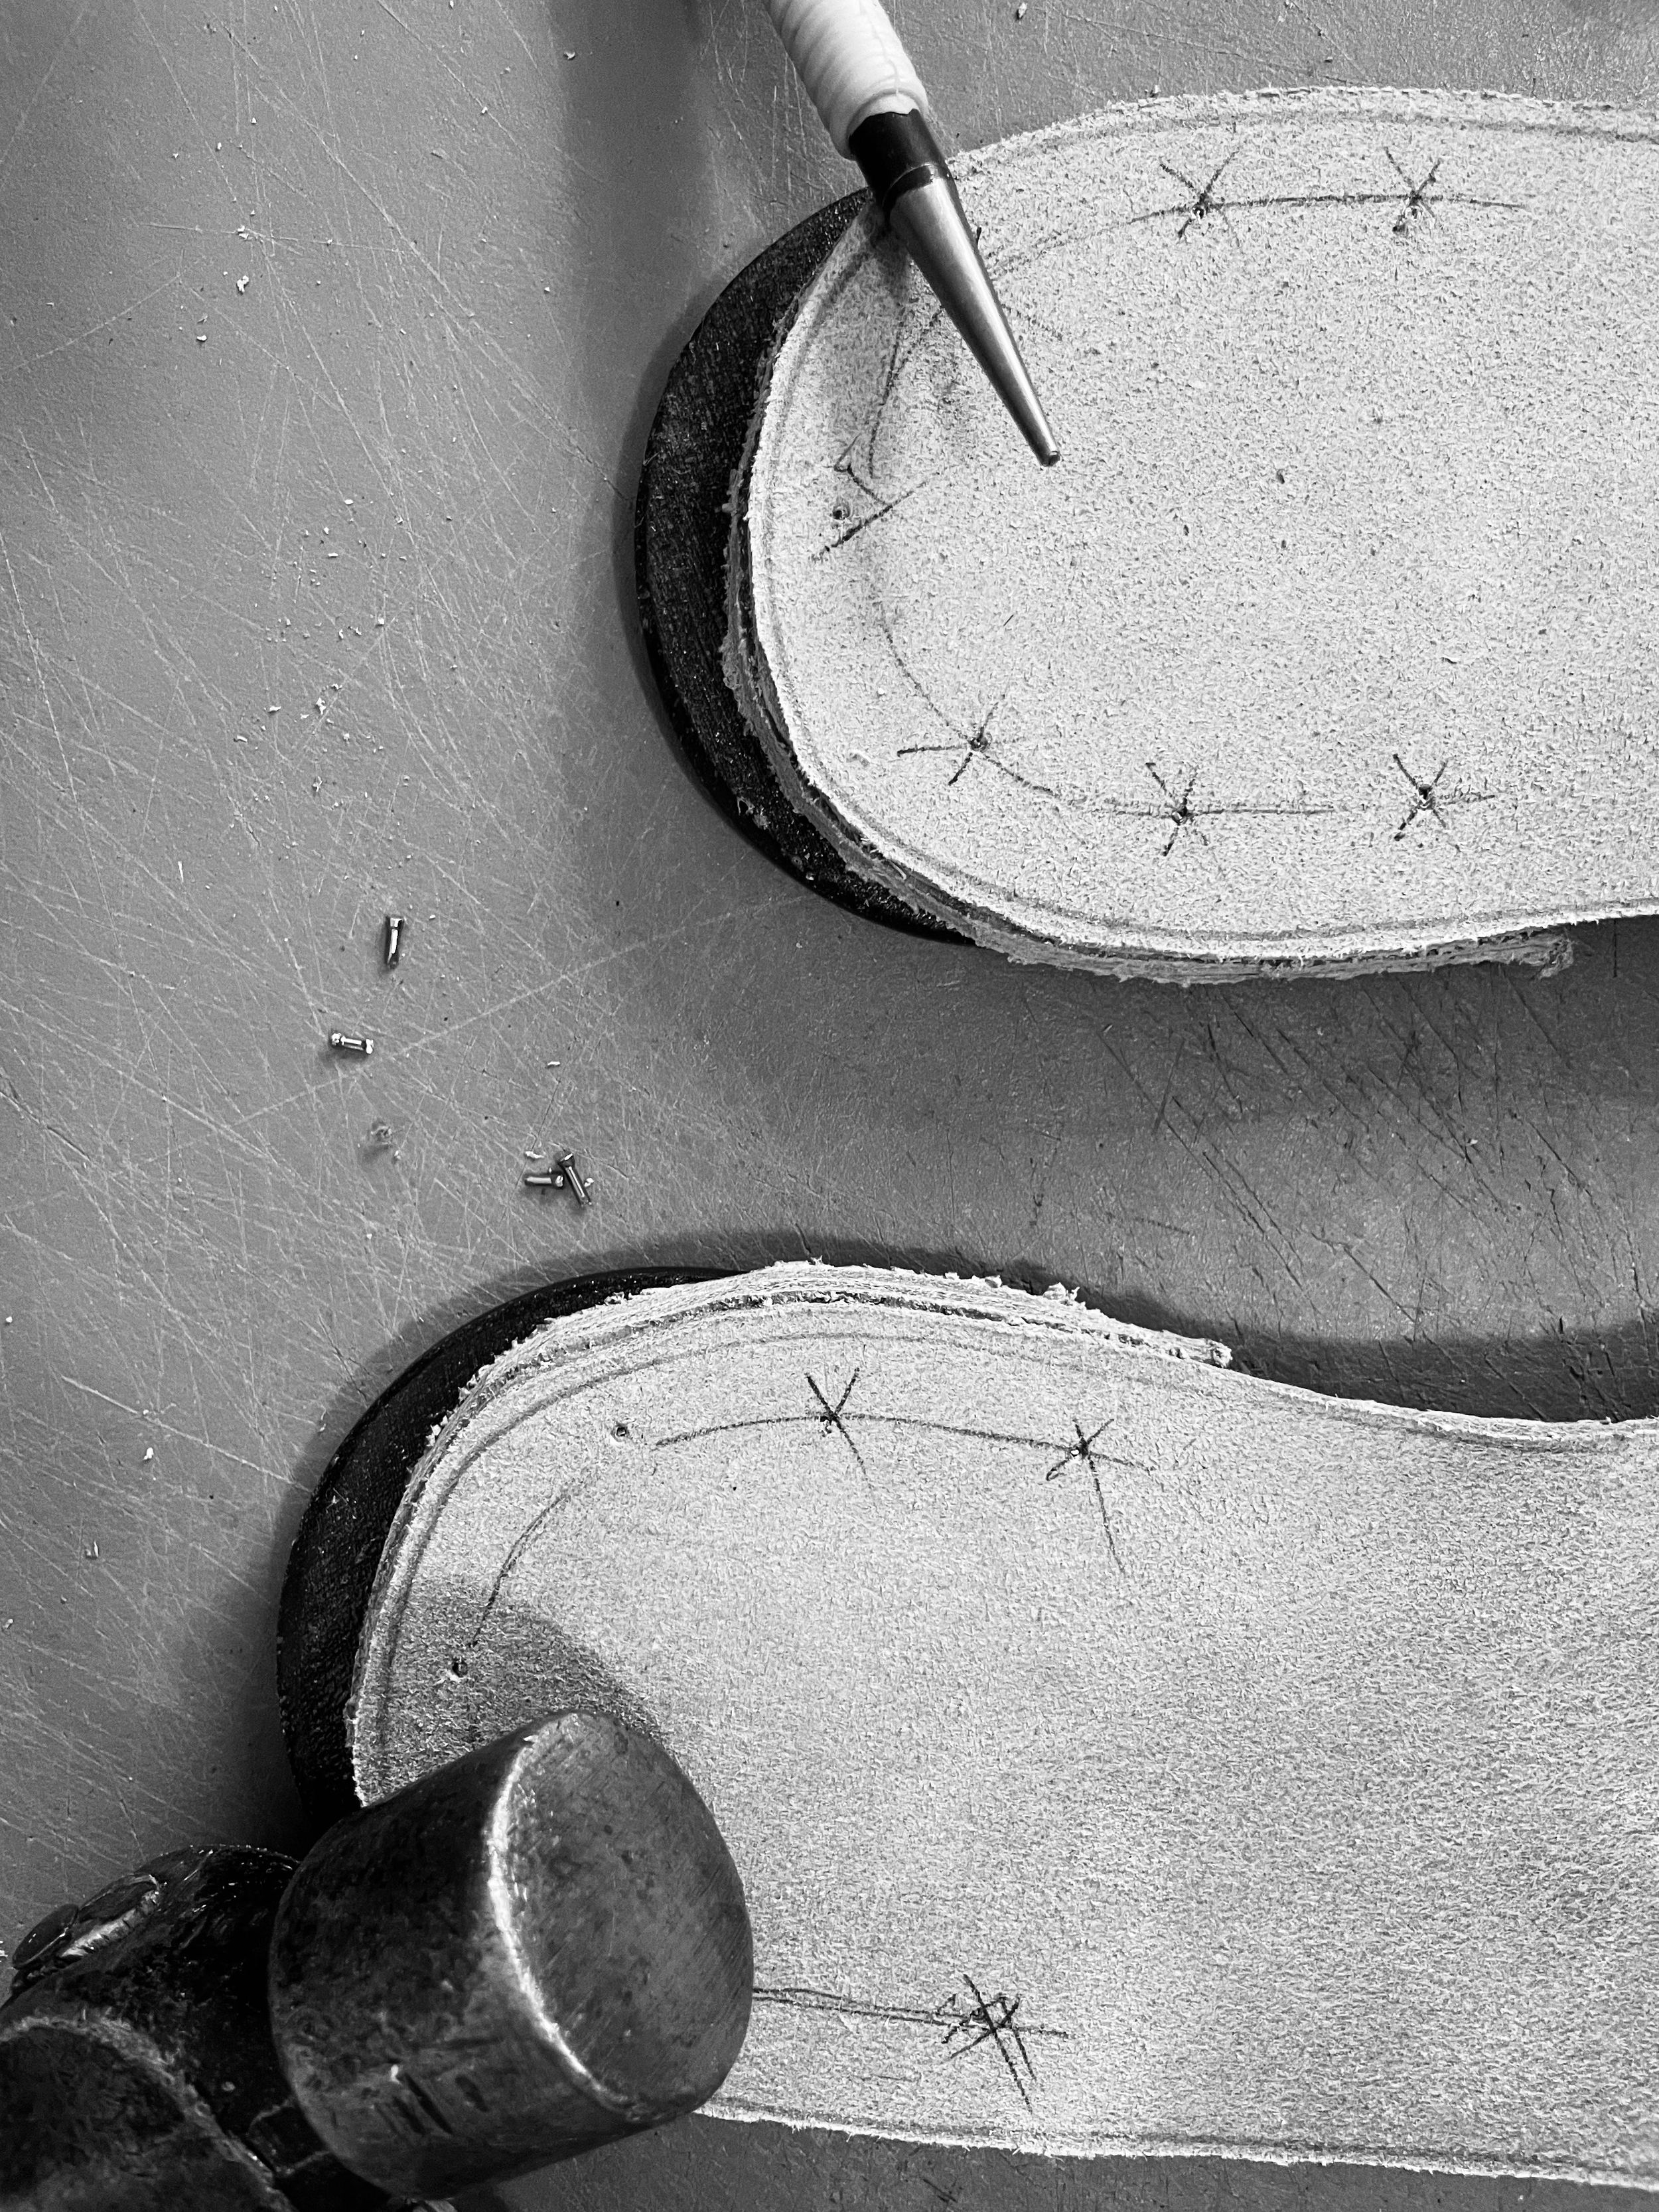
✔ Síll eða oddhvasst verkfæri (Gott til að merkja staðsetningu ólanna).
✔ Gatari (Til að gata sitthvora endana á rákunum fyrir ólarnar, notaðu gat nr. 2).
✔ Skurðmotta (Grænu! A4 stærð dugar vel).
✔ Dúkknál (Til að reka nagla rétt undir yfirborð).
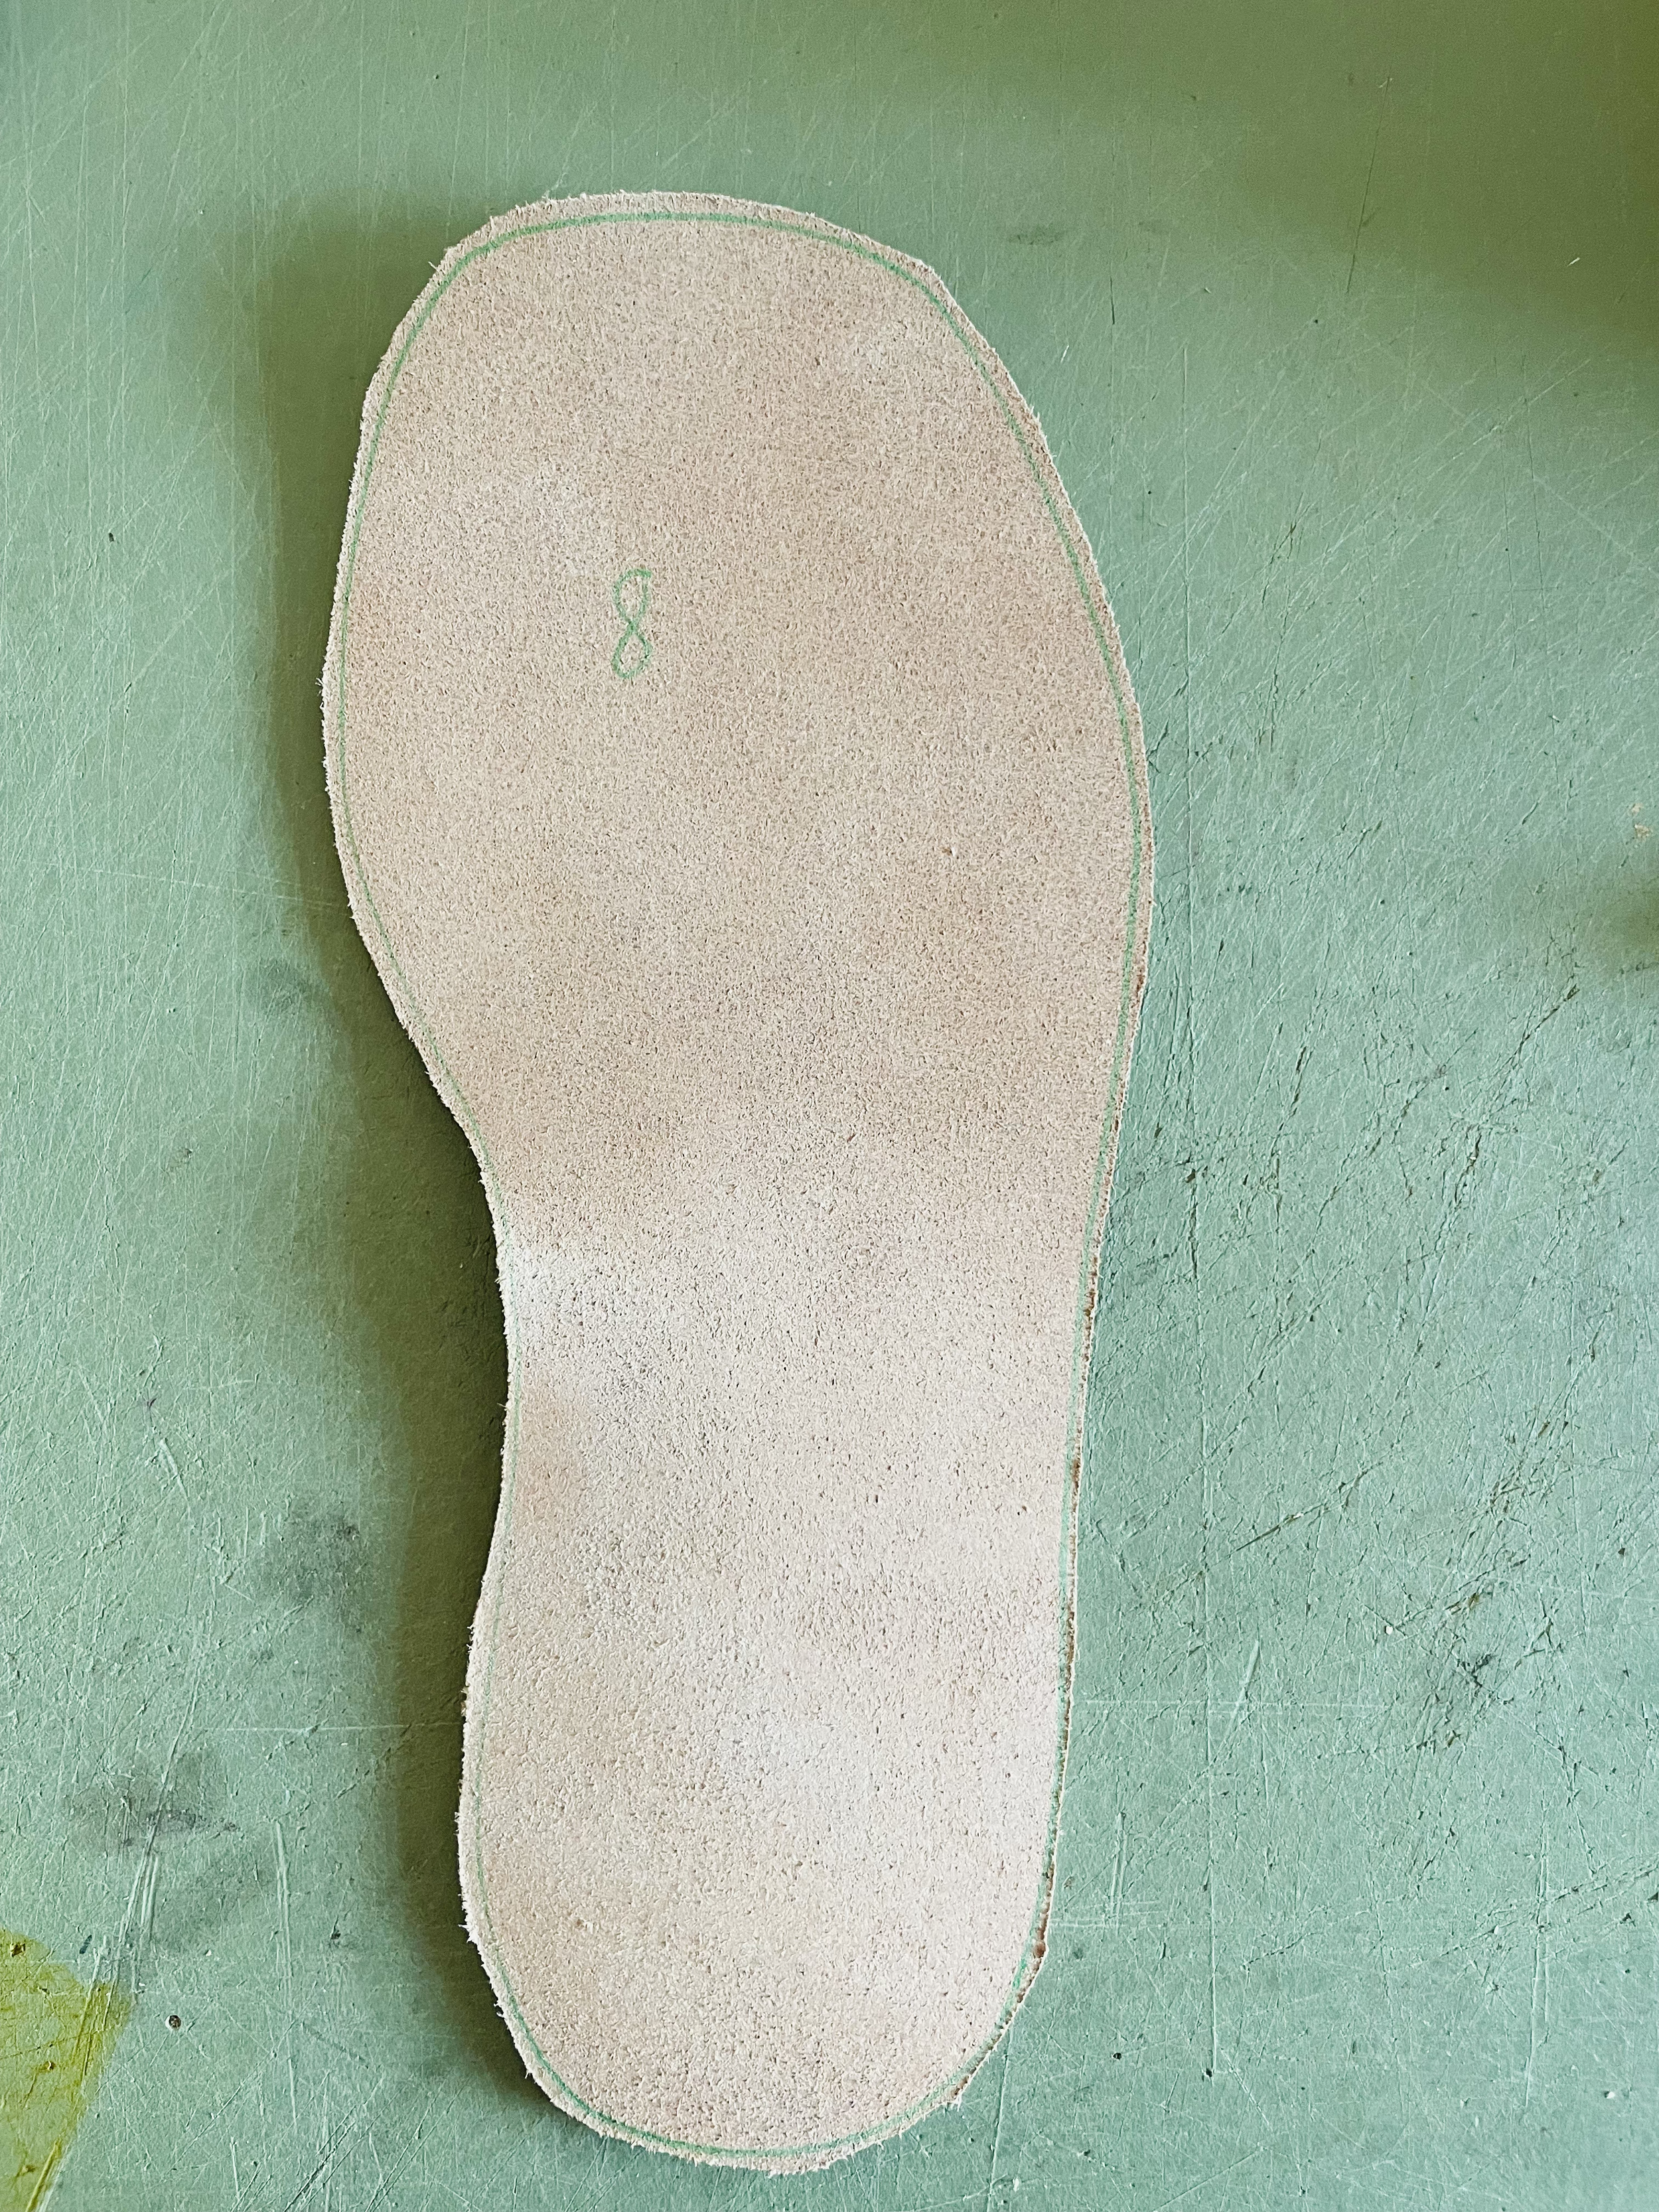
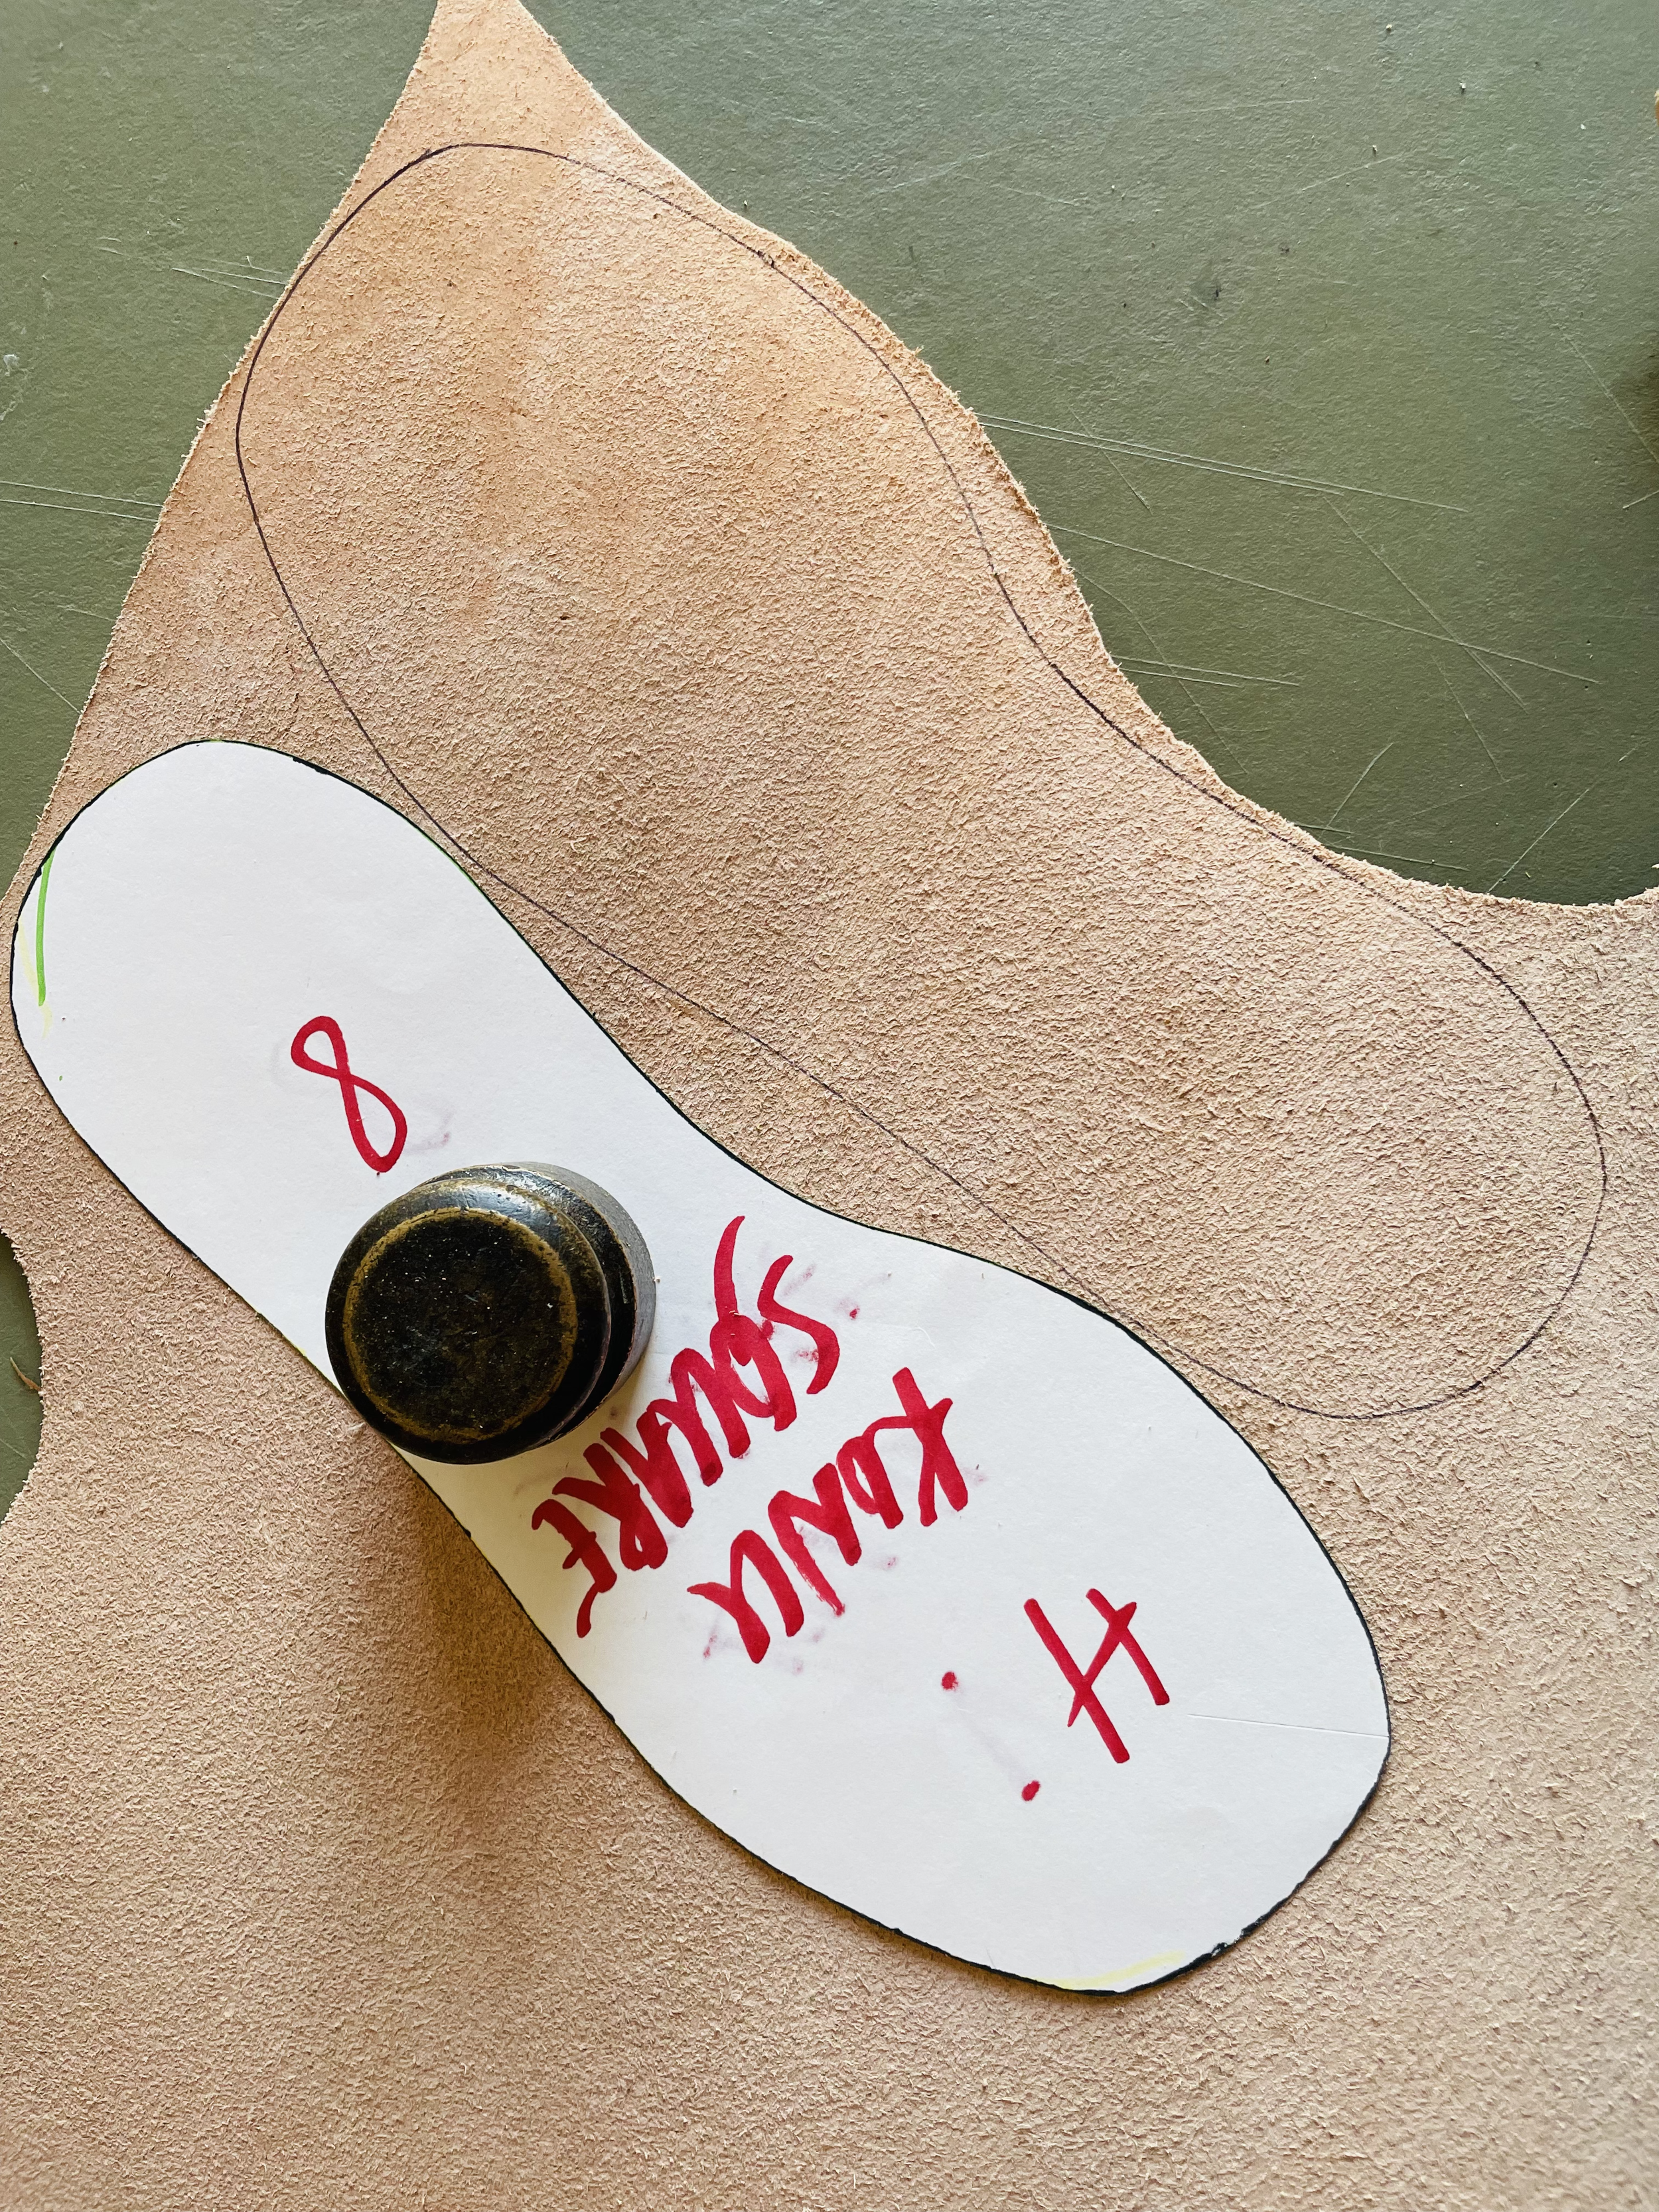
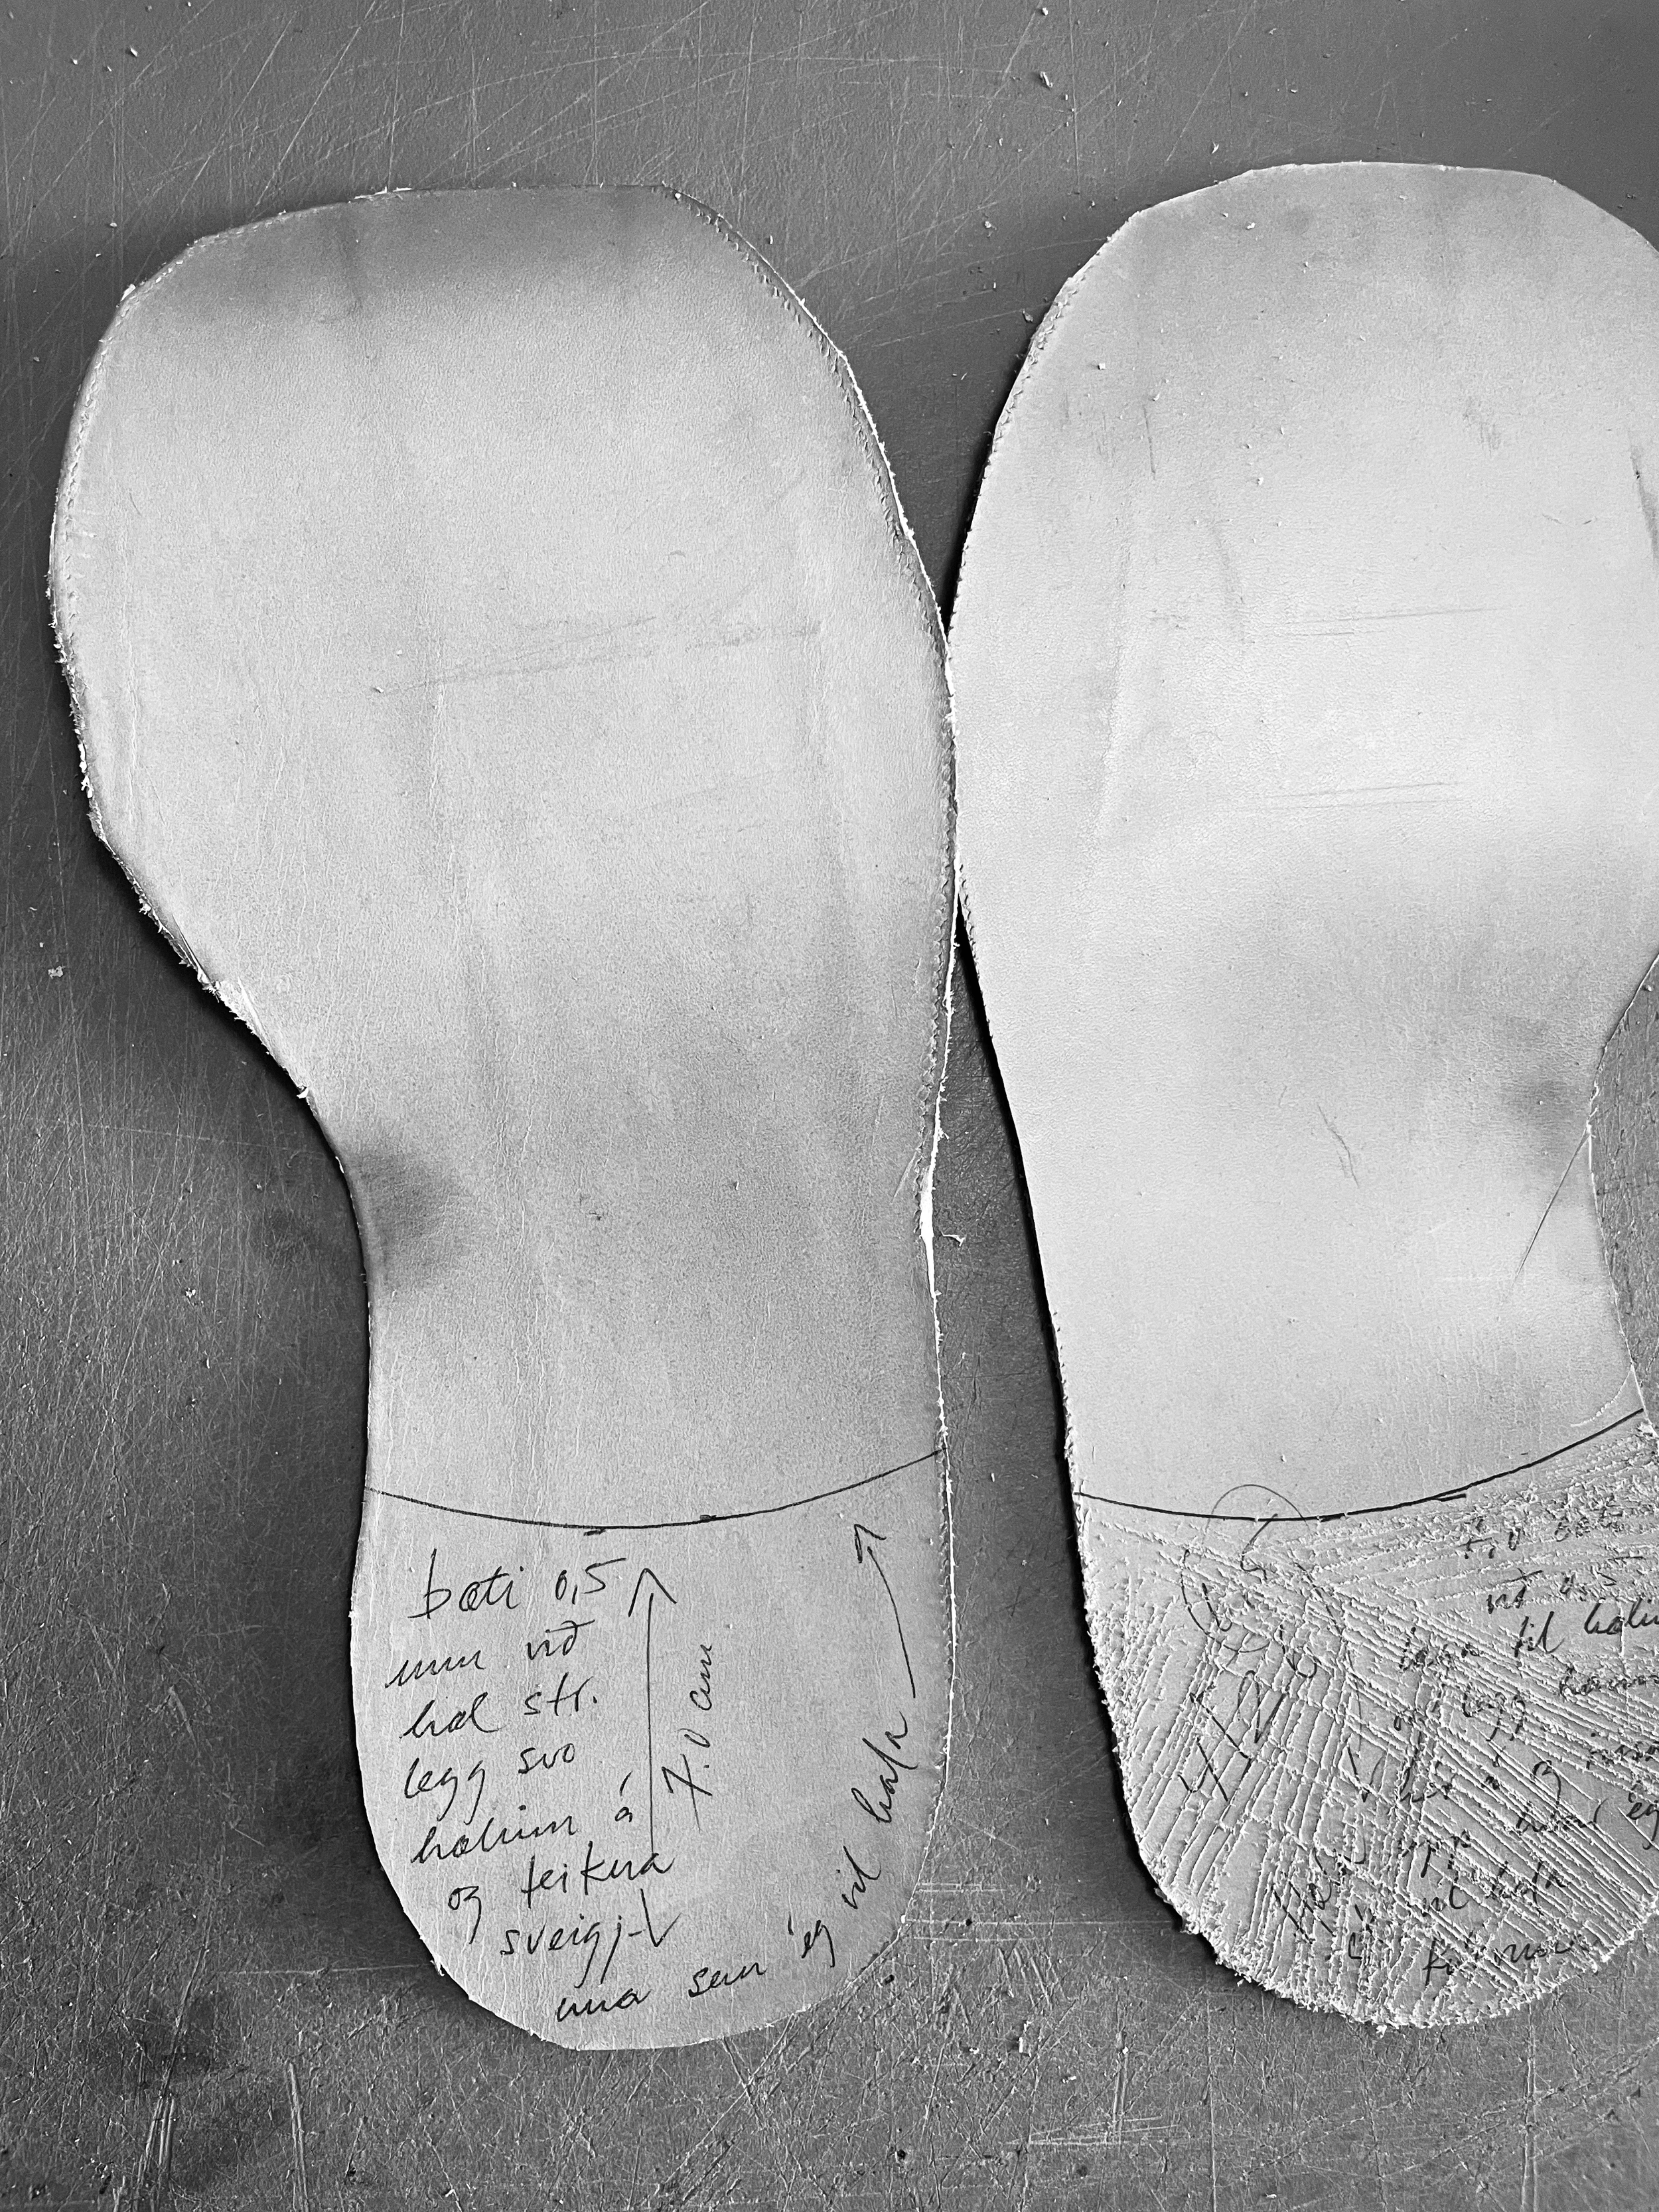
SKALAÐ SÓLASNIÐ & MÓTUN
1️⃣ Veldu eina stærð fyrir ofan þína raunverulegu stærð (Leður skreppur aðeins saman þegar það blotnar).
2️⃣ Yfirfærðu sniðið á smjörpappír, klipptu það út og færið það yfir á þykkari pappír fyrir betri vinnuaðstöðu.
3️⃣ Snúðu forminu til að fá bæði hægri og vinstri sóla.
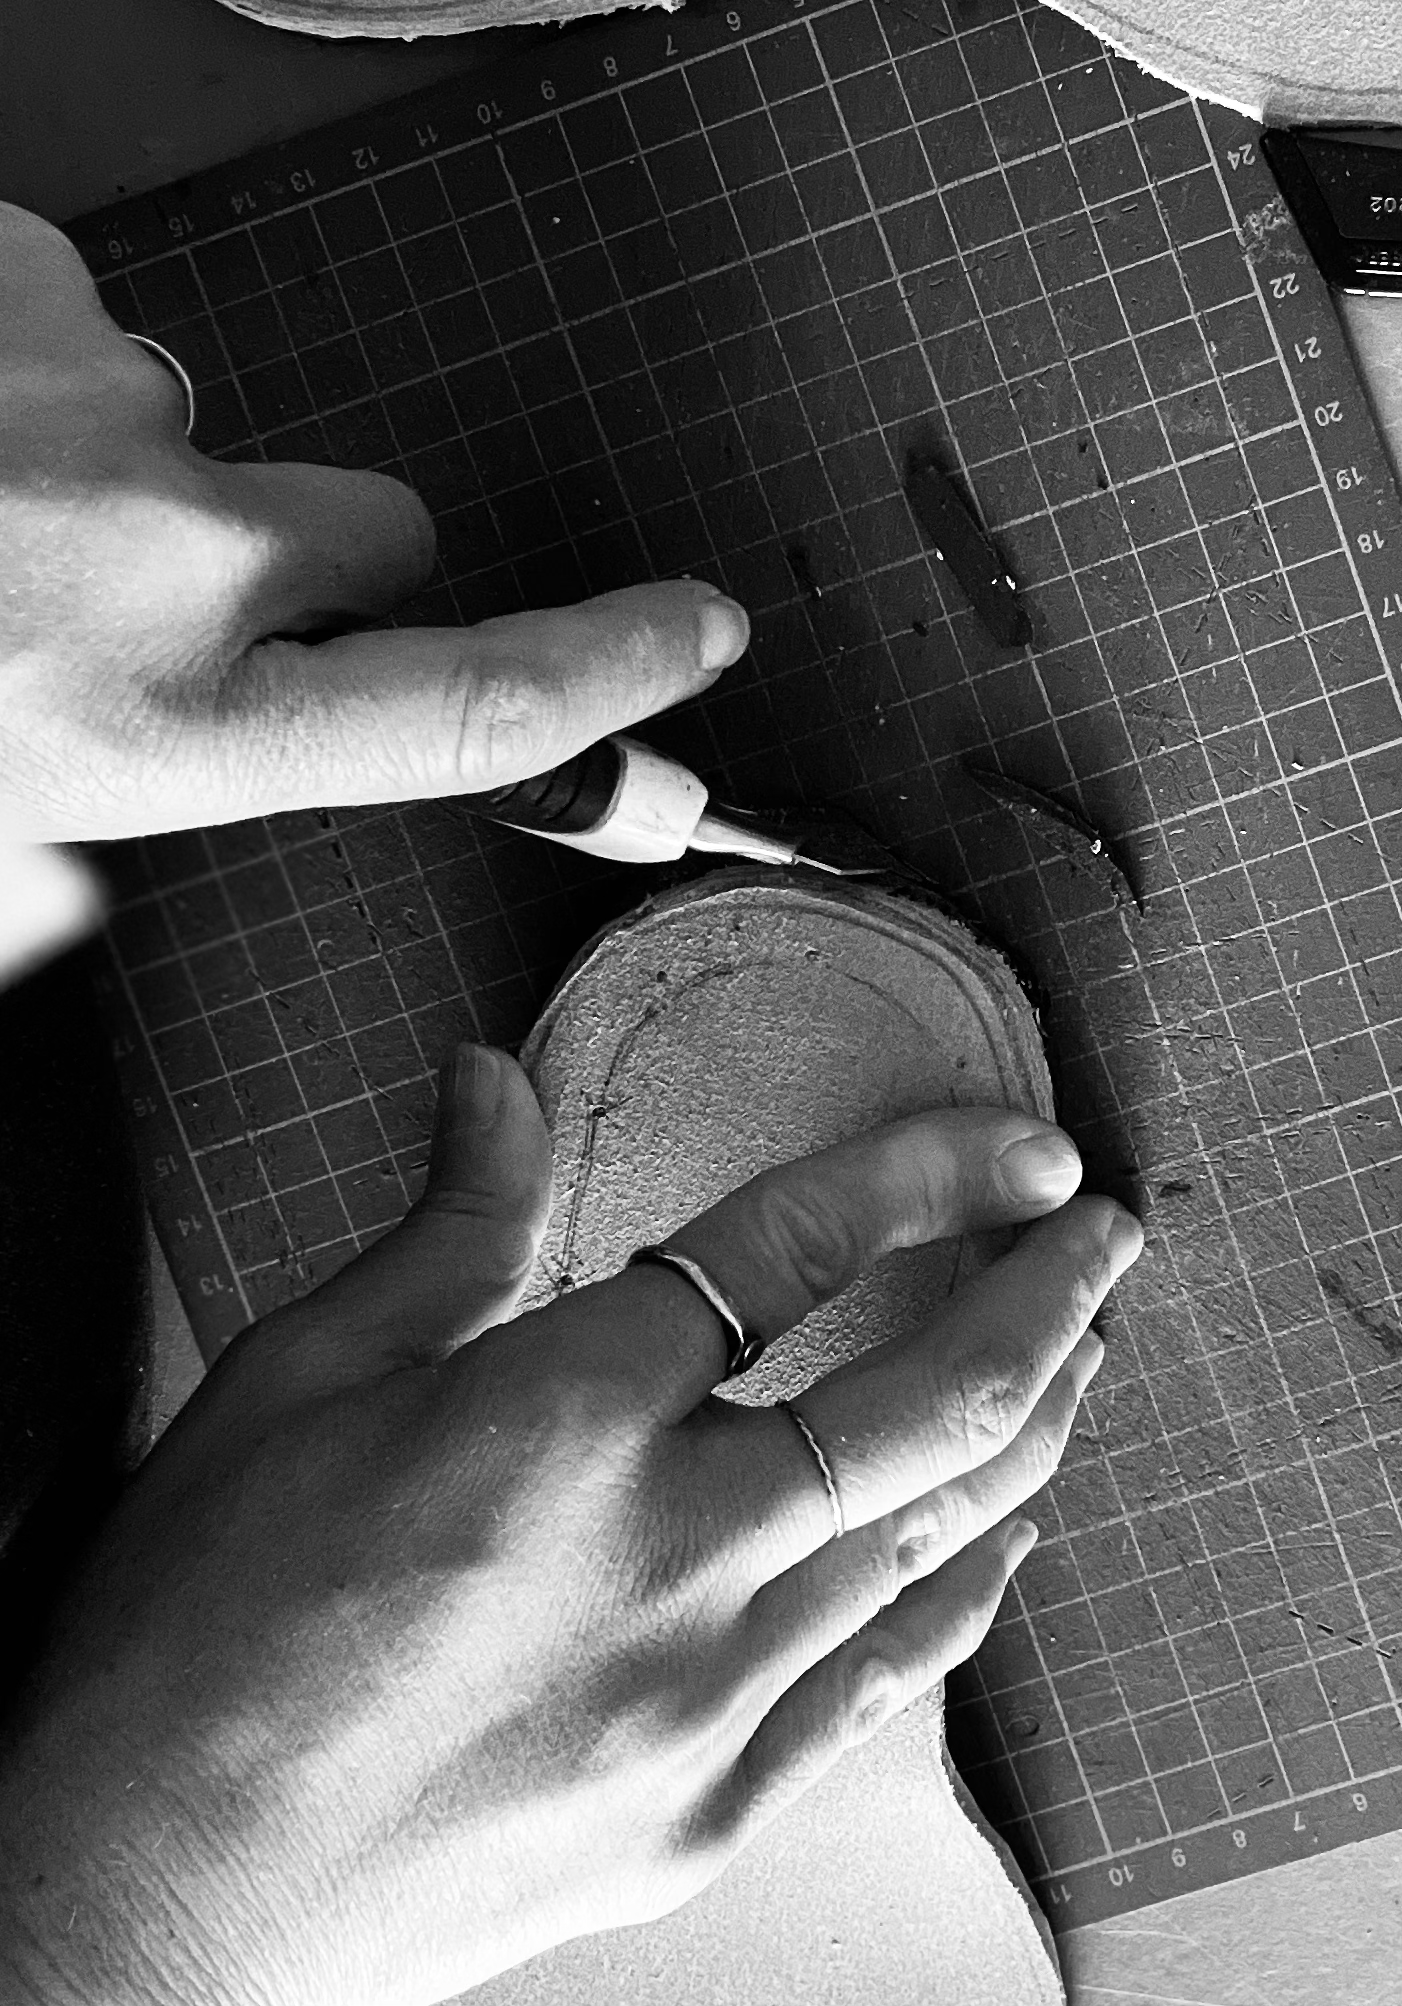
4️⃣ Skerðu rétt utan við tússlínuna (kantar verða síðan slípaðir til).
💡 Ráð: Notaðu grunnar skurði og skerðu ofan í sama skurðinn aftur og aftur. Haltu hnífnum eins og penna og hvíldu olnbogann á borðinu.
5️⃣ Bleyttu sólan og mótaðu hann með því að sveigja hann lítillega.
HÆLAR – NAUÐSYNLEGT!
• Settið inniheldur þrjú hælalög á hvern skó.
• Þú ræður hæðinni með því að nota færri lög.
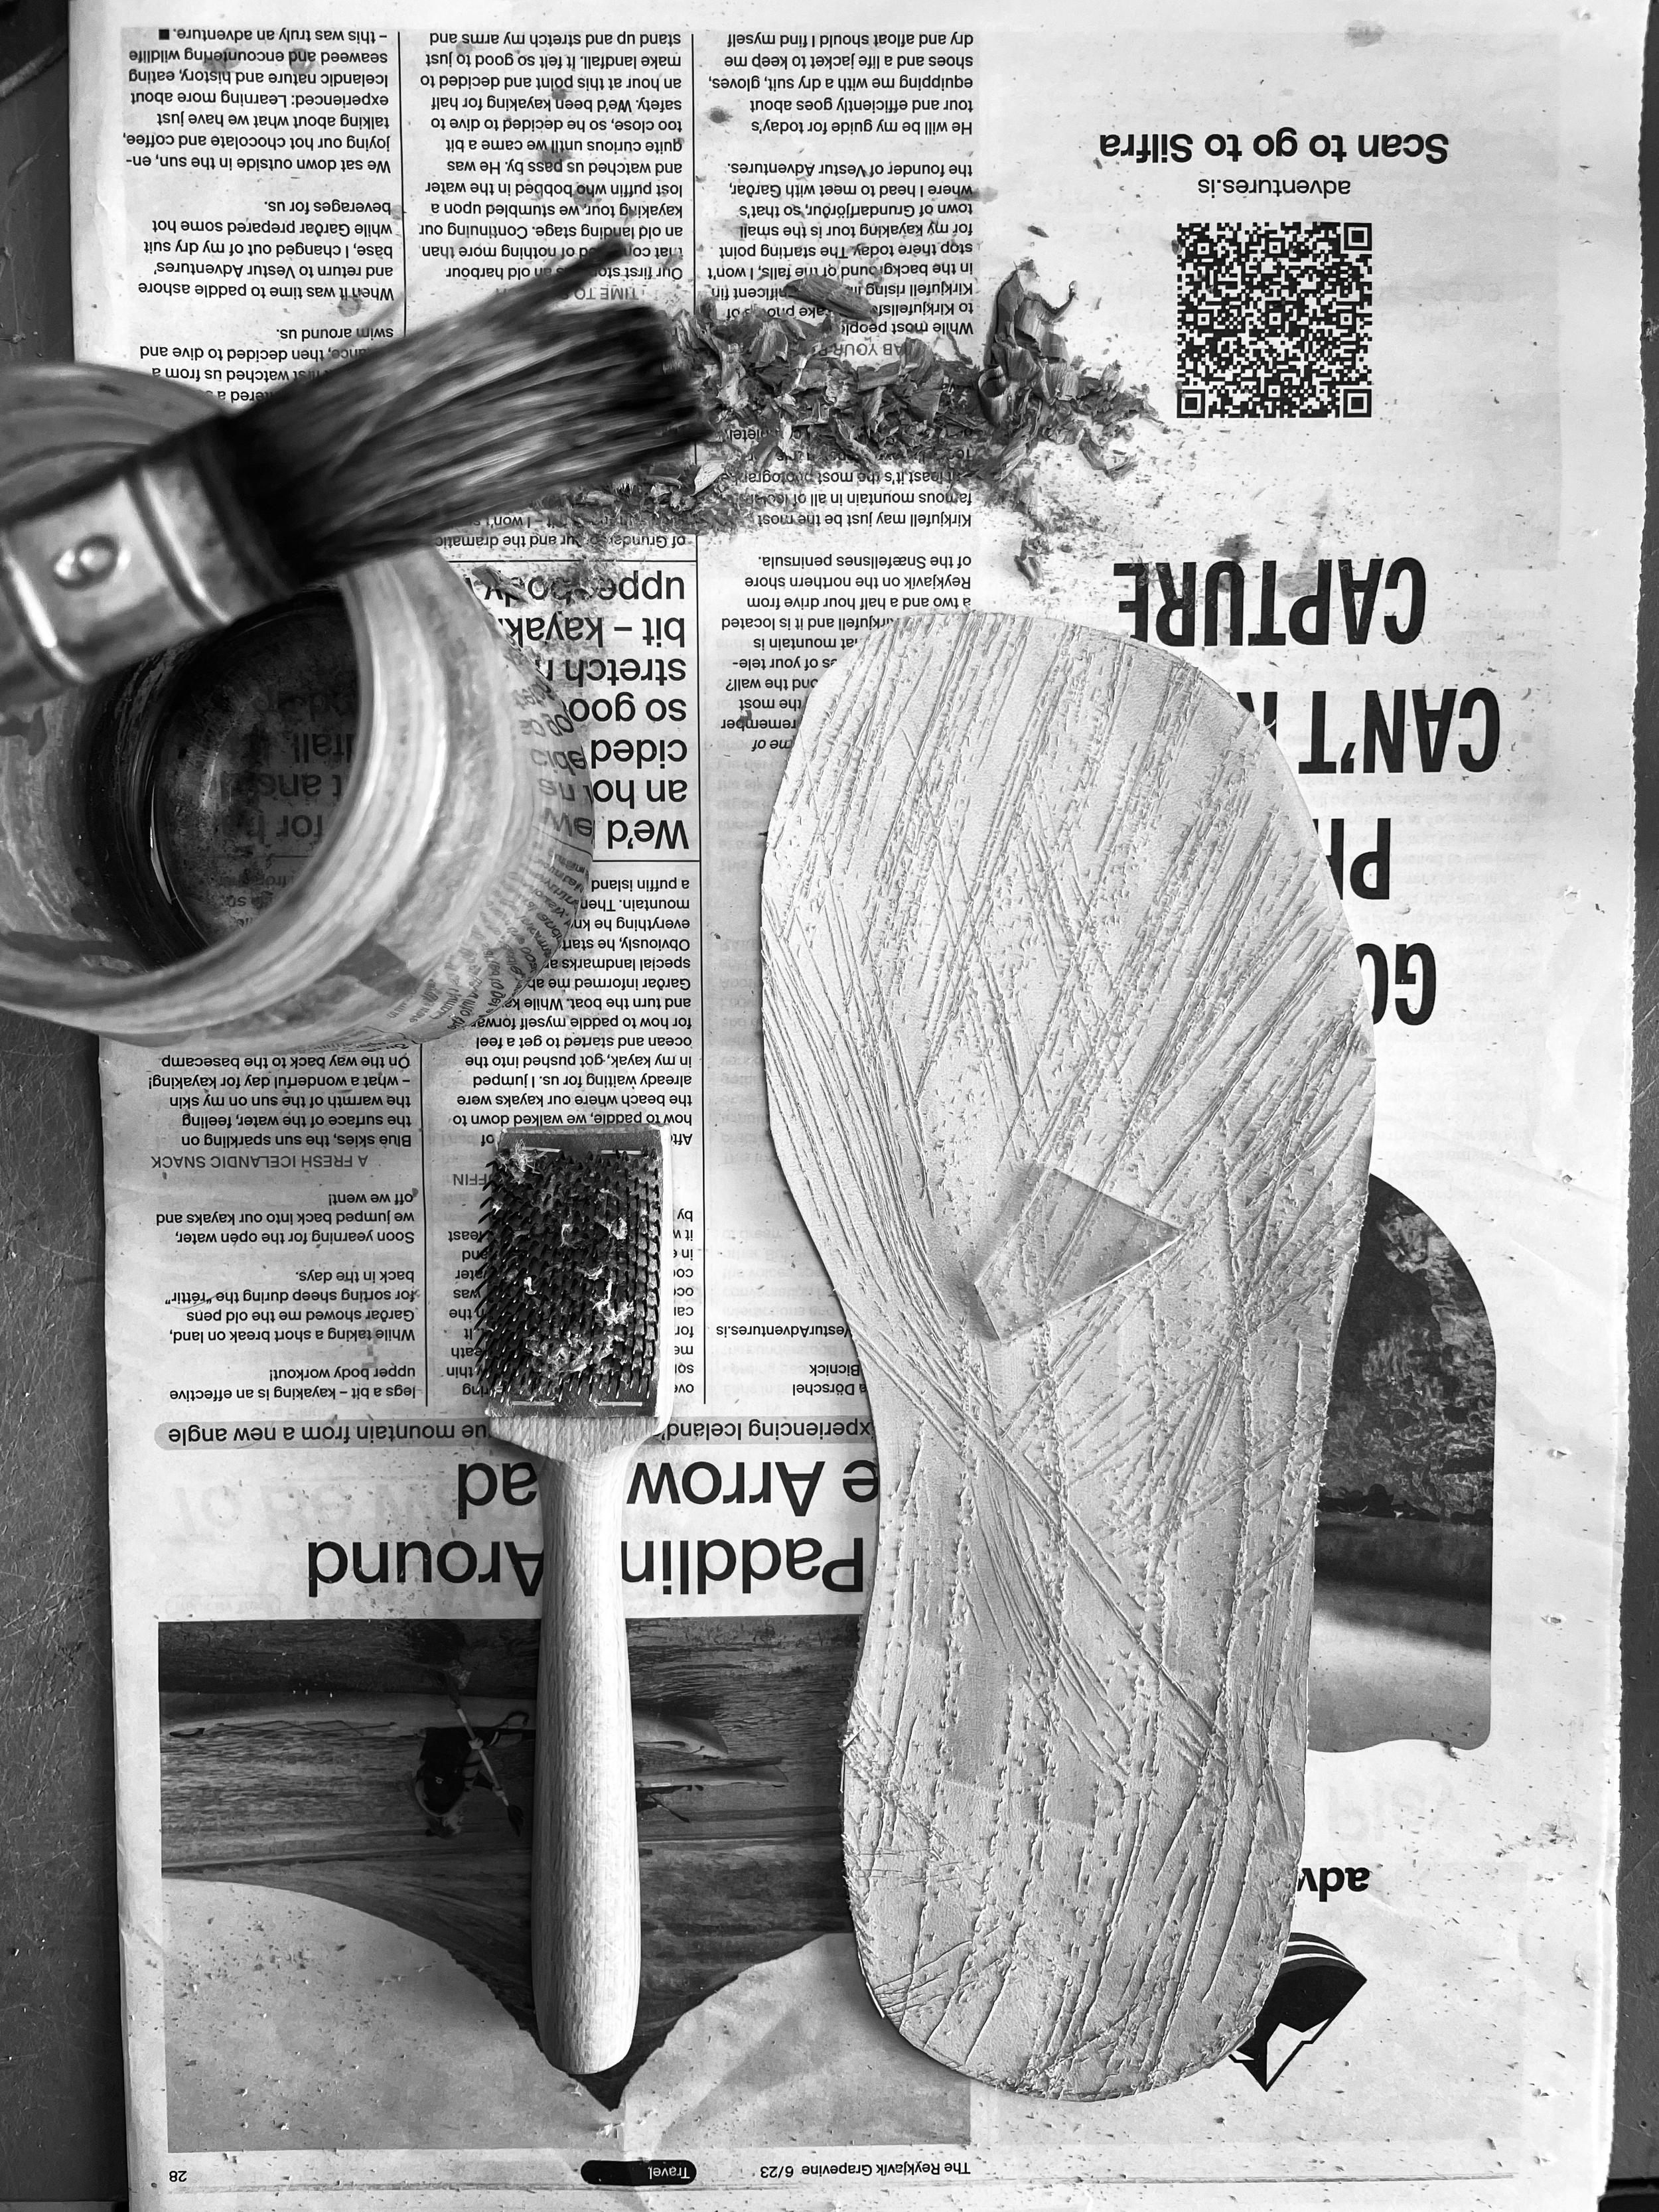
• Raspaðu yfirborð þeirra til að límið grípi betur.
• Límdu lögin saman, hamraðu yfir og tryggðu að þau séu jöfn.
• Notaðu nagla til að festa hælinn undir sólann.
⏳ Heildartími: Um 60 mínútur.
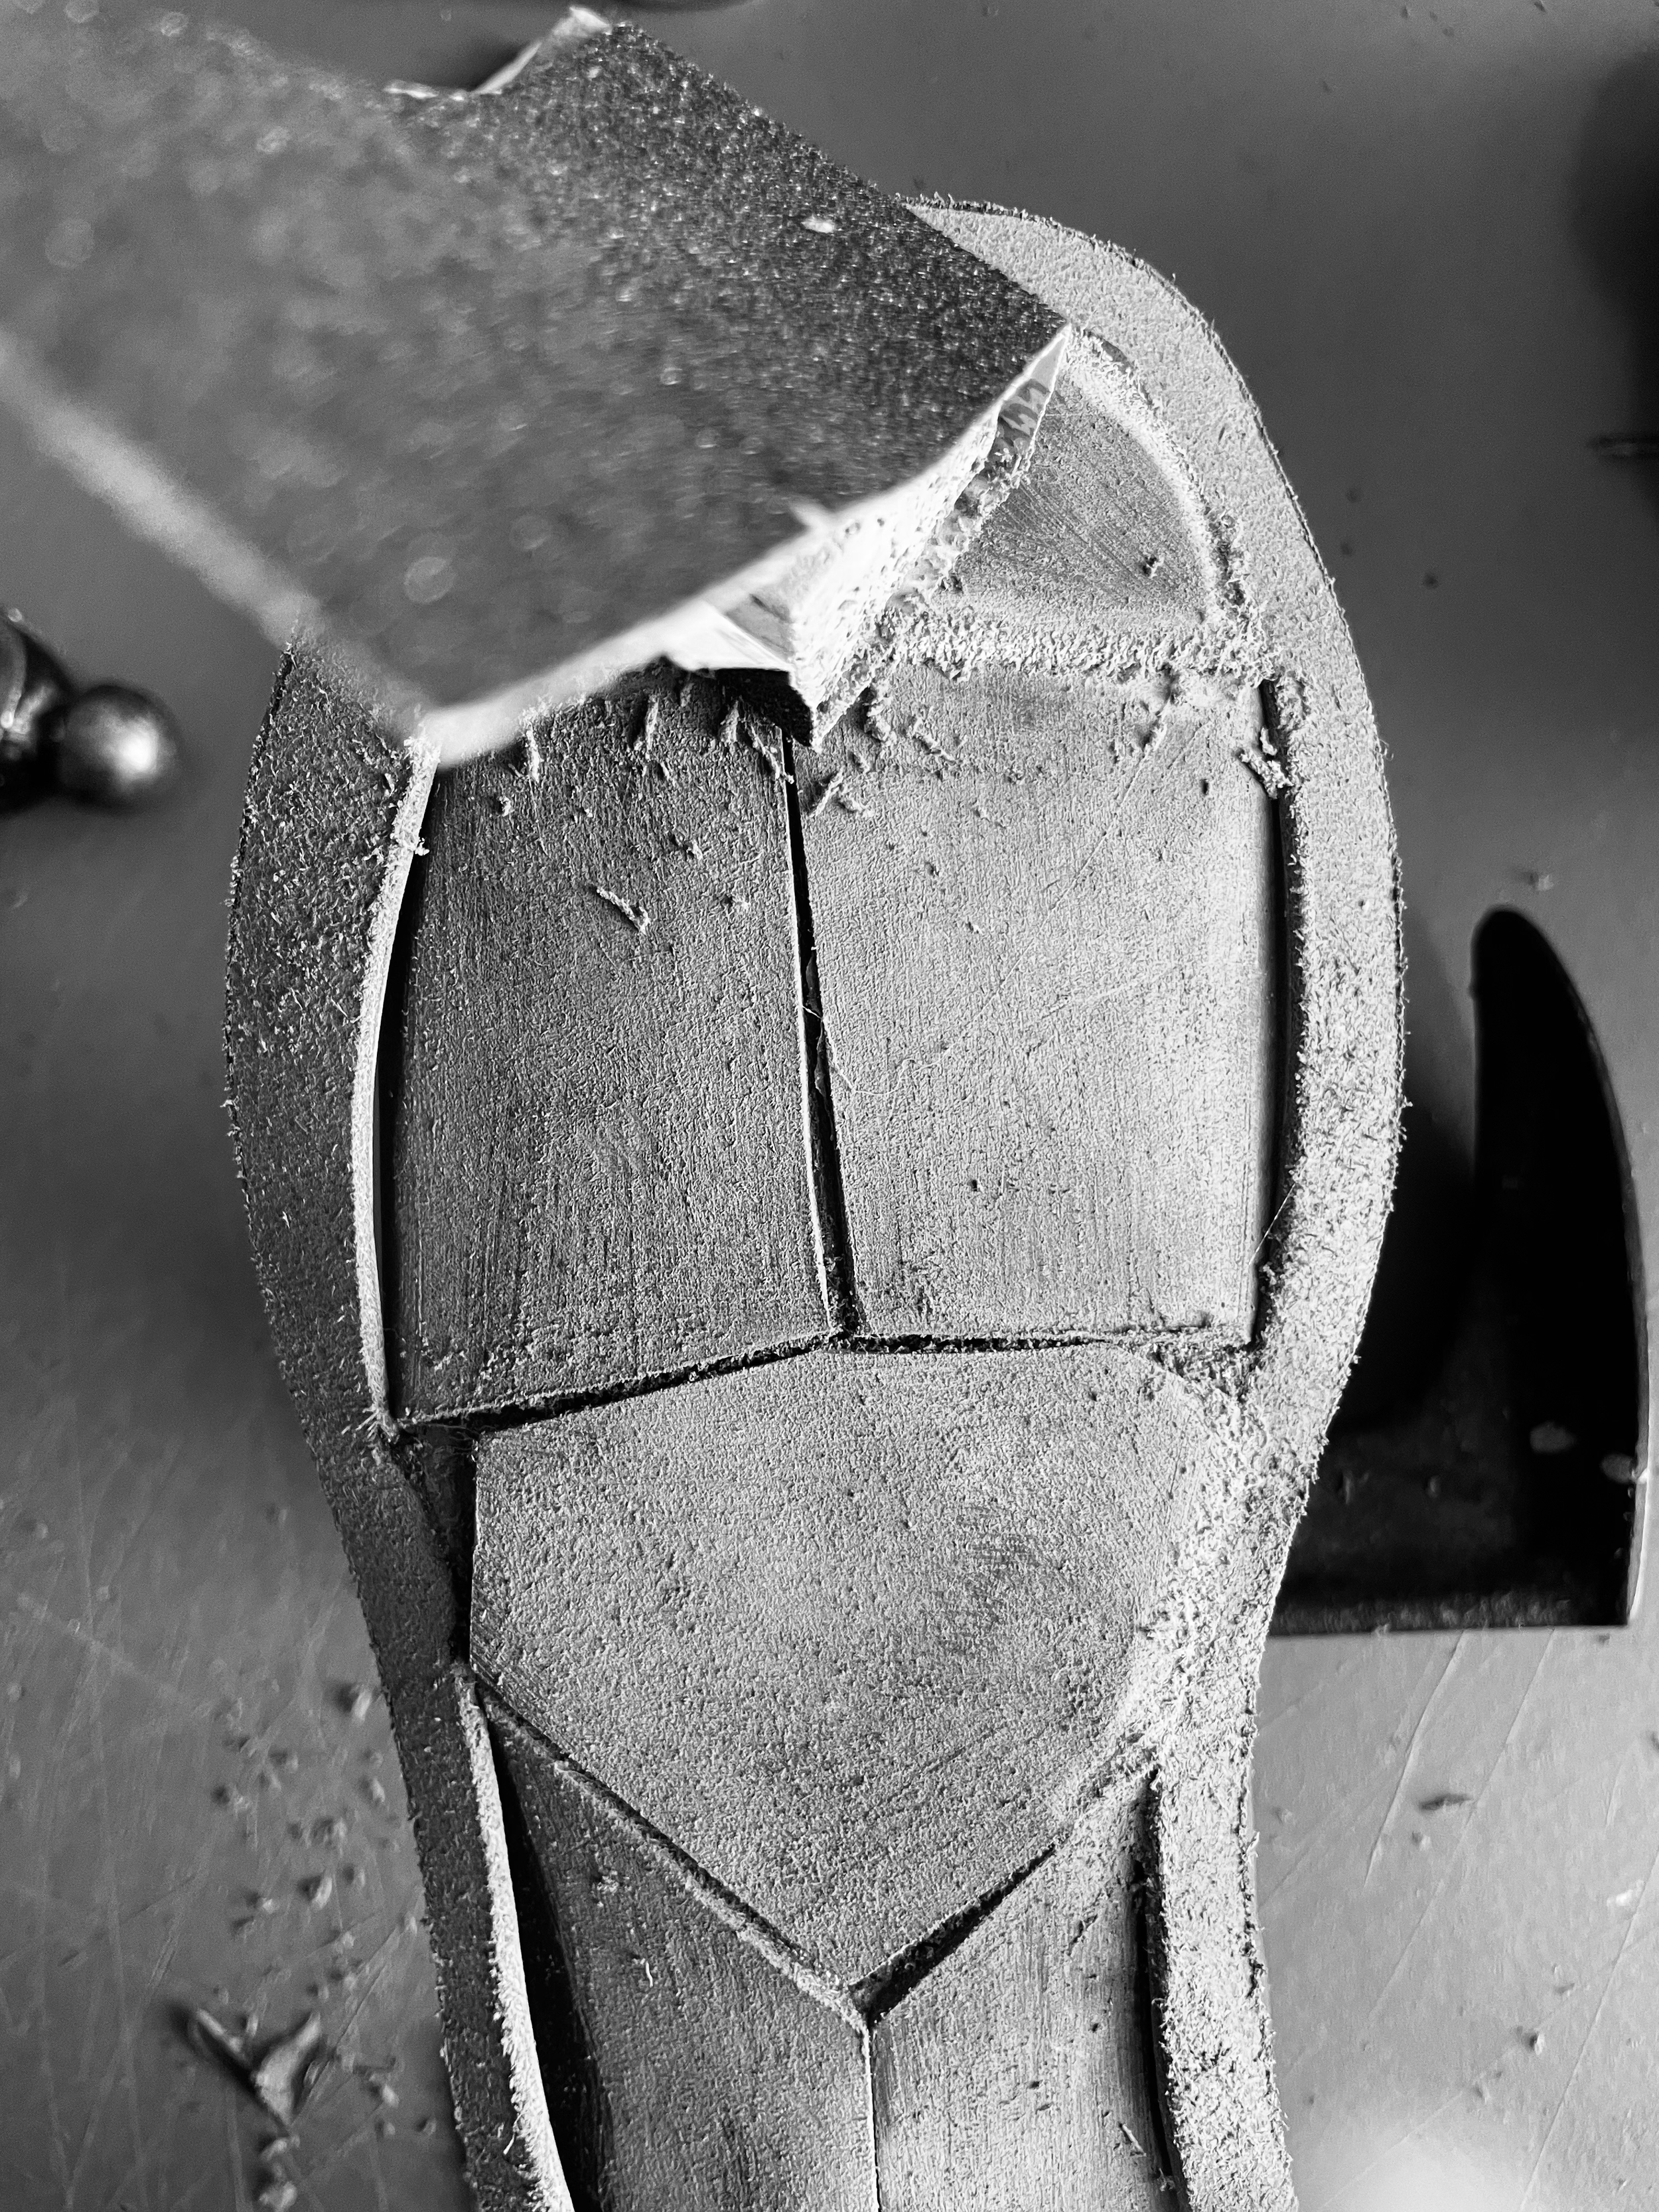
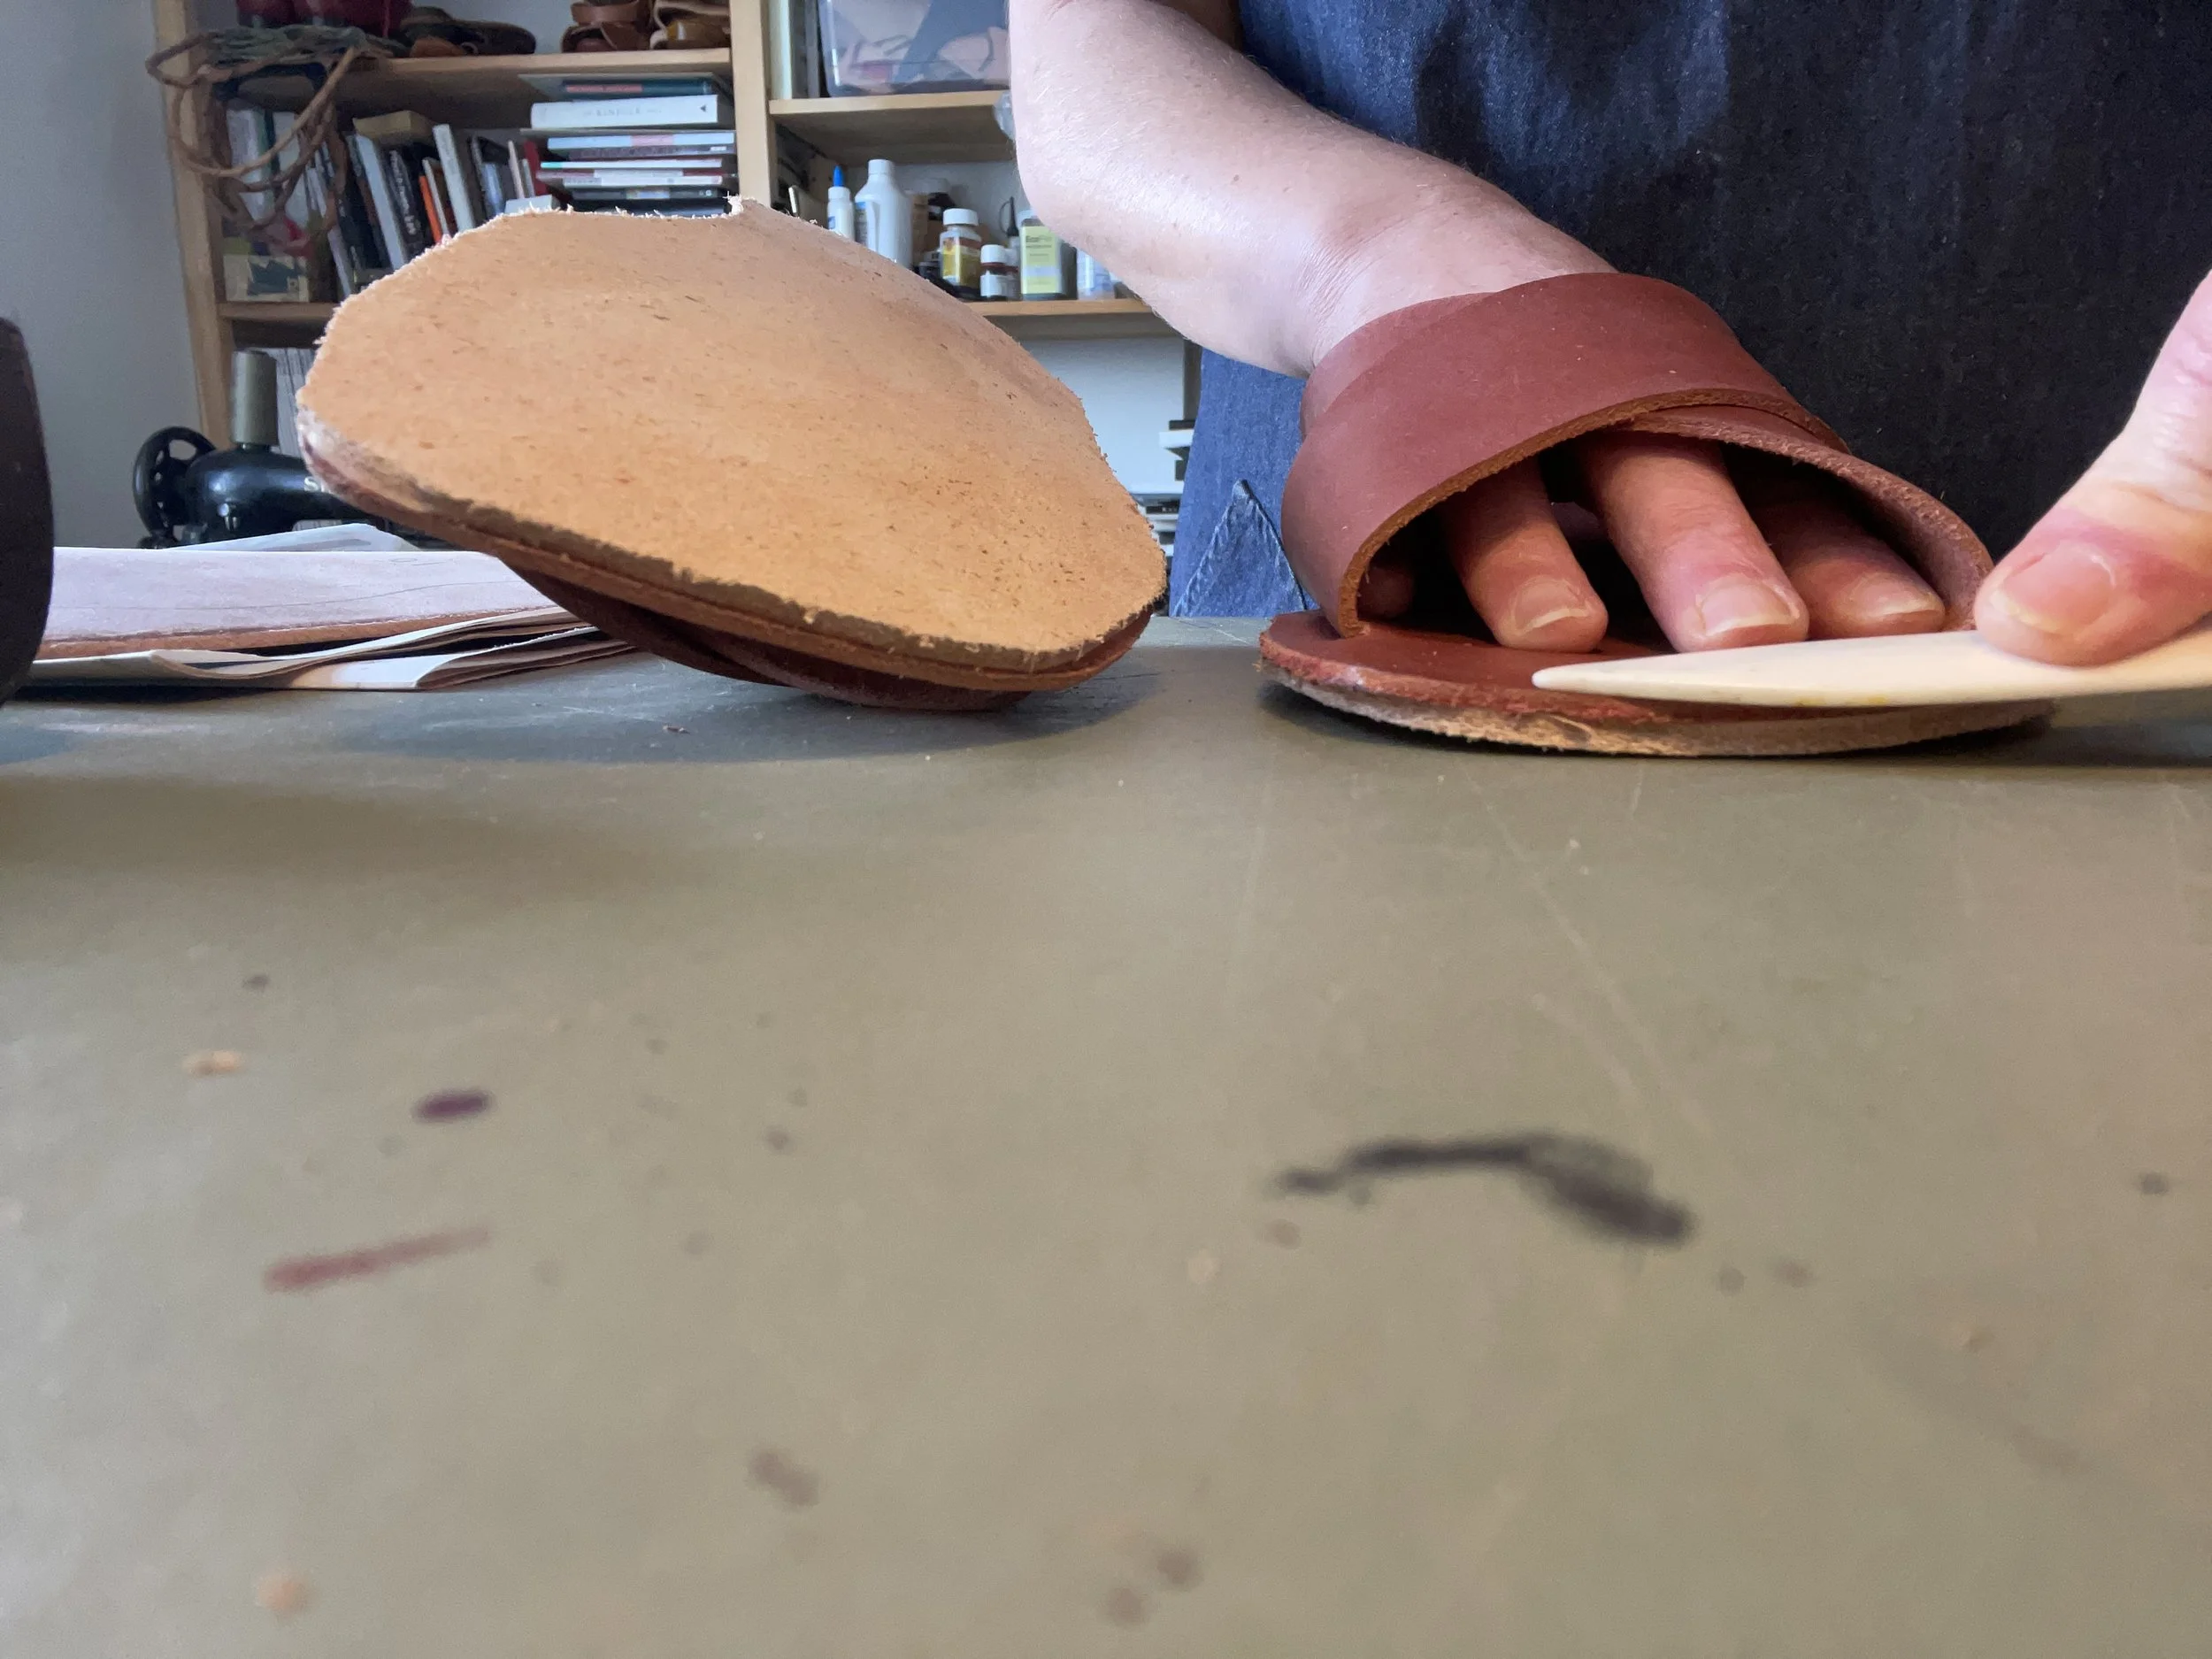
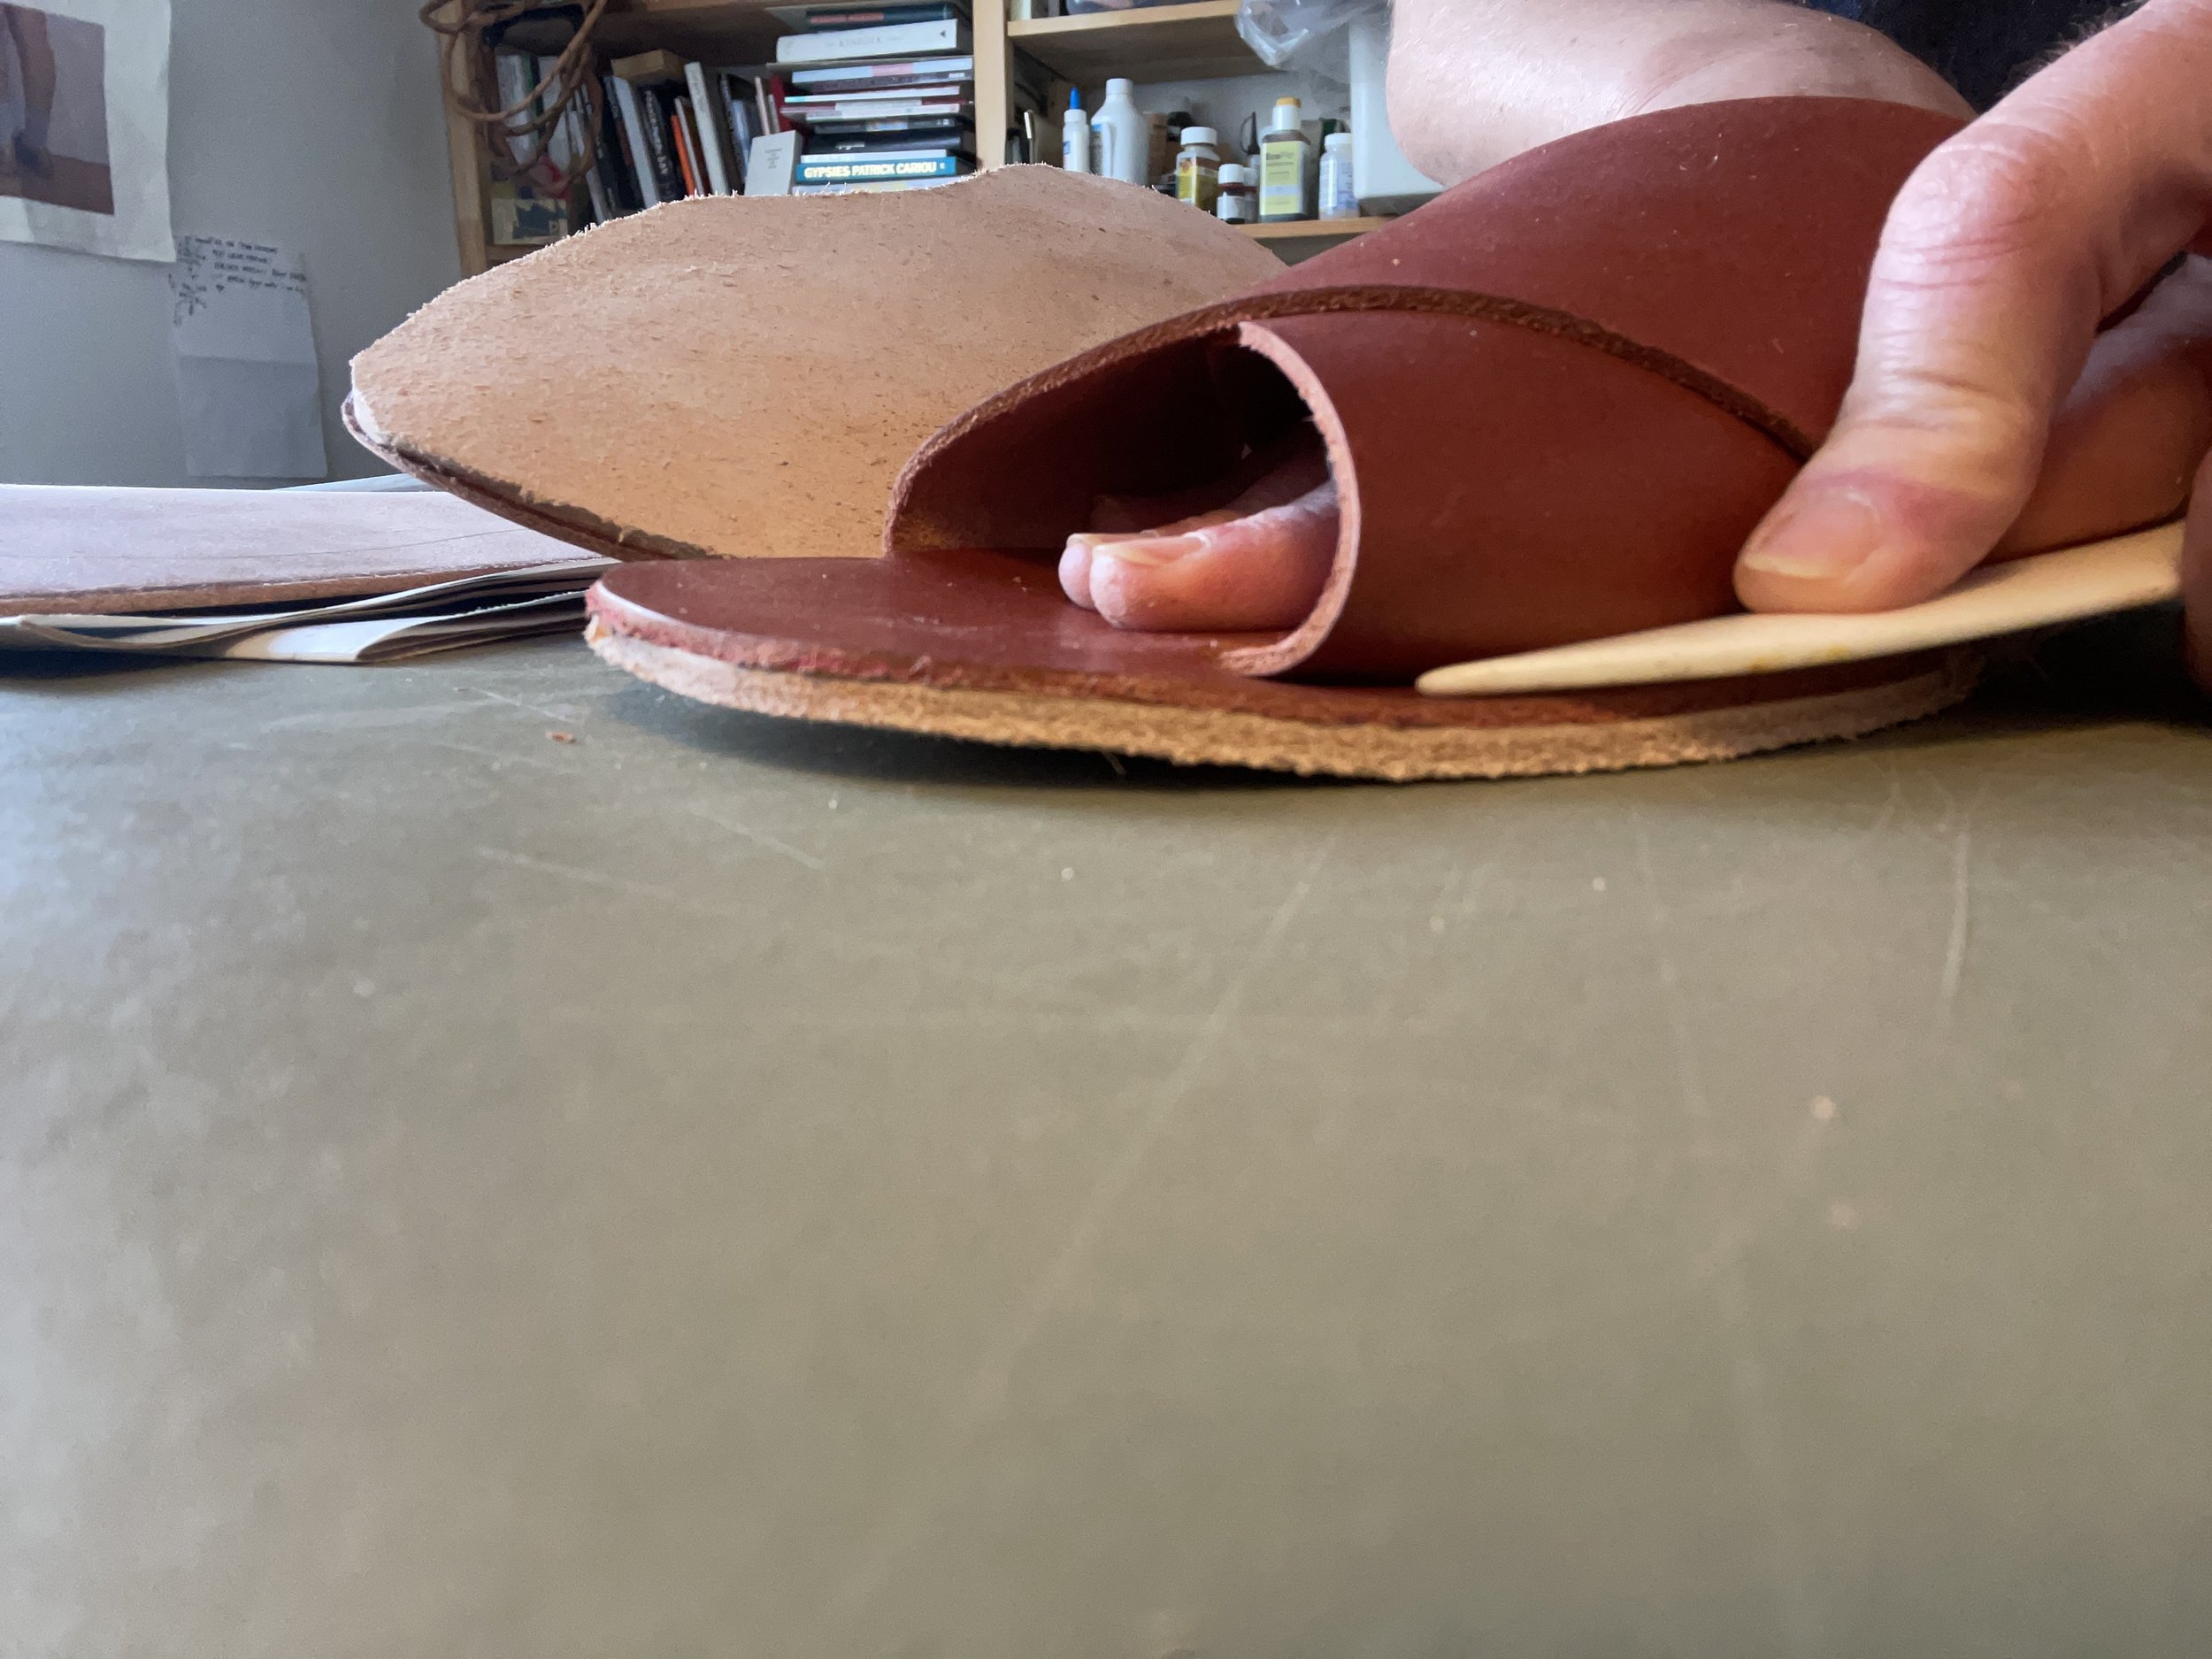
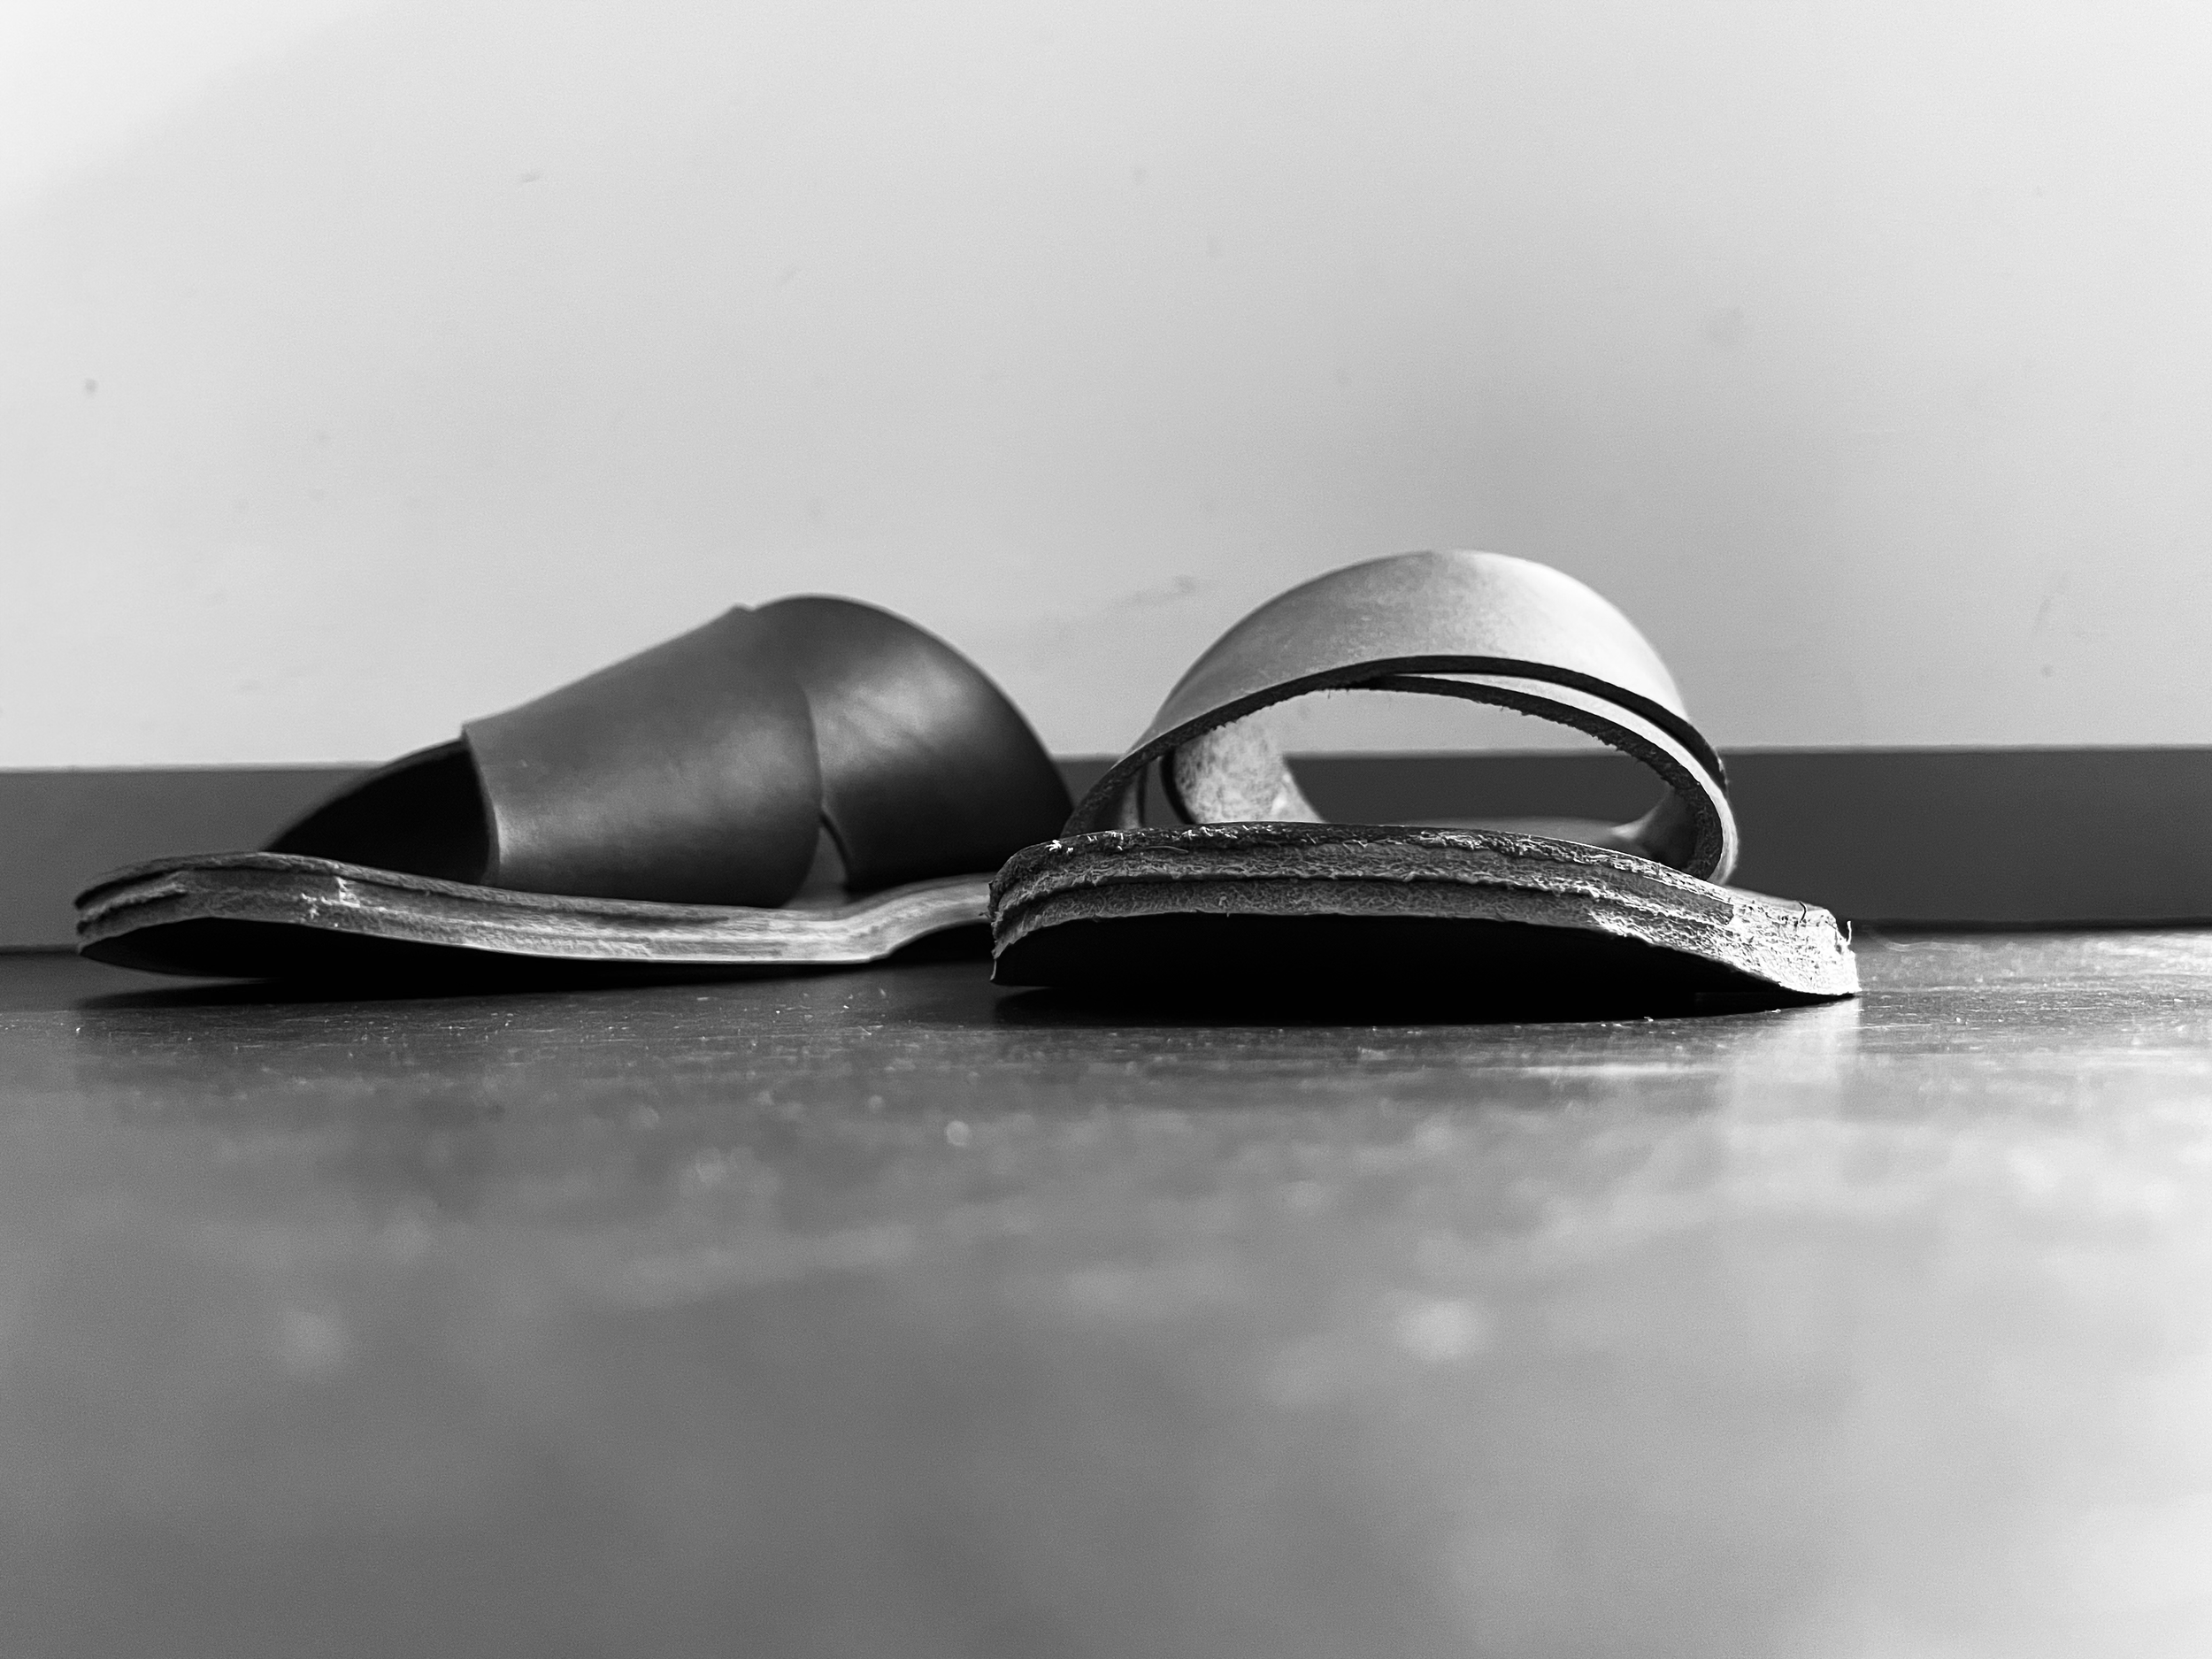
LOKASAMSETNING
• Límdu bindsólann við millisólann og svo við ytrisólann.
• Hamraðu kantana þétt saman til að tryggja sterka bindingu.
• Sandaðu kantana mjúklega (fyrst með grófum, svo fínum sandpappír).
• Berðu á leðurfitu fyrir aukna vörn og gljáa.
💡 Aukalega:
• Farðu með sandalana til skósmiðs til að fá fagmannlega áferð eða gúmmíbotn fyrir meiri endingu.
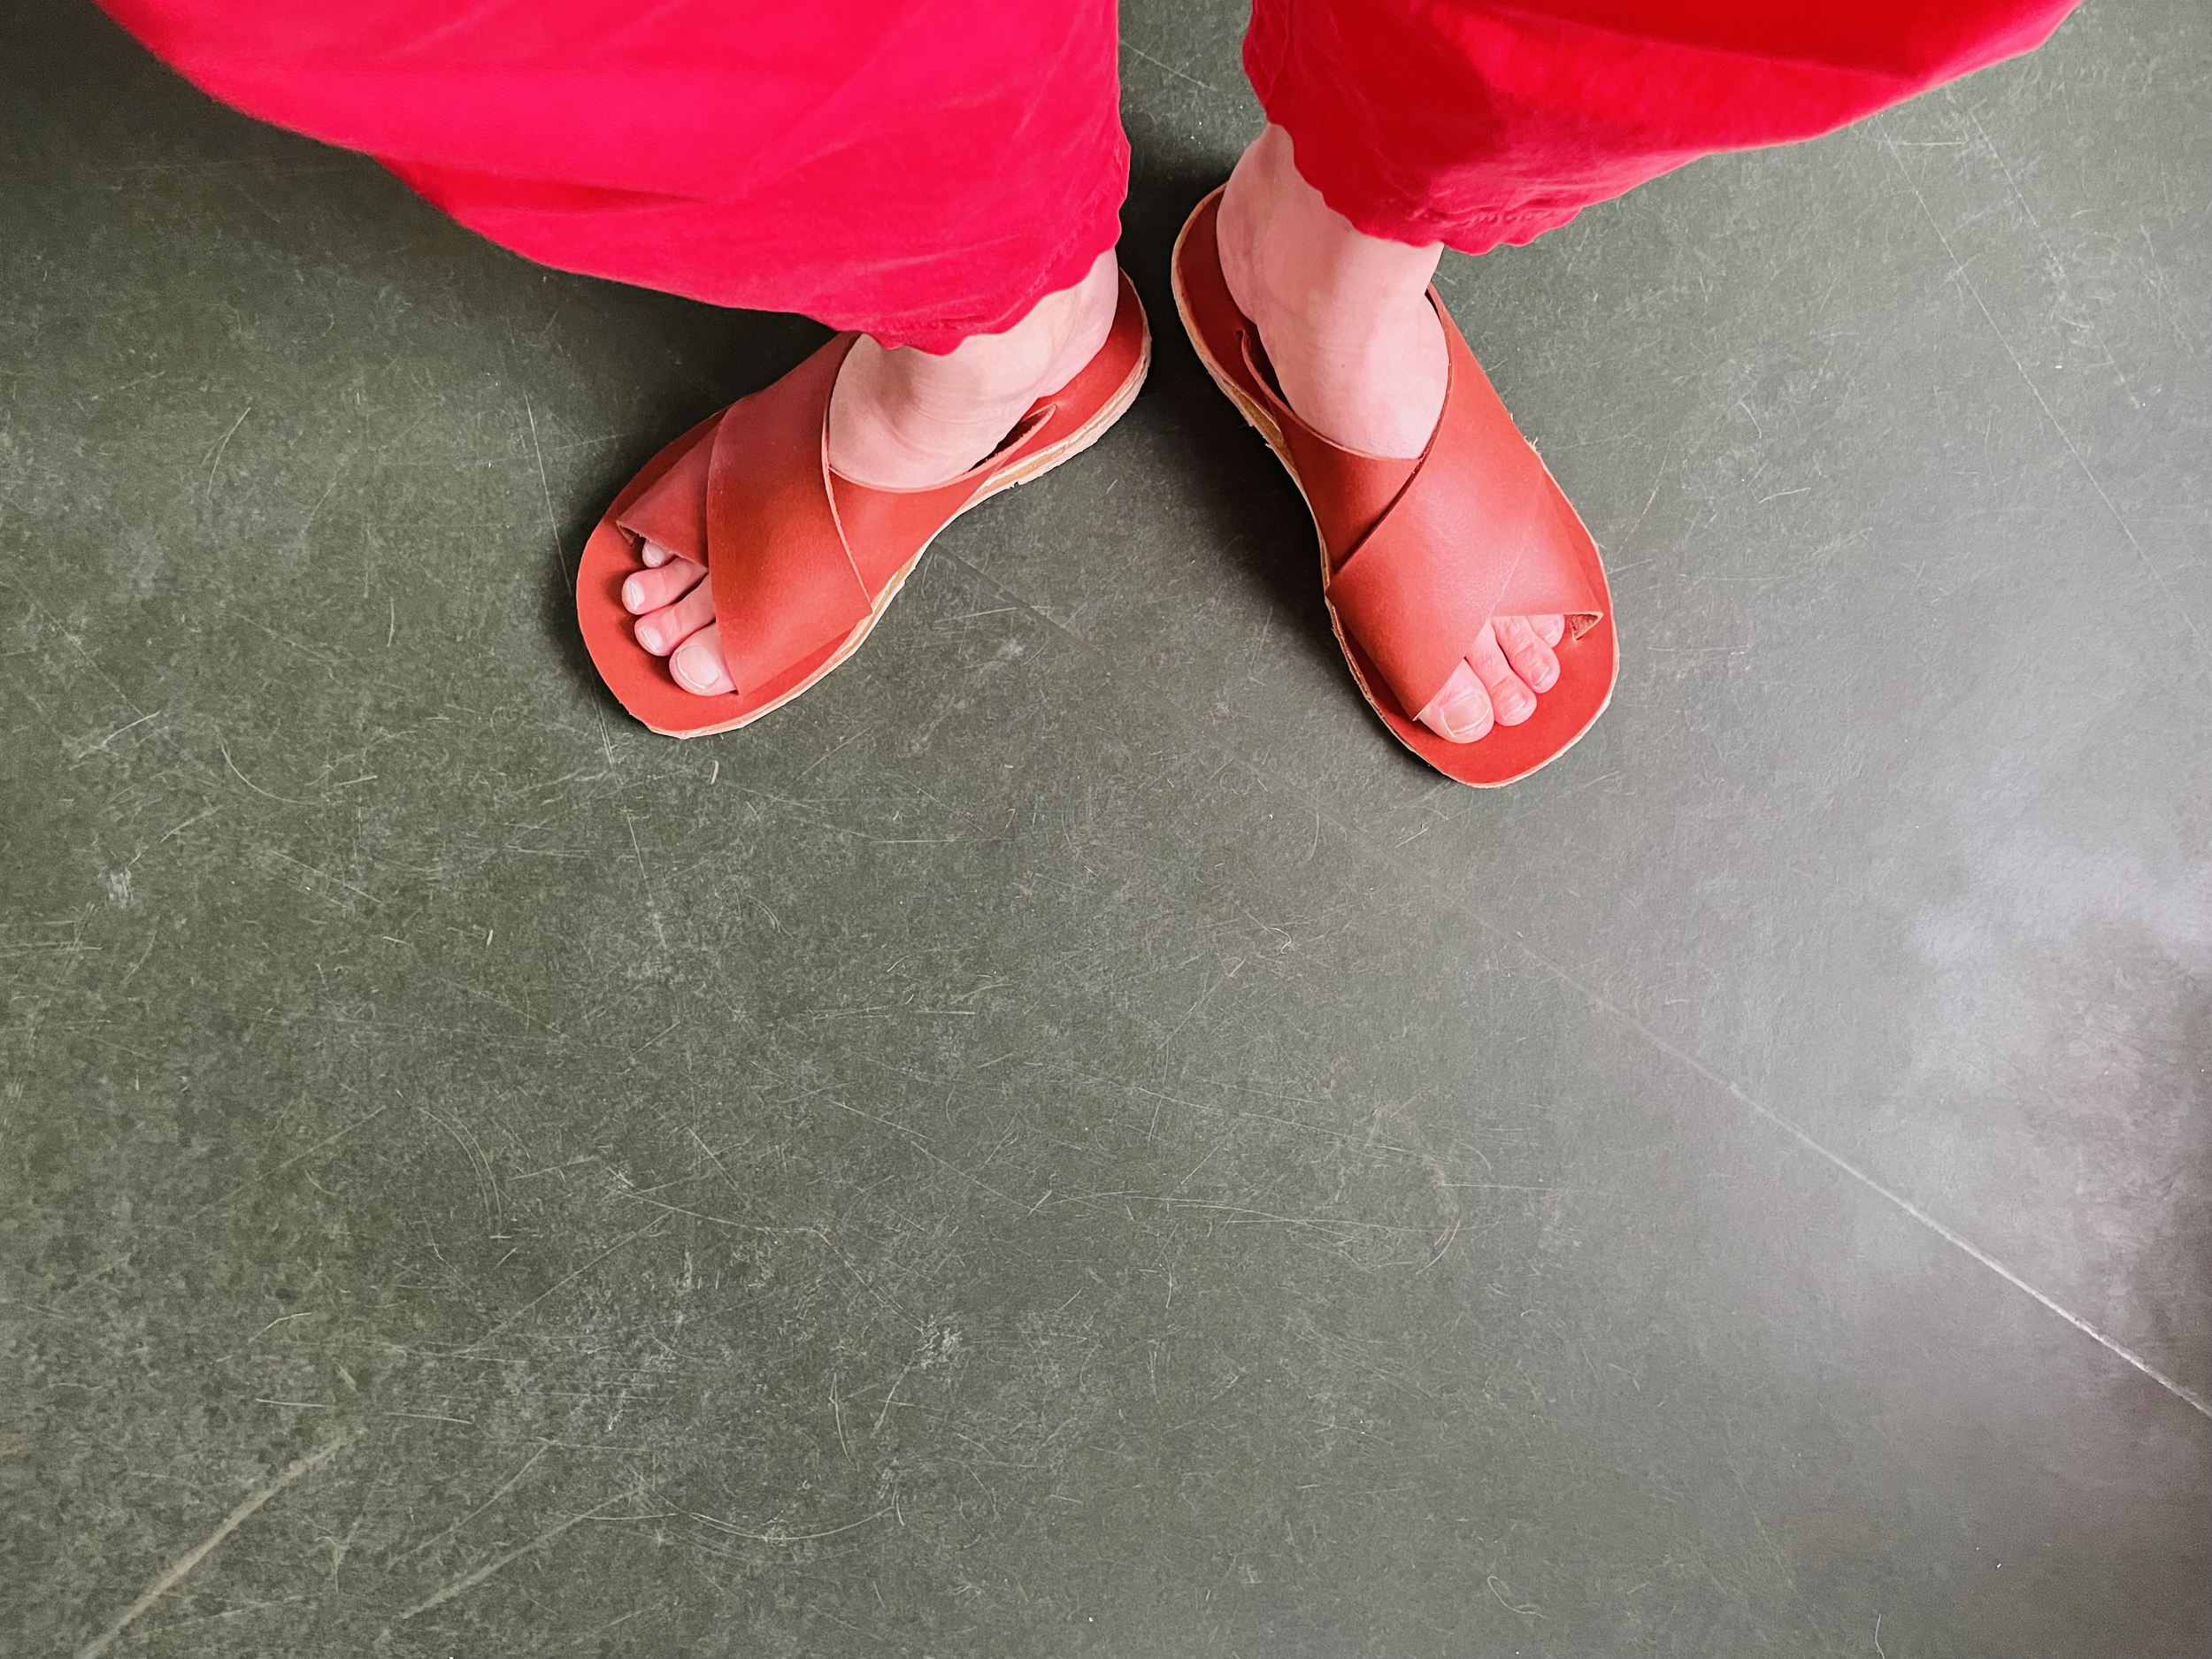
TIL HAMINGJU! 🎉
Þú hefur lokið við handgerðu sandalana þína! 👡🎨
Takk fyrir að gefa þér tíma í þetta verkefni – njóttu ferlisins og einstöku sköpunarinnar þinnar!
Gangi þér vel!
GM
———————————————————————
INSTRUCTIONS
In the sandal-making kit, you will find almost everything needed to make a pair of sandals. It includes two templates that fit women’s sizes 36-42, midsole and outsole leather, heel layers, and more. The set contains all the main raw materials you need to create a unique, handcrafted pair of sandals from premium Italian naturally tanned leather. Anything else you likely already have at home, in your garage, or in storage.
WHAT’S INCLUDED:
IMAGES OF THE PROCESS
(Located after the text) to support and complement the written instructions.
The images showcase various tricks and techniques used in making a pair of sandals, such as:
• How to break glass and use it for finishing.
• What a curved awl is and how to use it (or alternatives if you don’t have one).
• How to thin leather with a knife and more.
📌 Please read through the instructions carefully before you begin and keep them handy throughout the sandal-making process.
IMAGES OF TOOLS
• Tools included in the kit and tools that are not included but are useful to have.
• Additional recommended tools if you plan to continue making sandals in the future.
TWO UPPER LEATHER PATTERNS
• Scaled templates for the outer sole, midsole, and binding sole, fitting sizes 36-42.
• There is enough upper leather to allow for creativity, so you can modify the template as you like, as long as you feel confident doing so.
💡 Tip: I always recommend cutting the pattern out of thin A4 paper first, trying it on your foot, and adjusting it to your anatomy before cutting the leather.
TIME ESTIMATE
These types of sandals should take 8-10 hours to complete. However, this depends on your skill level and attention to detail during the finishing process.
TOOLS & MATERIALS
Some of these materials are difficult to find, are not sold in retail stores, or are hard to source. That’s why I have gathered them all in this kit for you.
INCLUDED MATERIALS:
✔ Strong shoemaking glue (Keep out of reach of children).
✔ Brush (For the glue only).
✔ Thinner (For cleaning the brush, keep away from children).
✔ Five nails (For securing the glued heel block to the outer sole).
✔ Cork block (For sanding and finishing the heels).
✔ Coarse/fine sandpaper (For the final finish).
✔ Glass jar and brush (For water use only).
✔ Prepared broken glass (Used after rough sanding the heel and sole edges).
✔ Fabric knife (I prefer a smaller one, but a larger one can be useful for cutting the outer sole).
✔ Outer sole leather (Thickest and stiffest layer, closest to the ground. Enough for sizes 36-42).
✔ Midsole leather (Thicker, sits between the binding sole and outer sole. Makes the sandals more durable and comfortable).
✔ Binding sole leather (Medium-thickness leather, approx. 32x60 cm, where the slits for the upper leather straps are cut).
✔ Heel layers (3x3 cm, approx. 15mm thick pieces of heel leather that need to be stacked and glued).
✔ Anatomical illustration of the sandals in the kit.
✔ Anatomical illustration of the foot.
MATERIALS YOU PROBABLY HAVE OR CAN EASILY OBTAIN:
✔ Marker (To transfer patterns onto leather).
✔ A4 paper (For modifying patterns; thicker paper for creating permanent templates).
✔ Ruler (I recommend a transparent ruler with 1 cm grids for easy use).
✔ Scissors
✔ Masking tape (To secure the straps under the binding sole before gluing permanently).
✔ Hammer
✔ Awl (You can substitute an old screwdriver, knitting needle, or any pointed tool).
✔ Punch tool (For making holes in the strap slots—use hole size No. 2).
✔ Cutting mat (The green ones! A4 size works well).
✔ Curved awl (For setting nails just below the surface).
OUTER SOLE TEMPLATE & SHAPING
1️⃣ Choose one size larger than your actual size from the scaled sole template (leather shrinks slightly when wet).
2️⃣ Transfer the template onto baking paper, cut it out, and trace it onto thicker paper for better handling.
3️⃣ Flip the template to ensure you have both a left and right sole.
4️⃣ Cut slightly outside the marker line (edges will be sanded later).
💡 Tip: Make shallow cuts first and gradually deepen them by going over the same line multiple times. Hold the knife like a pen and rest your elbow on the workbench for stability.
5️⃣ Wet the sole slightly and shape it by gently bending it.
HEEL CONSTRUCTION – A MUST!
• The kit includes three heel layers per sandal.
• You can adjust the height by using fewer layers if desired.
• Roughen the surface of each layer so the glue adheres properly.
• Apply glue, let dry for 20 minutes, and press together.
• Hammer them firmly and ensure proper alignment.
• Use nails to secure the heel to the sole.
⏳ Total time: About 60 minutes.
FINAL ASSEMBLY
• Glue the binding sole to the midsole, and then attach the outer sole.
• Hammer the edges tightly together to ensure a strong bond.
• Sand the edges smoothly (start with coarse and move to finer sandpaper).
• Apply leather conditioner for protection and shine.
💡 Optional:
• Take the sandals to a shoemaker for additional finishing or rubber sole application for extra durability.
CONGRATULATIONS! 🎉
You have completed your handmade sandals! 👡🎨
Thank you for your time and effort—hope you enjoy the process and your unique creation!
Best of luck!
GM